The purpose of this post is to illustrate how to connect to an Azure virtual machine (VM). Firstly, by connecting via the less secure RDP and then via the more secure Bastion
1.) Connect via RDP
A virtual machine is created with a public IP address of 20.248.221.201 (Figures 1 and 2)


The PC being used to RDC to the VM is running on a network with port 3389 opened. Therefore, the following call will successfully connect to the VM (Figures 3 and 4)


If port 3389 is blocked
If the PC being used to RDP to the VM is running on a network that blocks port 3389, a load balancer needs to be created in order to connect to the VM (Figure 5)

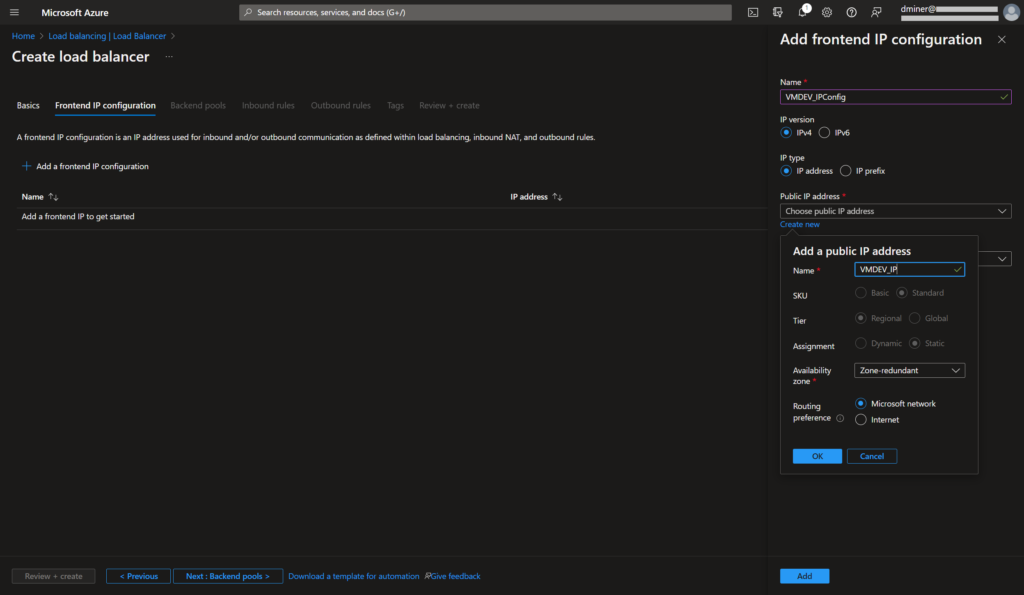
The load balancer is exposed to the internet via a frontend IP (Figure 6)

The load balancer is exposed via port 443 (Figure 7). (An inbound NAT rule is used to forward traffic from the load balancer frontend to the VM instance exposed on port 3389.)


The VM is now exposed to the internet via two IP addresses (Figures 10 and 11)


The resources that have been created are listed in Figure 13

The physical PC being used to RDC to the VM can now successfully connect (Figures 14 and 15)


Summary
Two publicly exposed IPs have been created: 20.53.176.81:443 and 20.248.222.201:3389. Either of these can be used to RDP to the VM
2.) Connect via Bastion
(Note: this section assumes that all the steps in section one have been followed.)
Bastion is a more secure way of connecting to a VM (than connecting via RDP) and is recommended by Microsoft
Implementing Bastion


The resources that have been created to implement Bastion are listed in Figure 19 (along with the previously created resources)


Pressing the ‘Connect’ button (and selection Bastion in Figure 20) successfully connects to the VM. The VM is displayed within a Microsoft Edge browser (Figure 21)

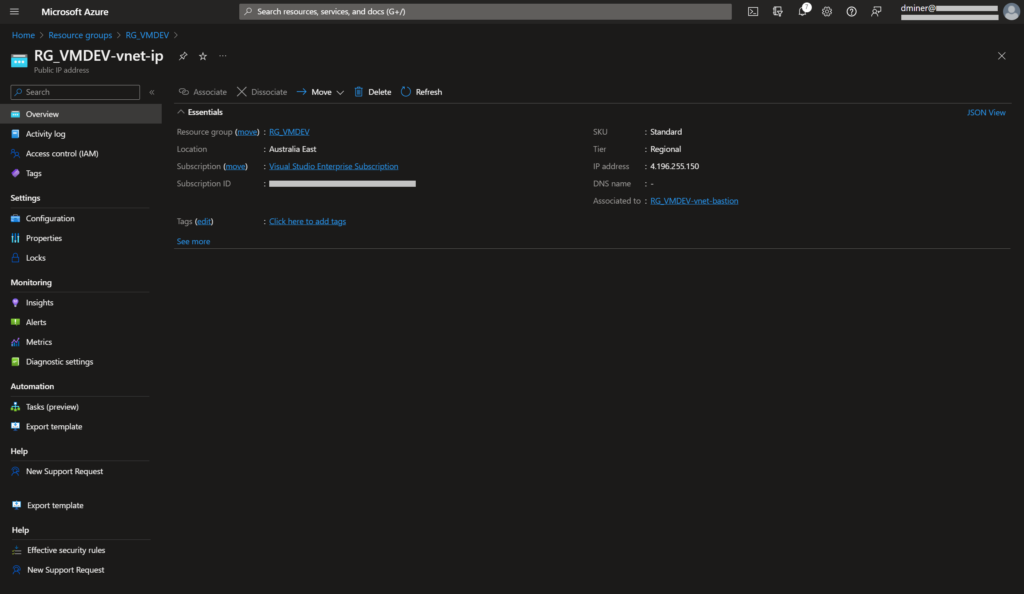
This IP address was generated when Bastion was implemented (Figure 22)

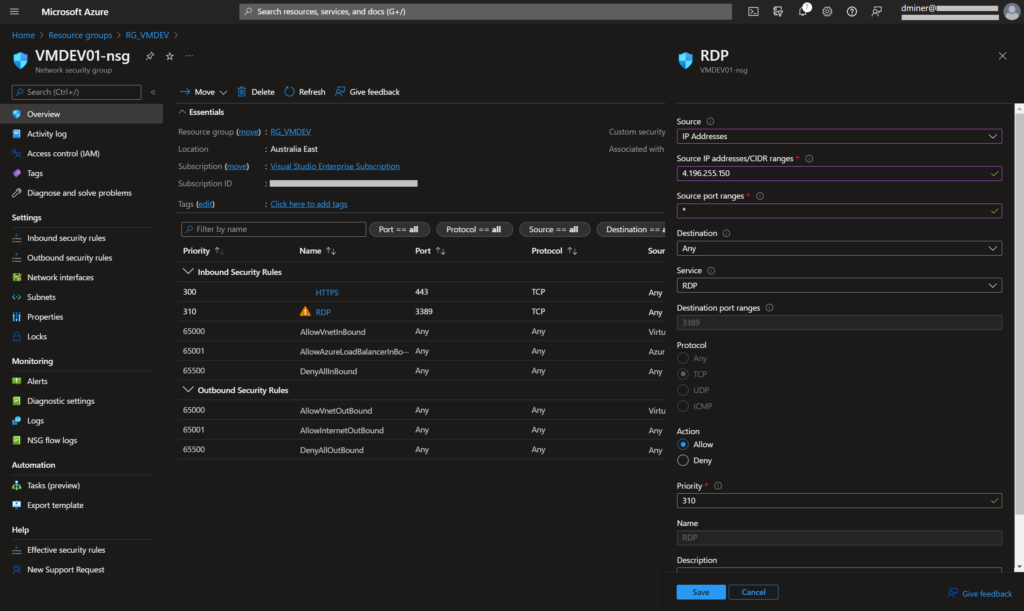
For an extra layer of security, the Bastion IP address is specified as the source IP address for access to port 3389 (Figure 23)

Also, to increase security, port 443 is set to ‘Deny’ (Figure 24)

Disconnecting the two publicly exposed IP addresses
In section one of this post, two IP addresses where publicly exposed on the internet: 20.53.176.81:443 and 20.248.222.201:3389. Now that Bastion has been setup, it’s no longer necessary to expose these two IP addresses
Public IP address 20.53.176.81:443
This IP address could simply be deleted, or, as in this case, disassociated from the virtual machine (Figure 25)

Public IP address 20.248.222.201:3389
Finally, the other IP address that was exposed to the internet is disassociated from the network interface. (Figure 26 and 27)


Summary
Both publicly exposed IP addresses are now no longer exposing the VM (one being disassociated from the VM (via the NAT rule), and the other being disassociated from the network interface). Consequently, the only way to connect to the VM is via Bastion
Further reading
https://dustinminer.com/category/azure/