Why use a feature branch? A feature branch provides several key advantages, including isolating work, reducing merge conflicts, enabling cleaner pull request reviews, supporting parallel development, and aligning naturally with DevOps CI/CD pipelines. Feature branches are one component inside the broader collaboration workflow
This post demonstrates a how a developer can implement user story changes by branching from and merging back into the develop branch. In particular:
- Creating a feature branch based off the develop branch
- Implementing the user story changes within that branch
- Raising a pull request for the changes, which, after being approved, is merged into the develop branch
The tools used in this example are
- Azure DevOps
- Azure Repos Git
- Visual Studio 2022
Example
1.) Clone the repository
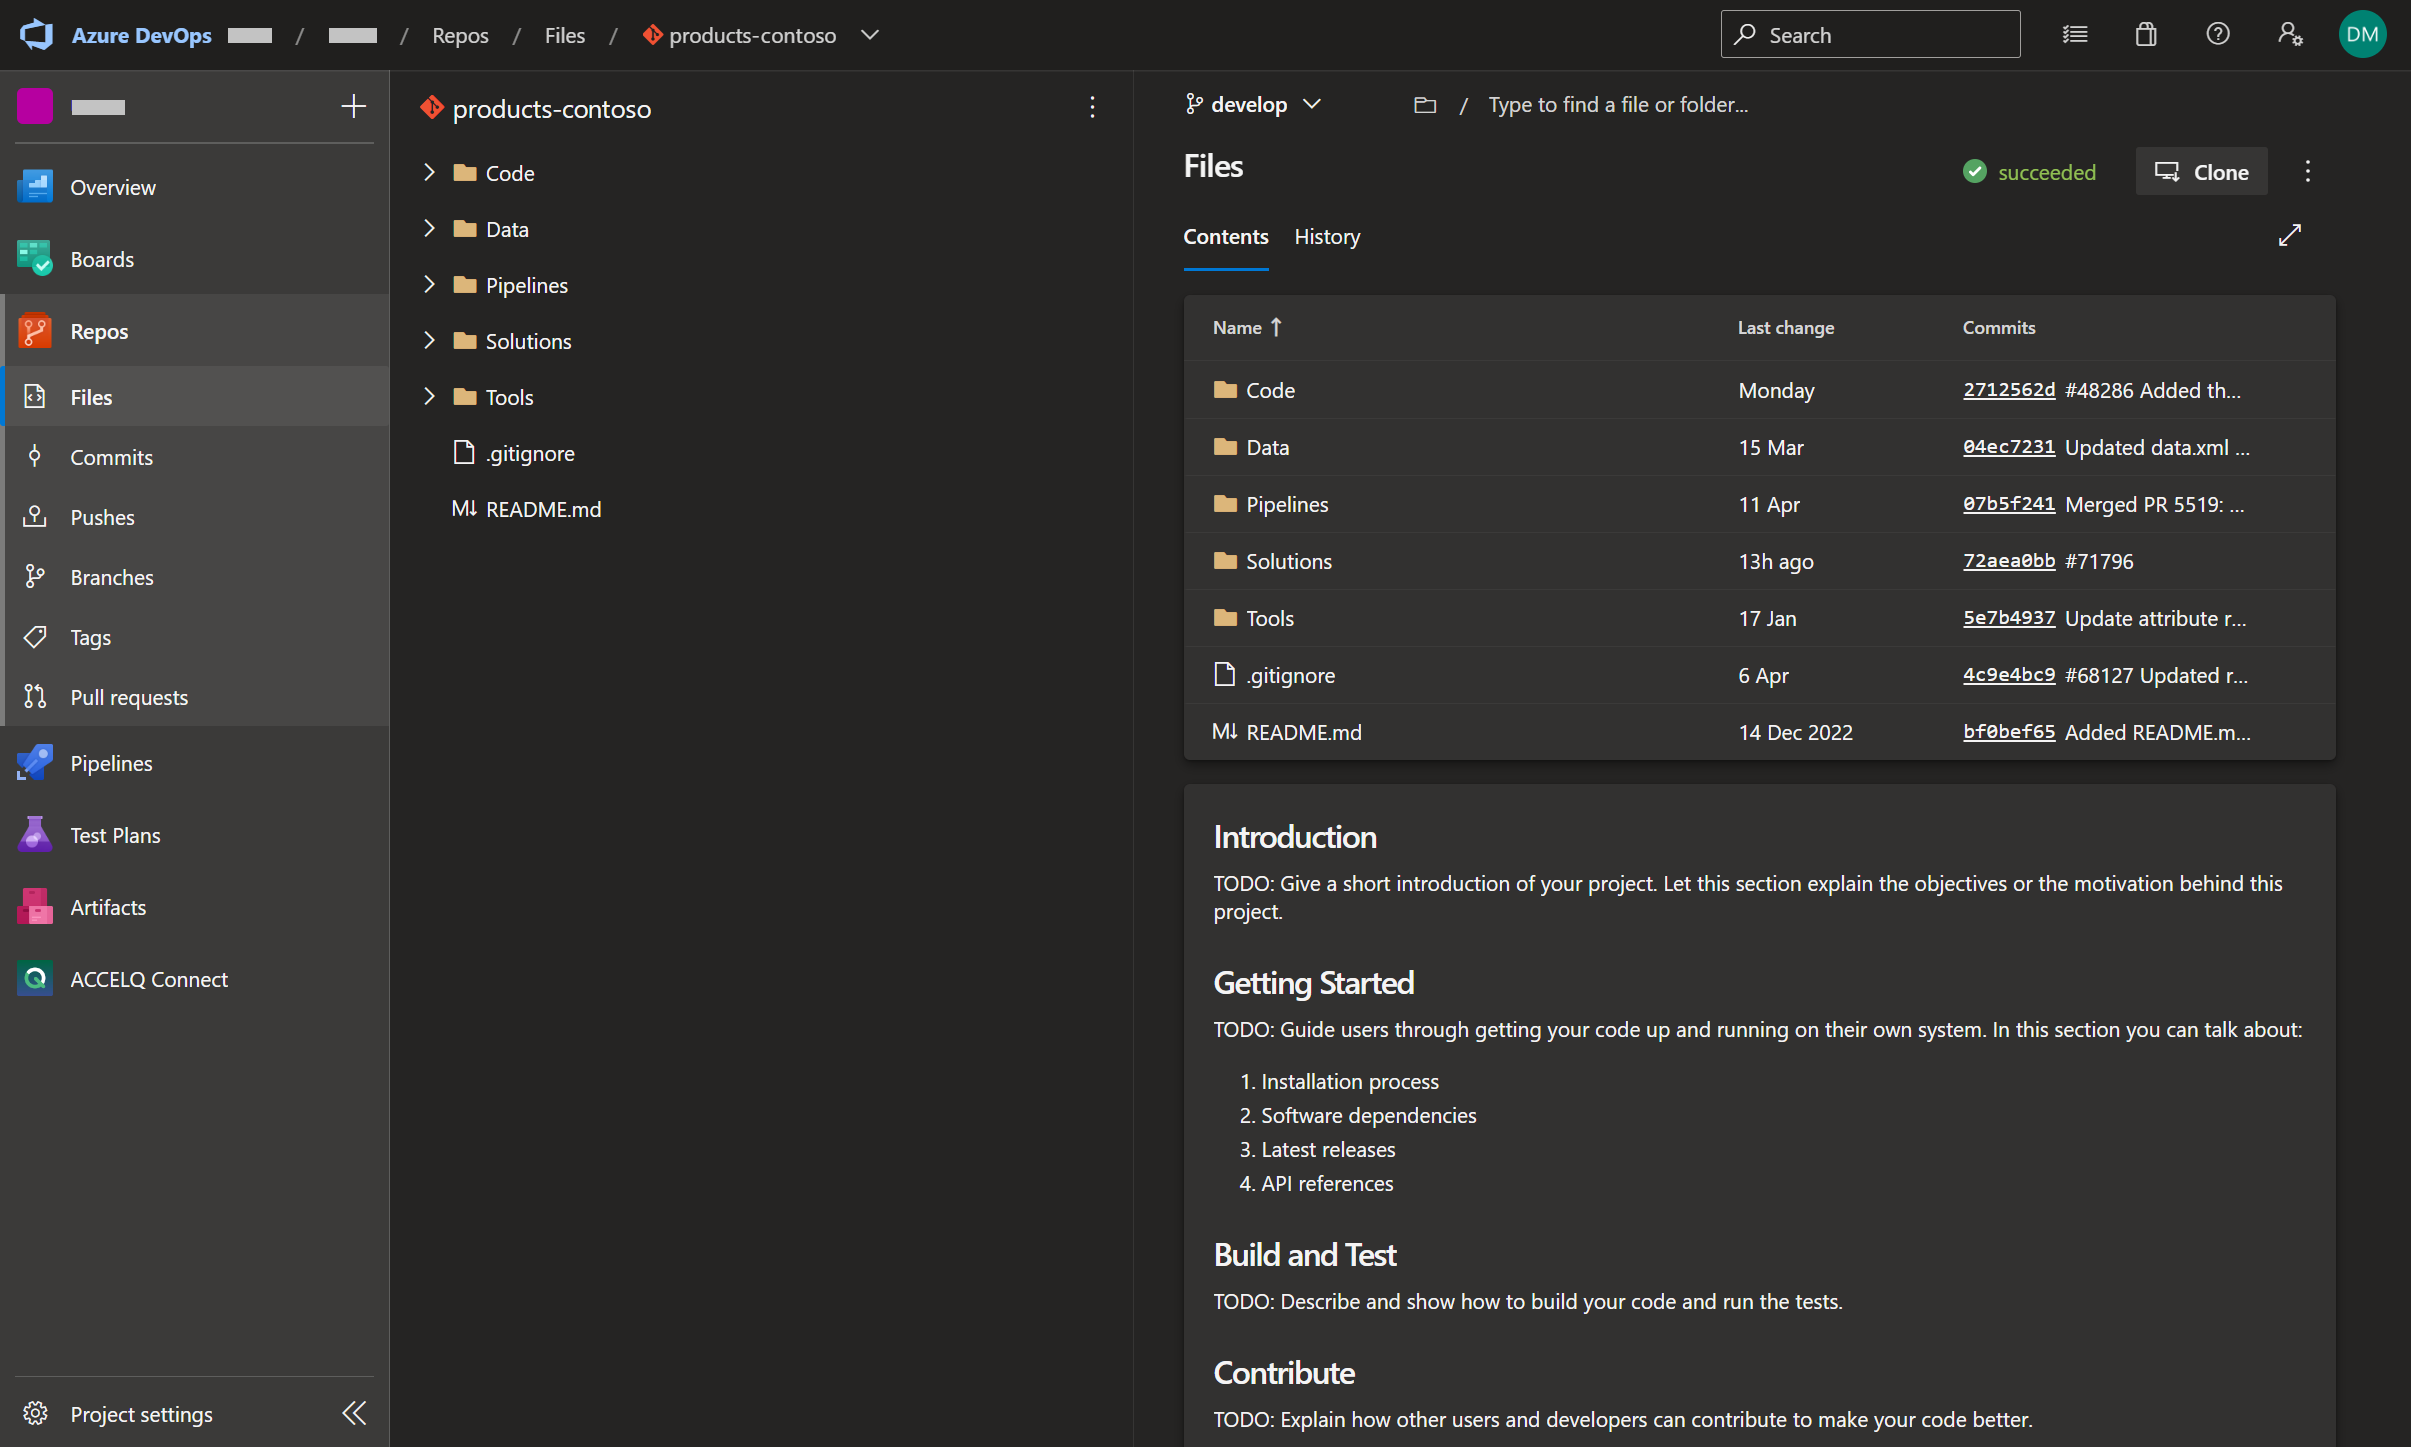
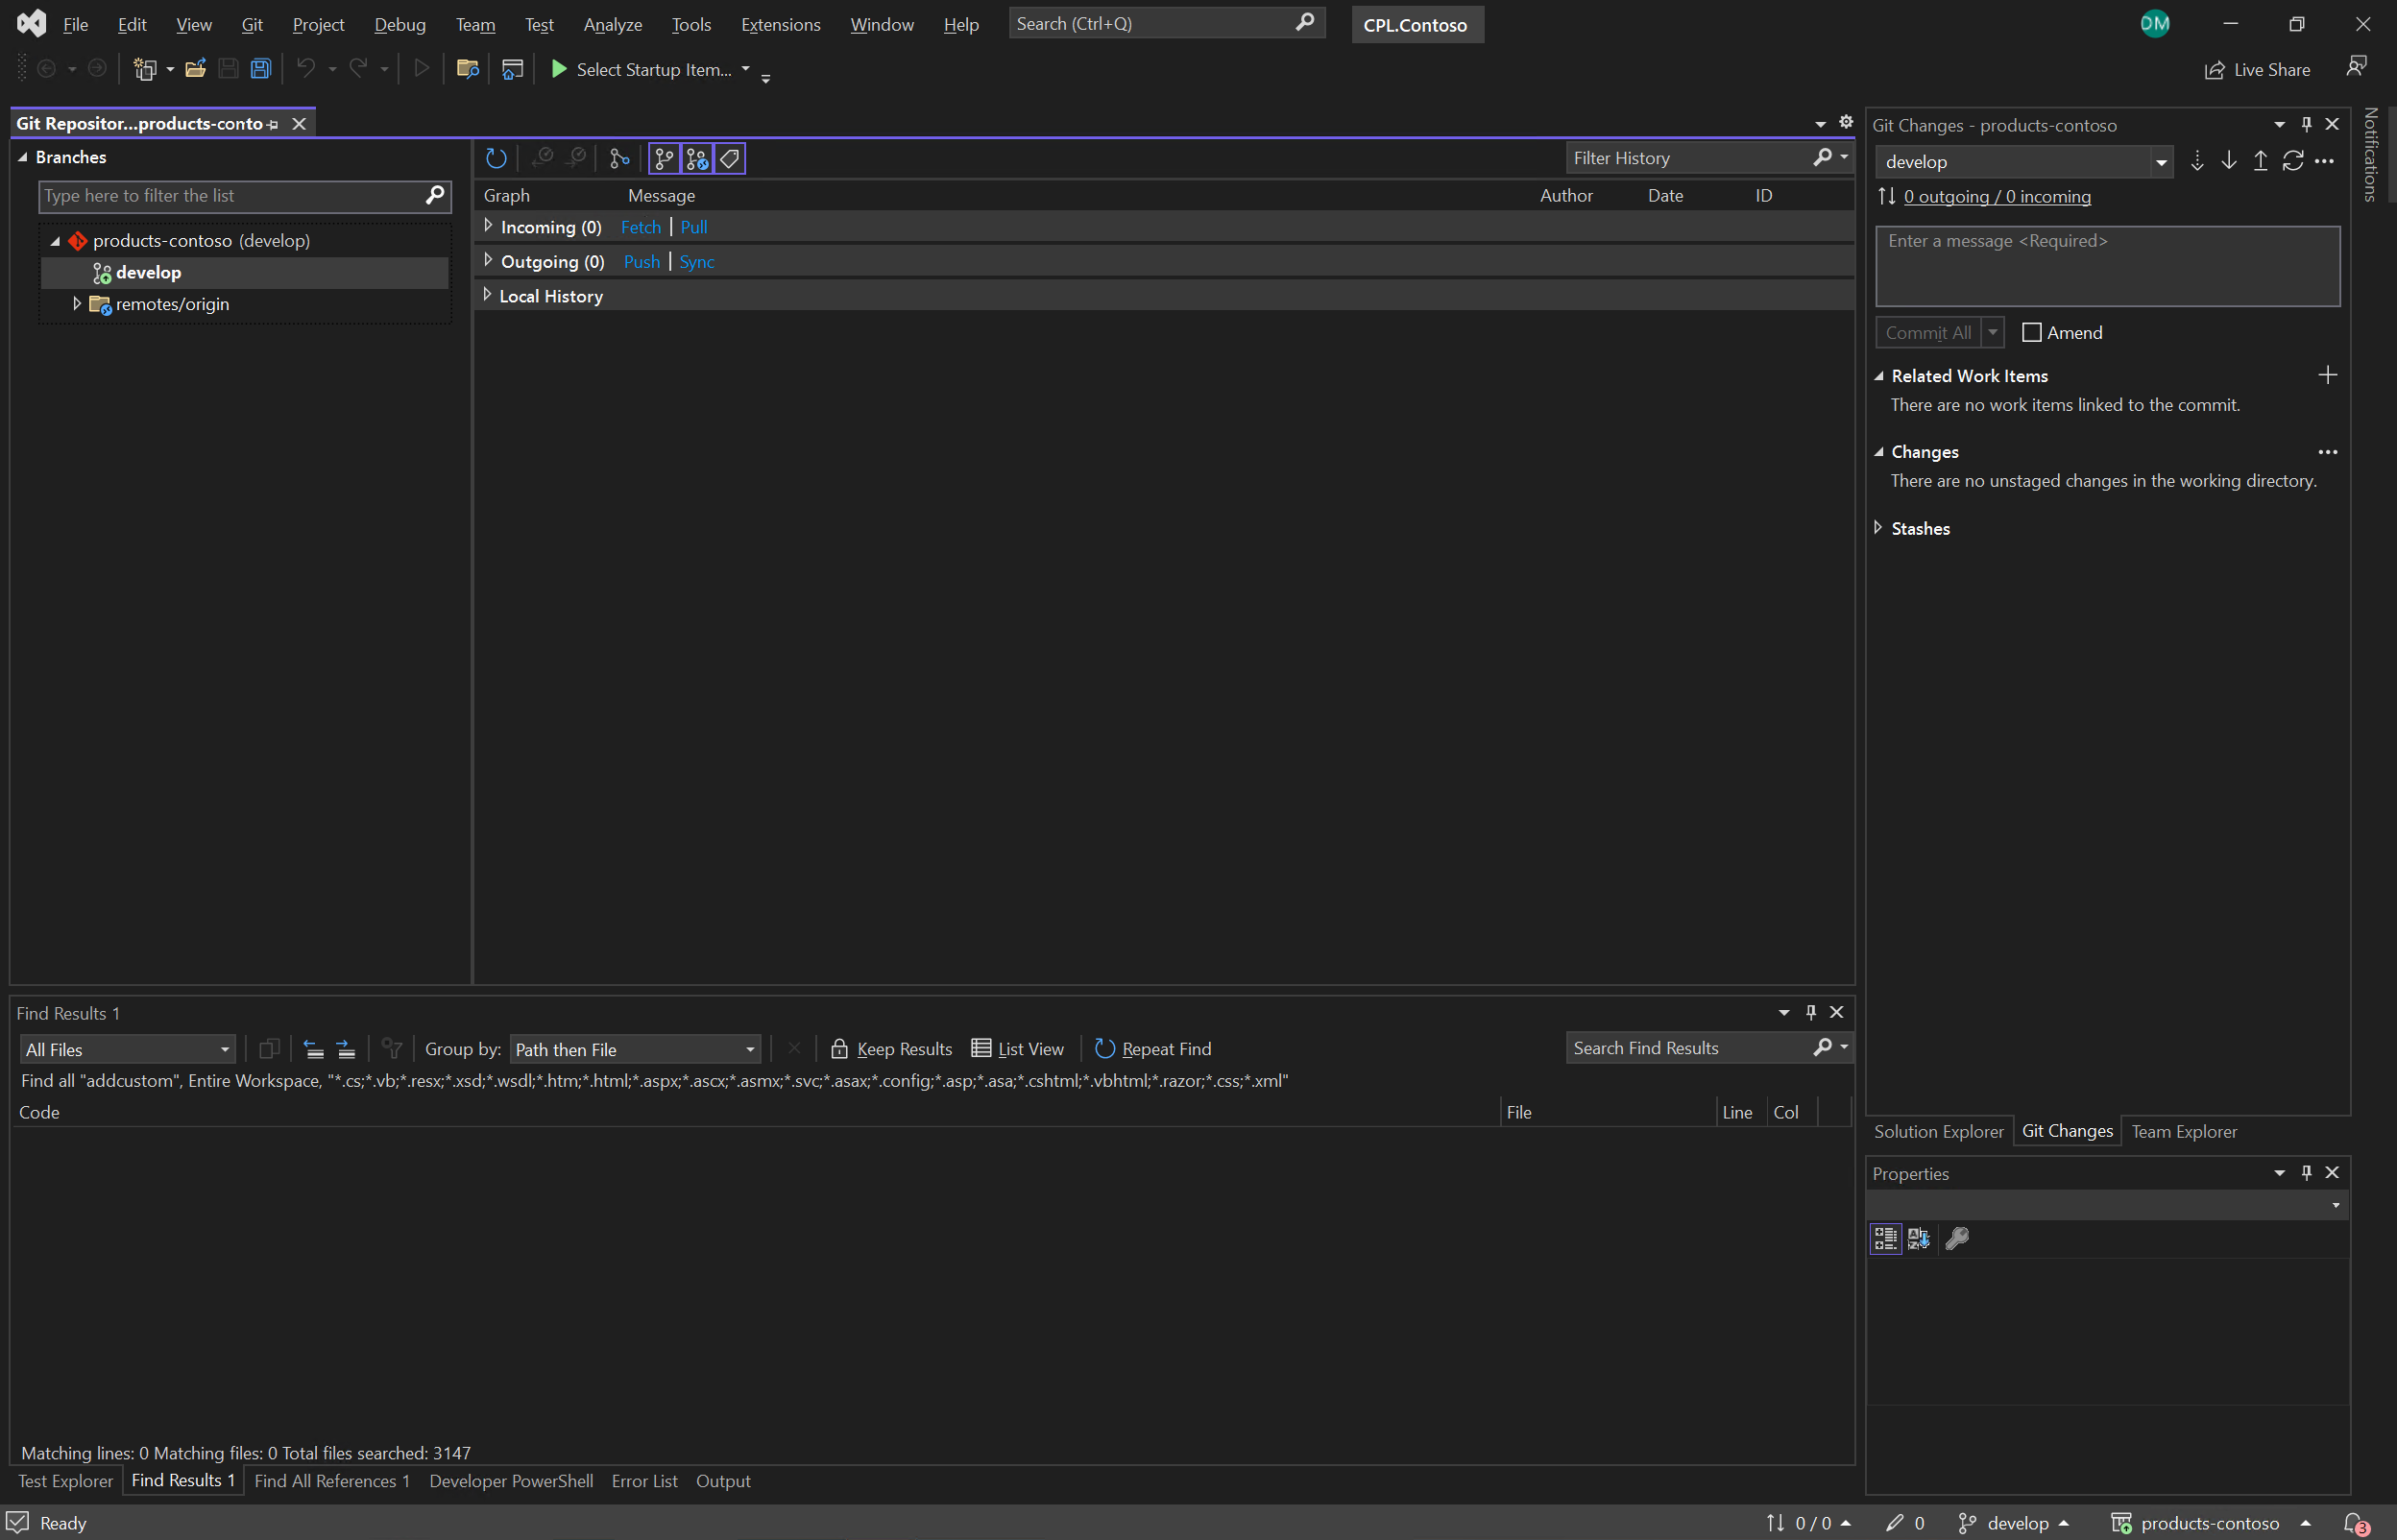
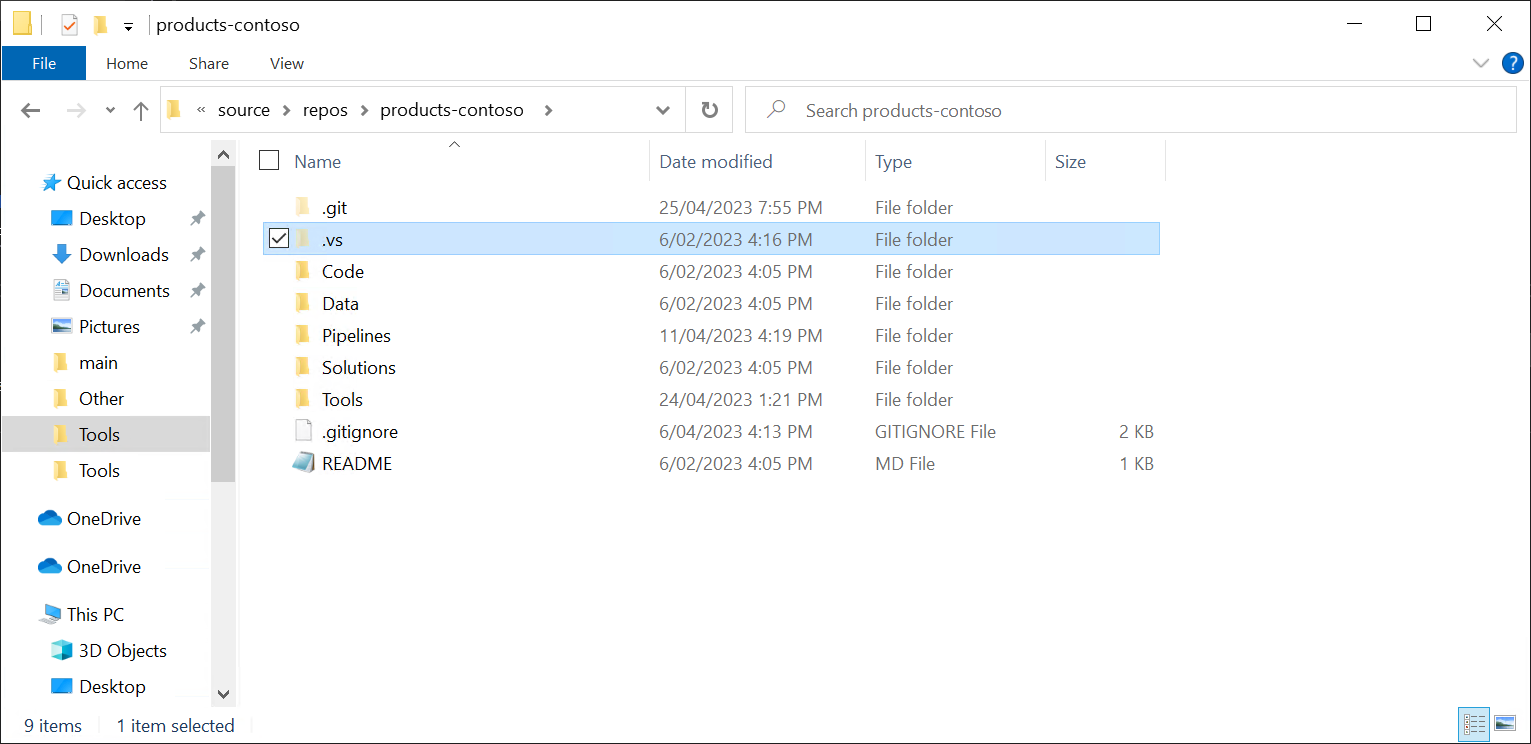
Referring to Figure 1, the ‘products-contoso’ repository contains a develop branch. Referring to Figure 2, a local develop branch has been created from this branch. The contents of the local develop branch can be viewed on the local file system (Figure 3)
(Note: To navigate to the screen shown in Figure 2, select ‘Git’ on the menu bar, then ‘Manage Branches’).
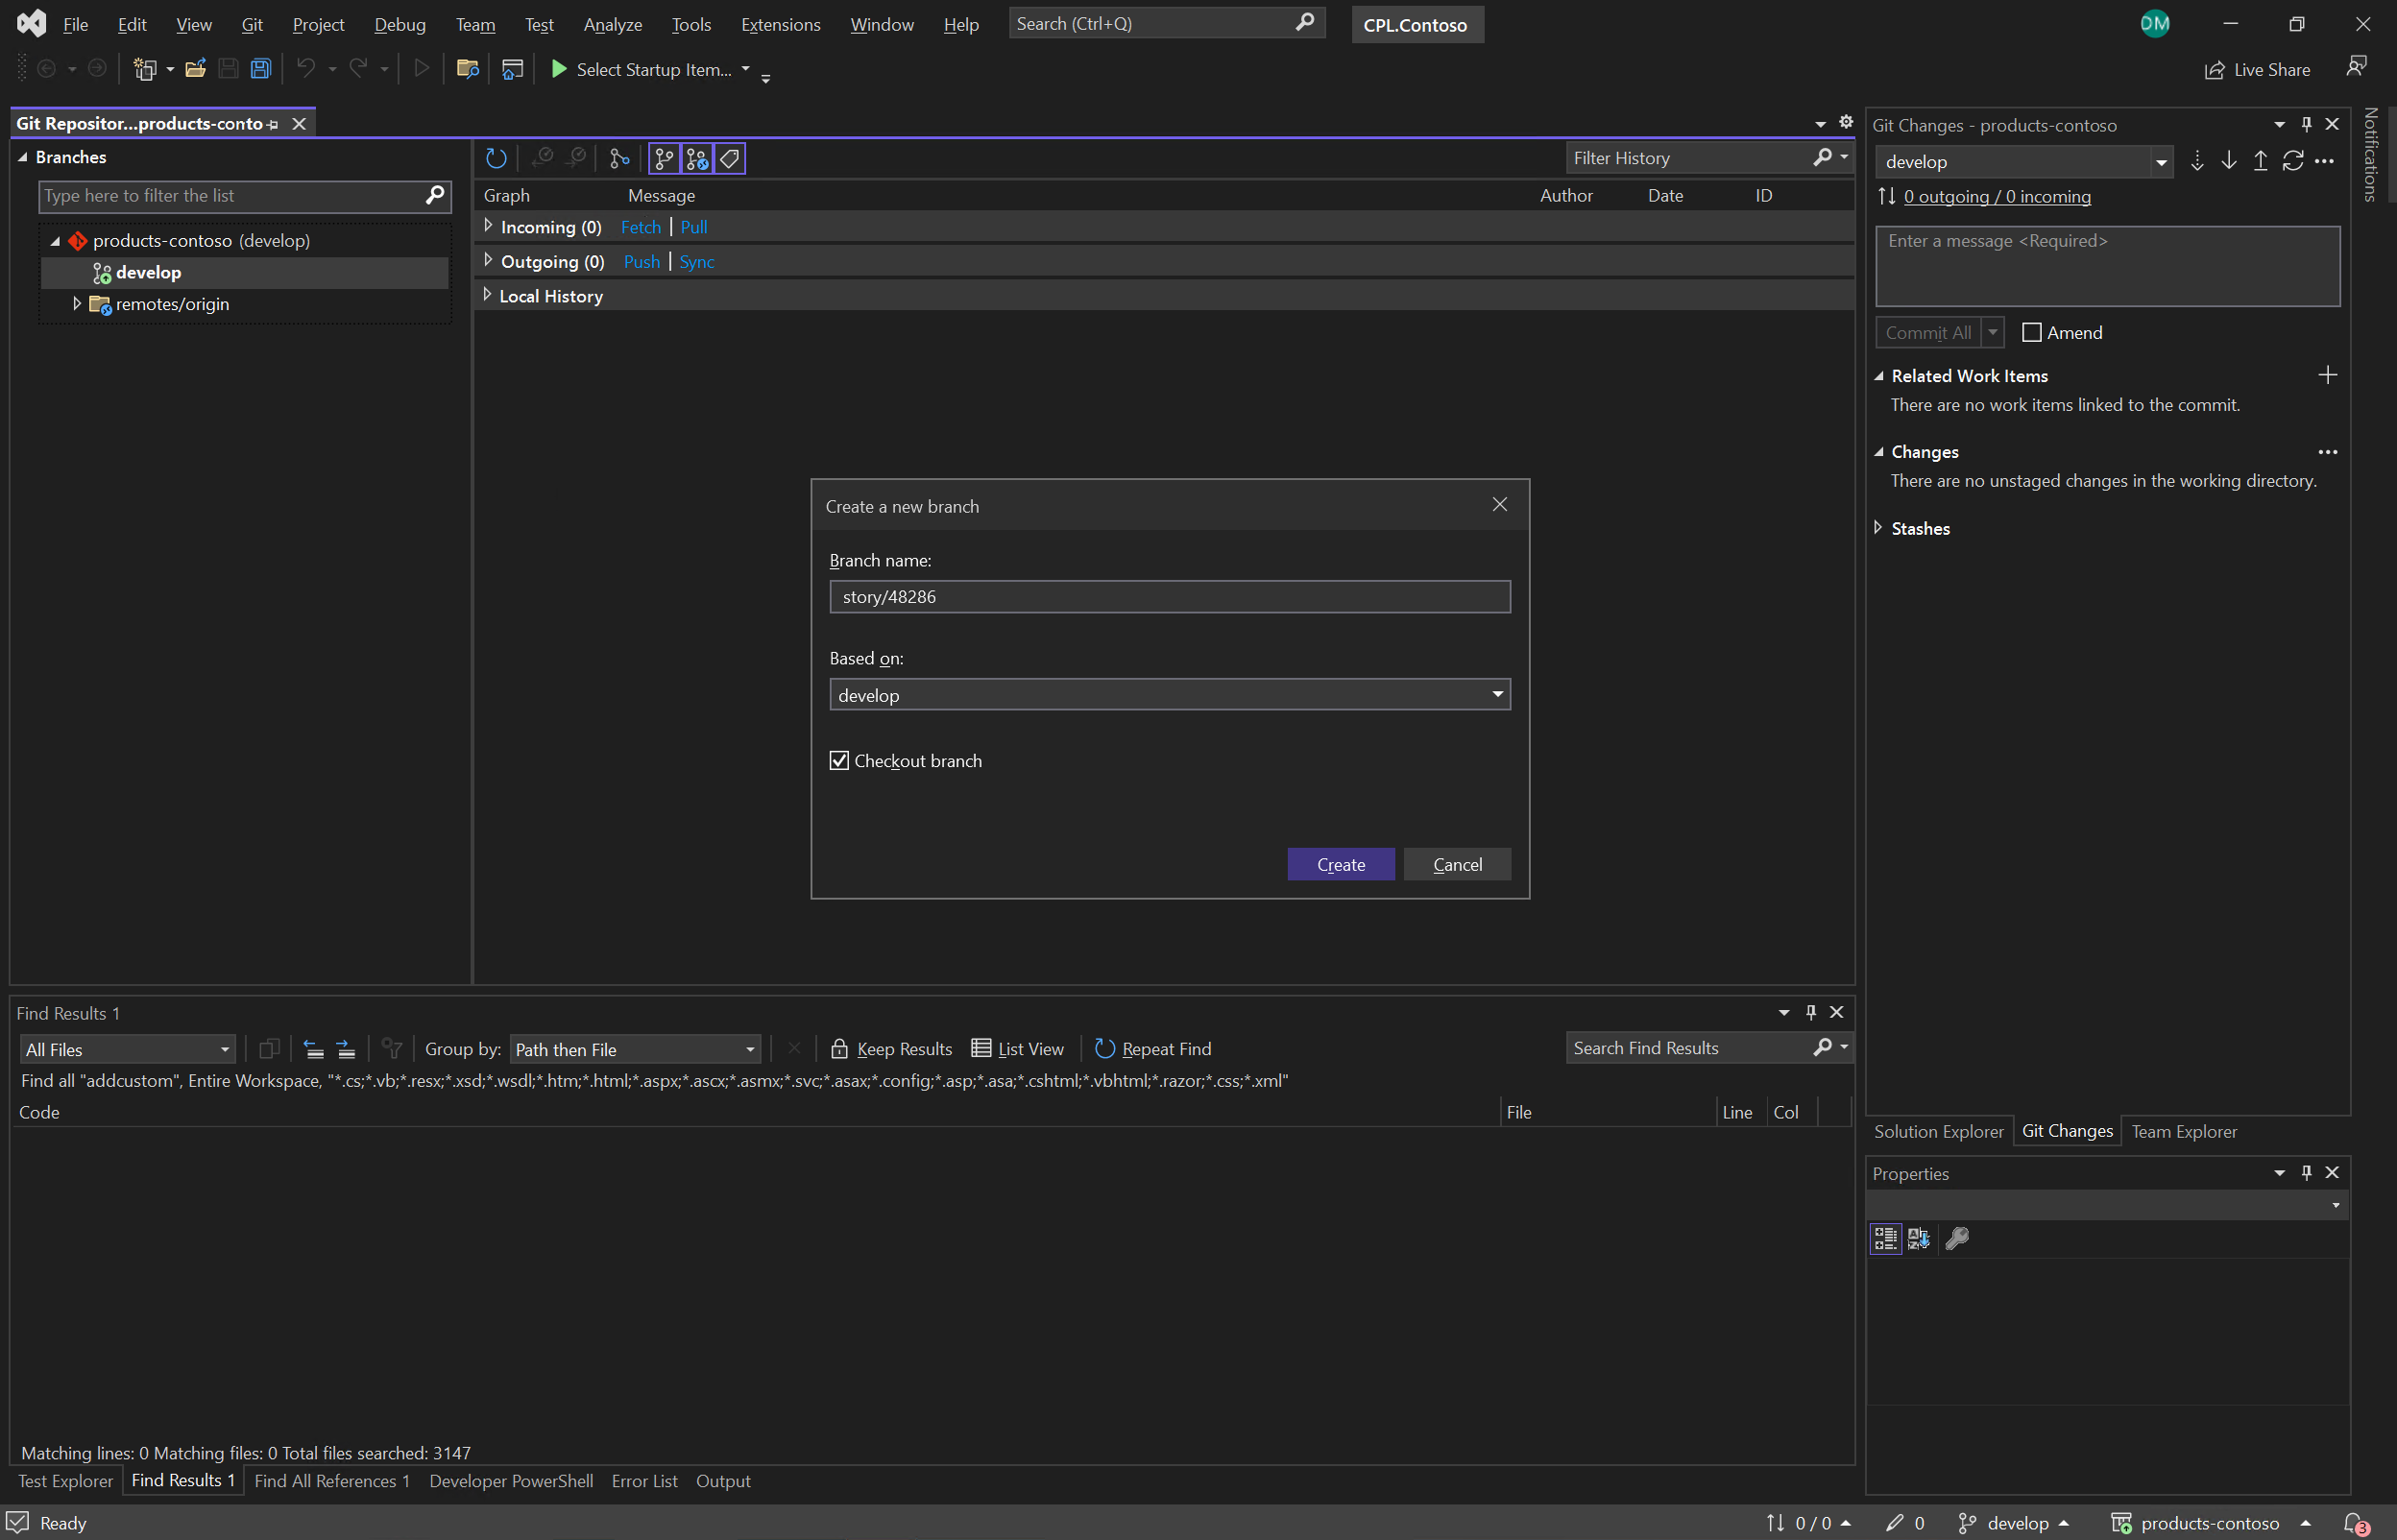
2.) Create a temporary local user story branch
Since it was just cloned, the local develop branch already contains the latest changes. Thus, a new user story branch ‘story/48286’ can be immediately created off the develop branch, without requiring a fetch/pull first (Figure 4)
3.) Implement the required changes in the user story feature branch
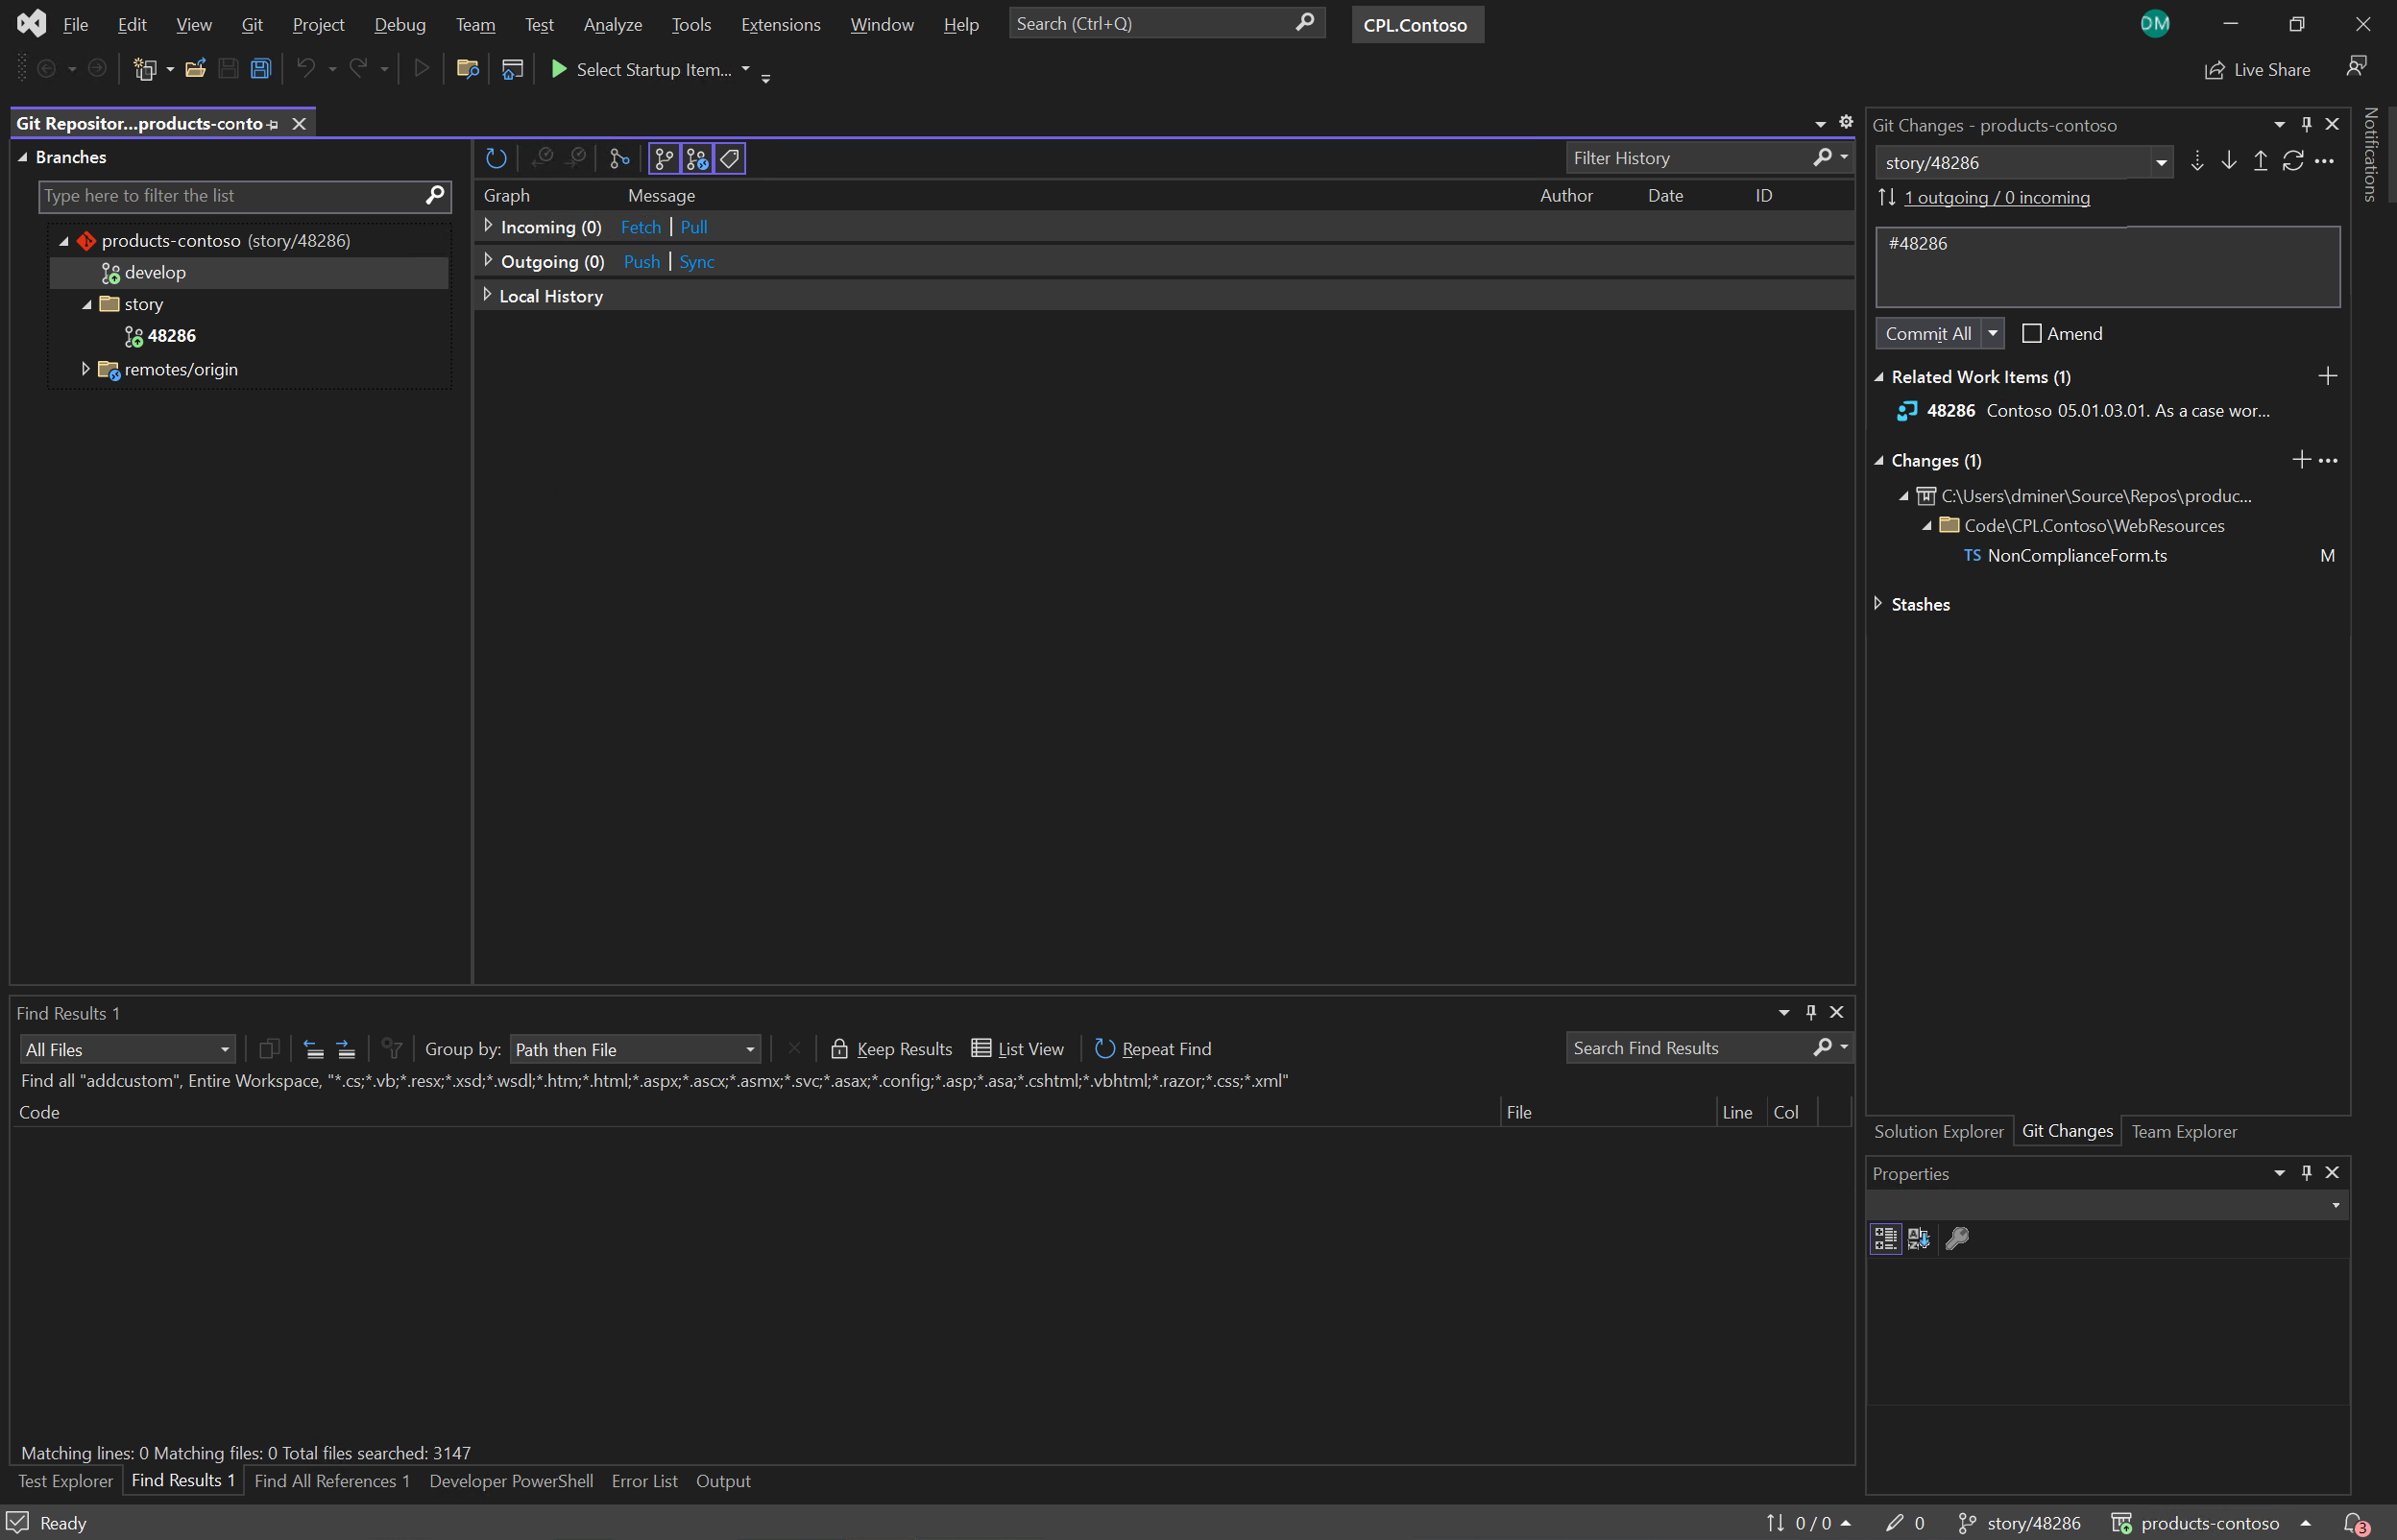
The changes e.g. updating the NonComplianceForm.ts file (Figure 5), are stored in the local file system (Figure 3).
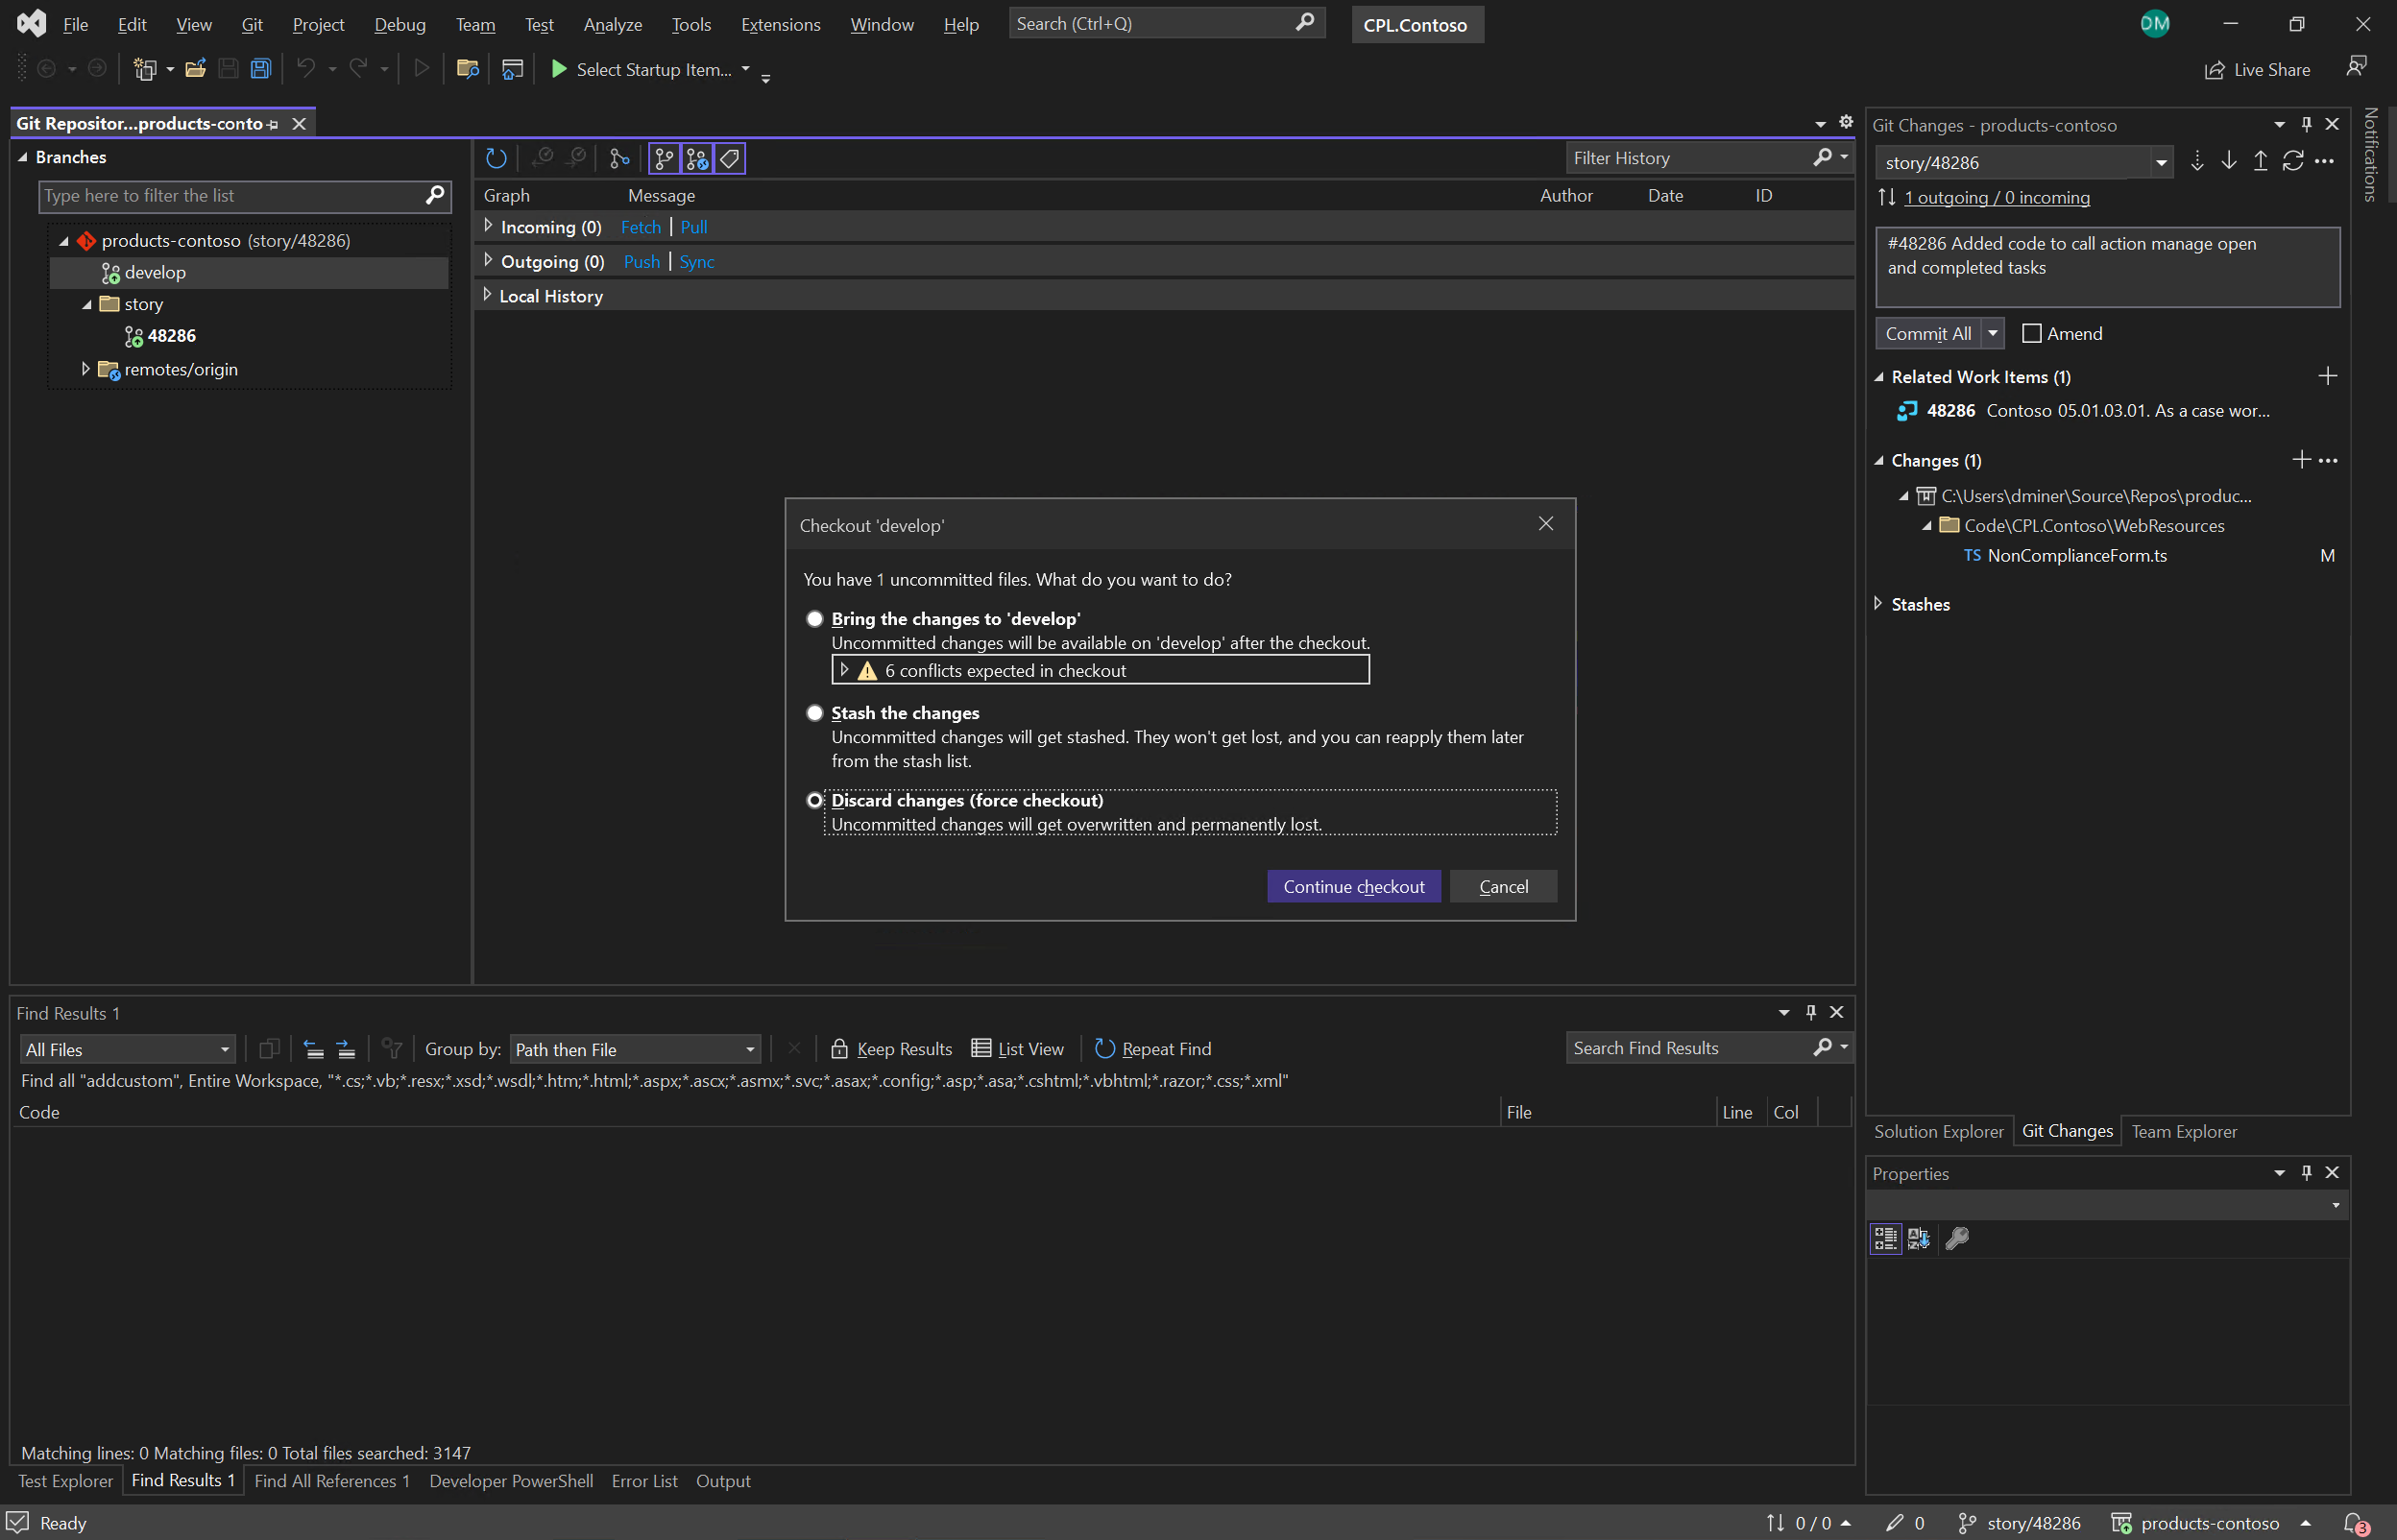
(Note: if the developer was to now try and checkout another local branch, the changes in the file system could potentially be lost. So, the following options are presented to the developer (Figure 6).)
4.) Commit changes in the user story branch
The changes to the NonComplianceForm.ts file are committed locally and displayed in ‘Outgoing’ (Figure 7)
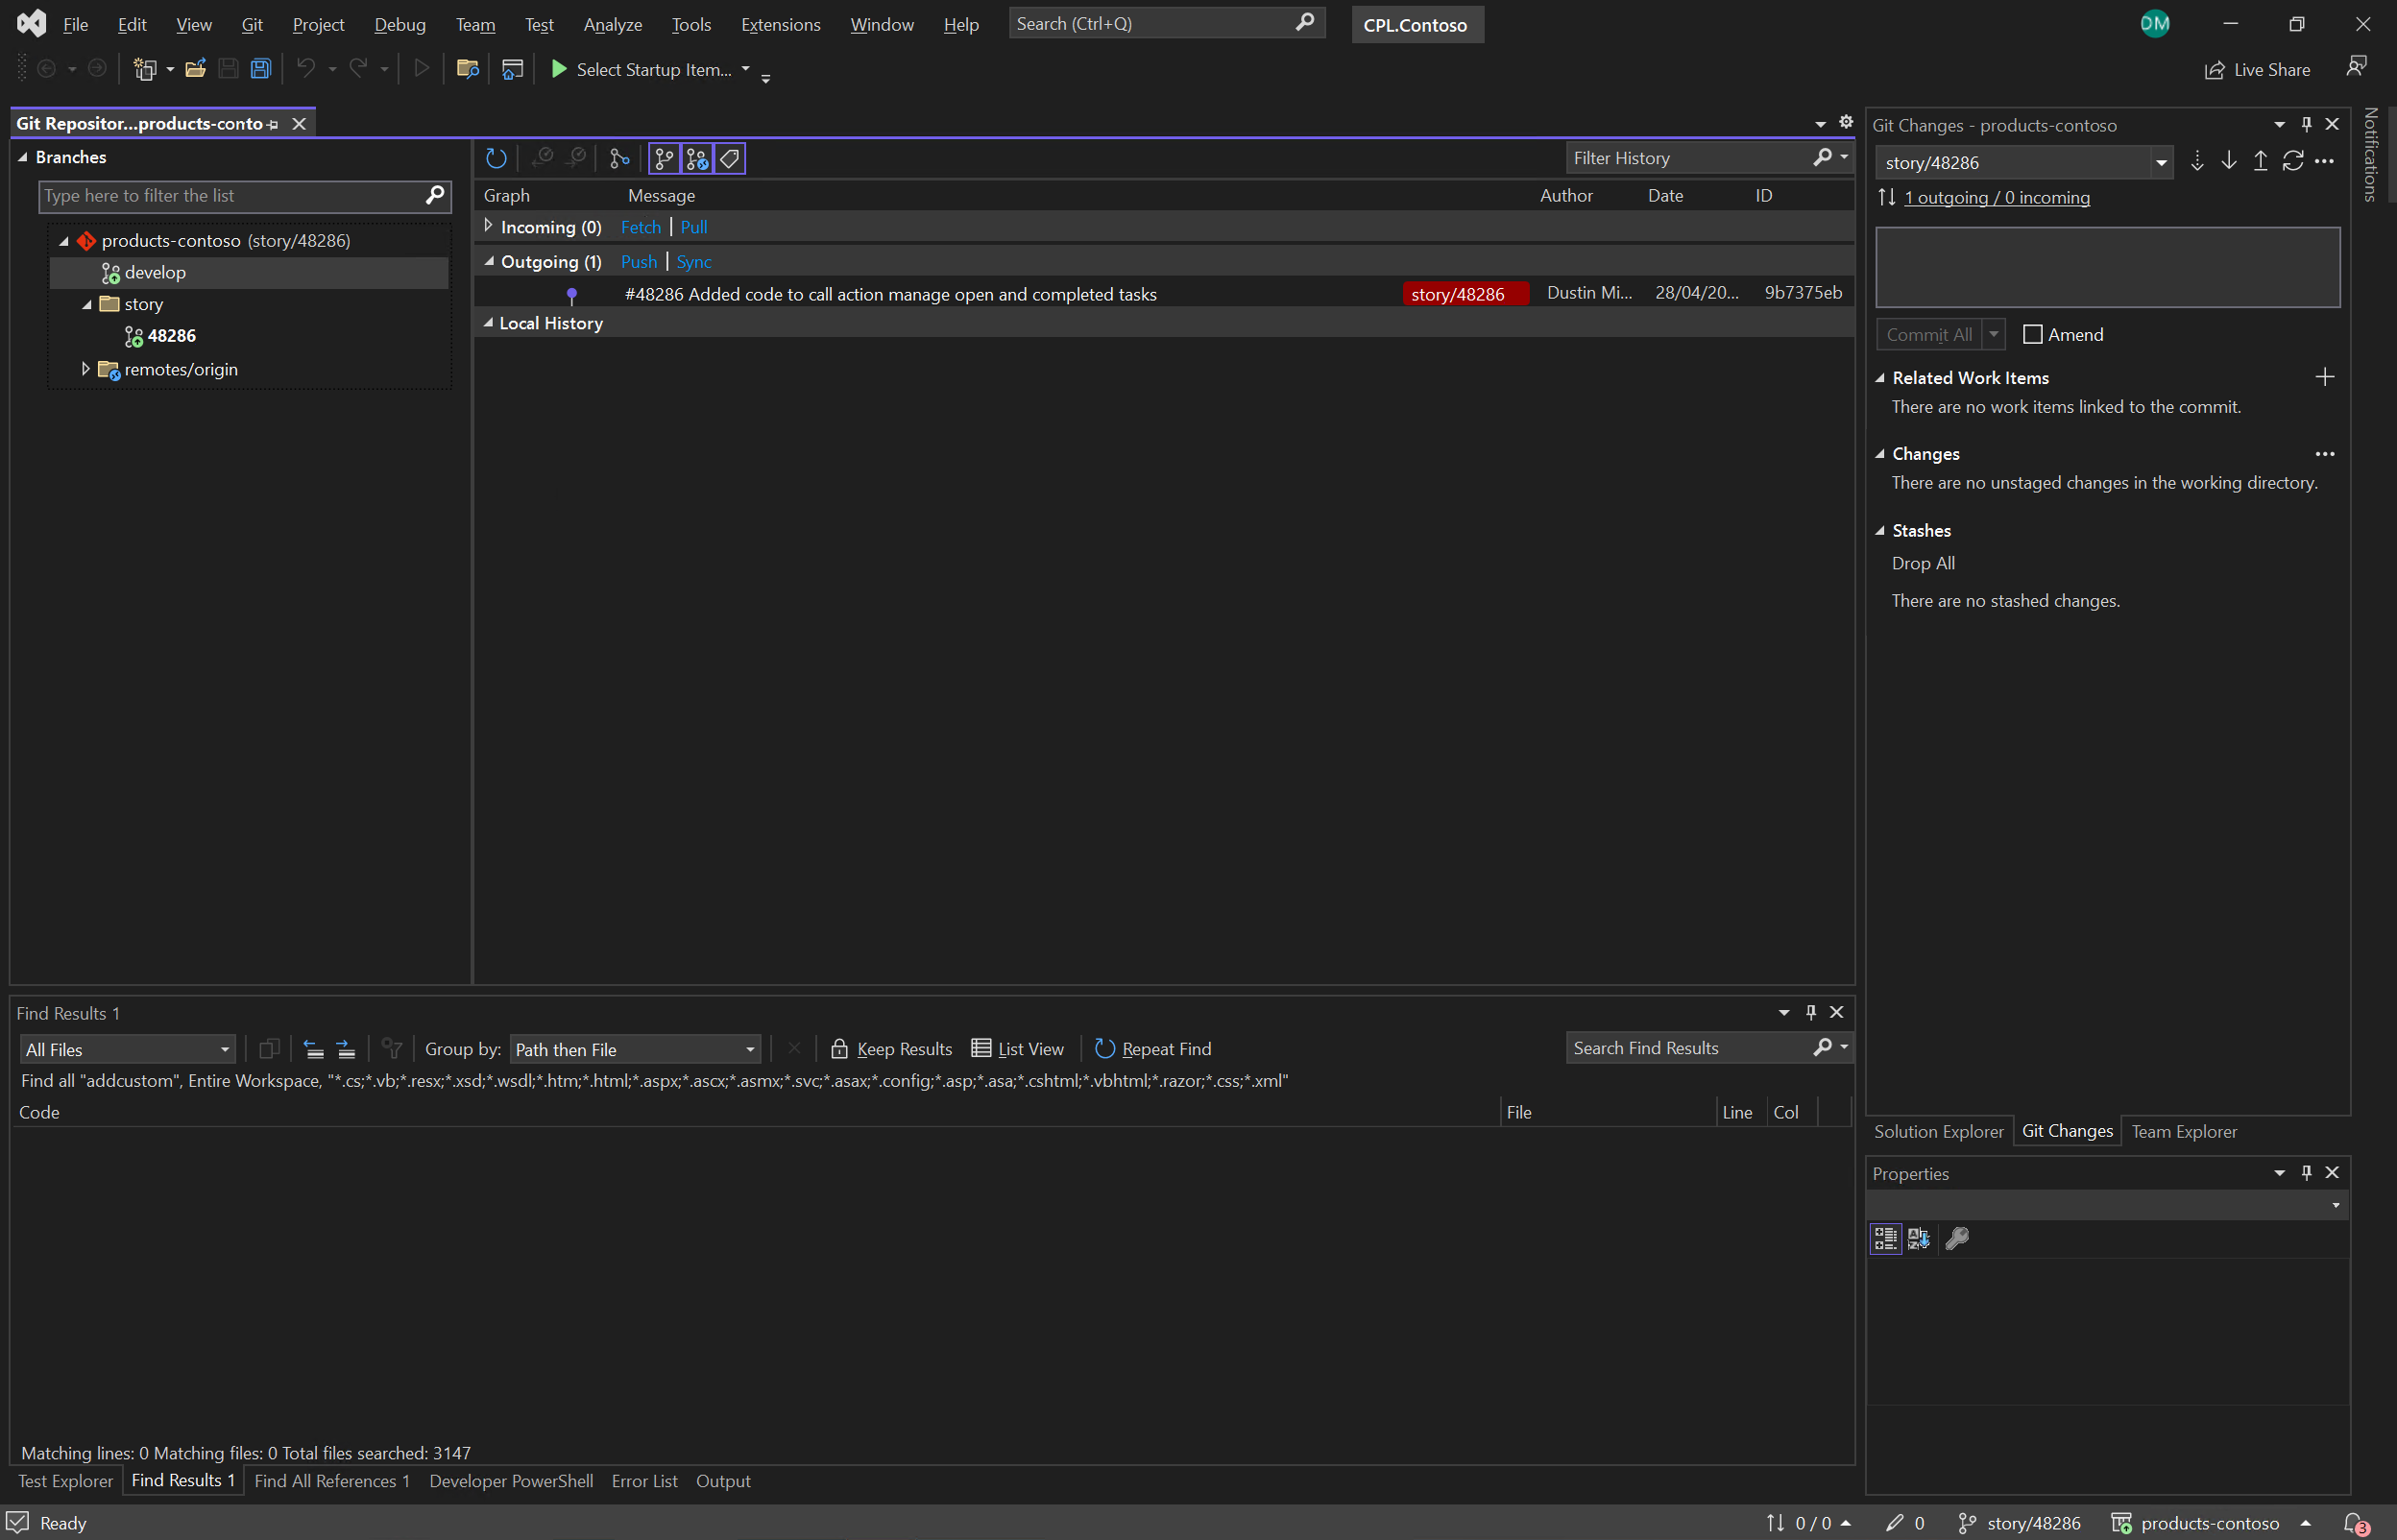
5.) Push changes in the user story branch
Pushing the commit (Figure 7) results in the user story branch ‘story/48286’ being created in the Azure DevOps repository ‘products-contoso’ (Figure 8)
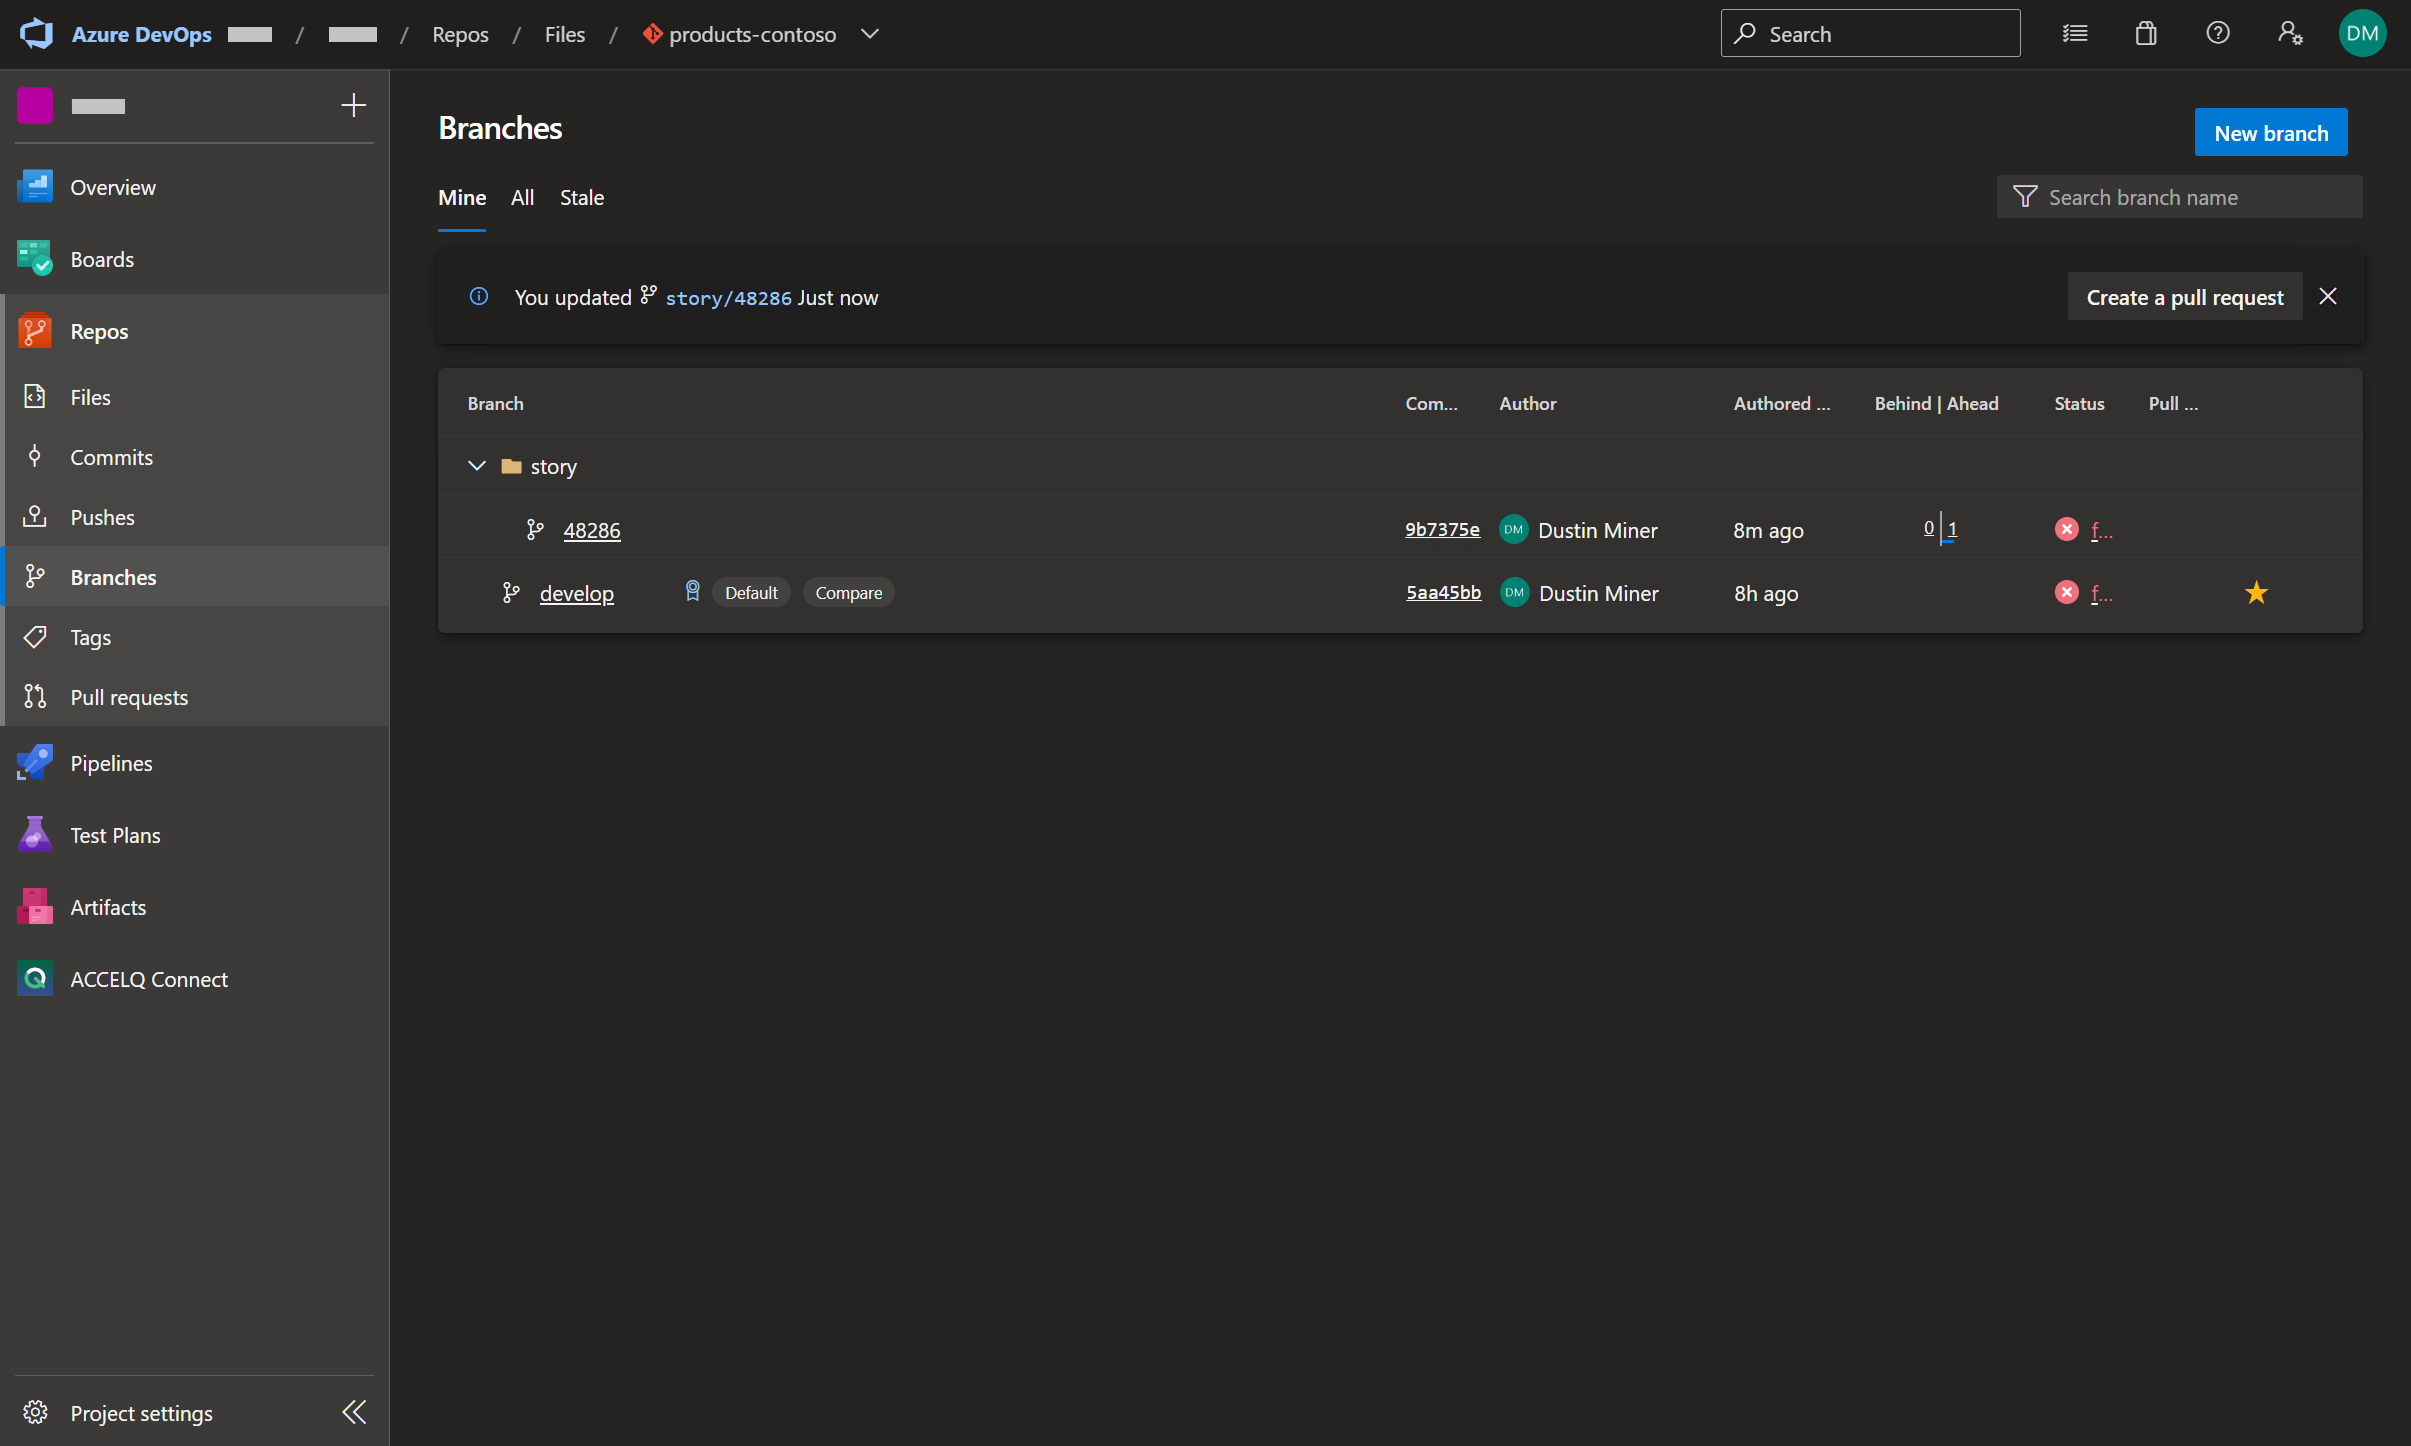
6.) Create pull request
The changes in user story branch ‘story/48286’ are now ready to be placed in a pull request. Once the pull request is complete, the user story branch is merged into the develop branch within Azure DevOps repos ‘products-contoso’
7.) Further changes
Consider the situation where, in a few days’ time, another change needs to be made to the user story. The developer could make the changes in the existing user story branch. However, there could be merge issues when the user story feature branch is updated with the latest changes from the develop branch. If this is the case, it might be easier to abort the merge and create a new user story branch containing the latest changes.
Further reading
References
https://davidregalado255.medium.com/what-is-gitflow-b3396770cd42
https://learn.microsoft.com/en-us/azure/devops/repos/git/git-branching-guidance?view=azure-devops
https://www.atlassian.com/git/tutorials/comparing-workflows/gitflow-workflow