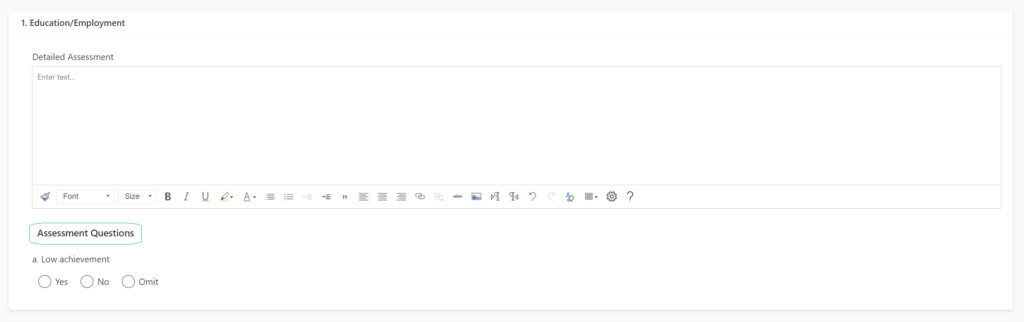
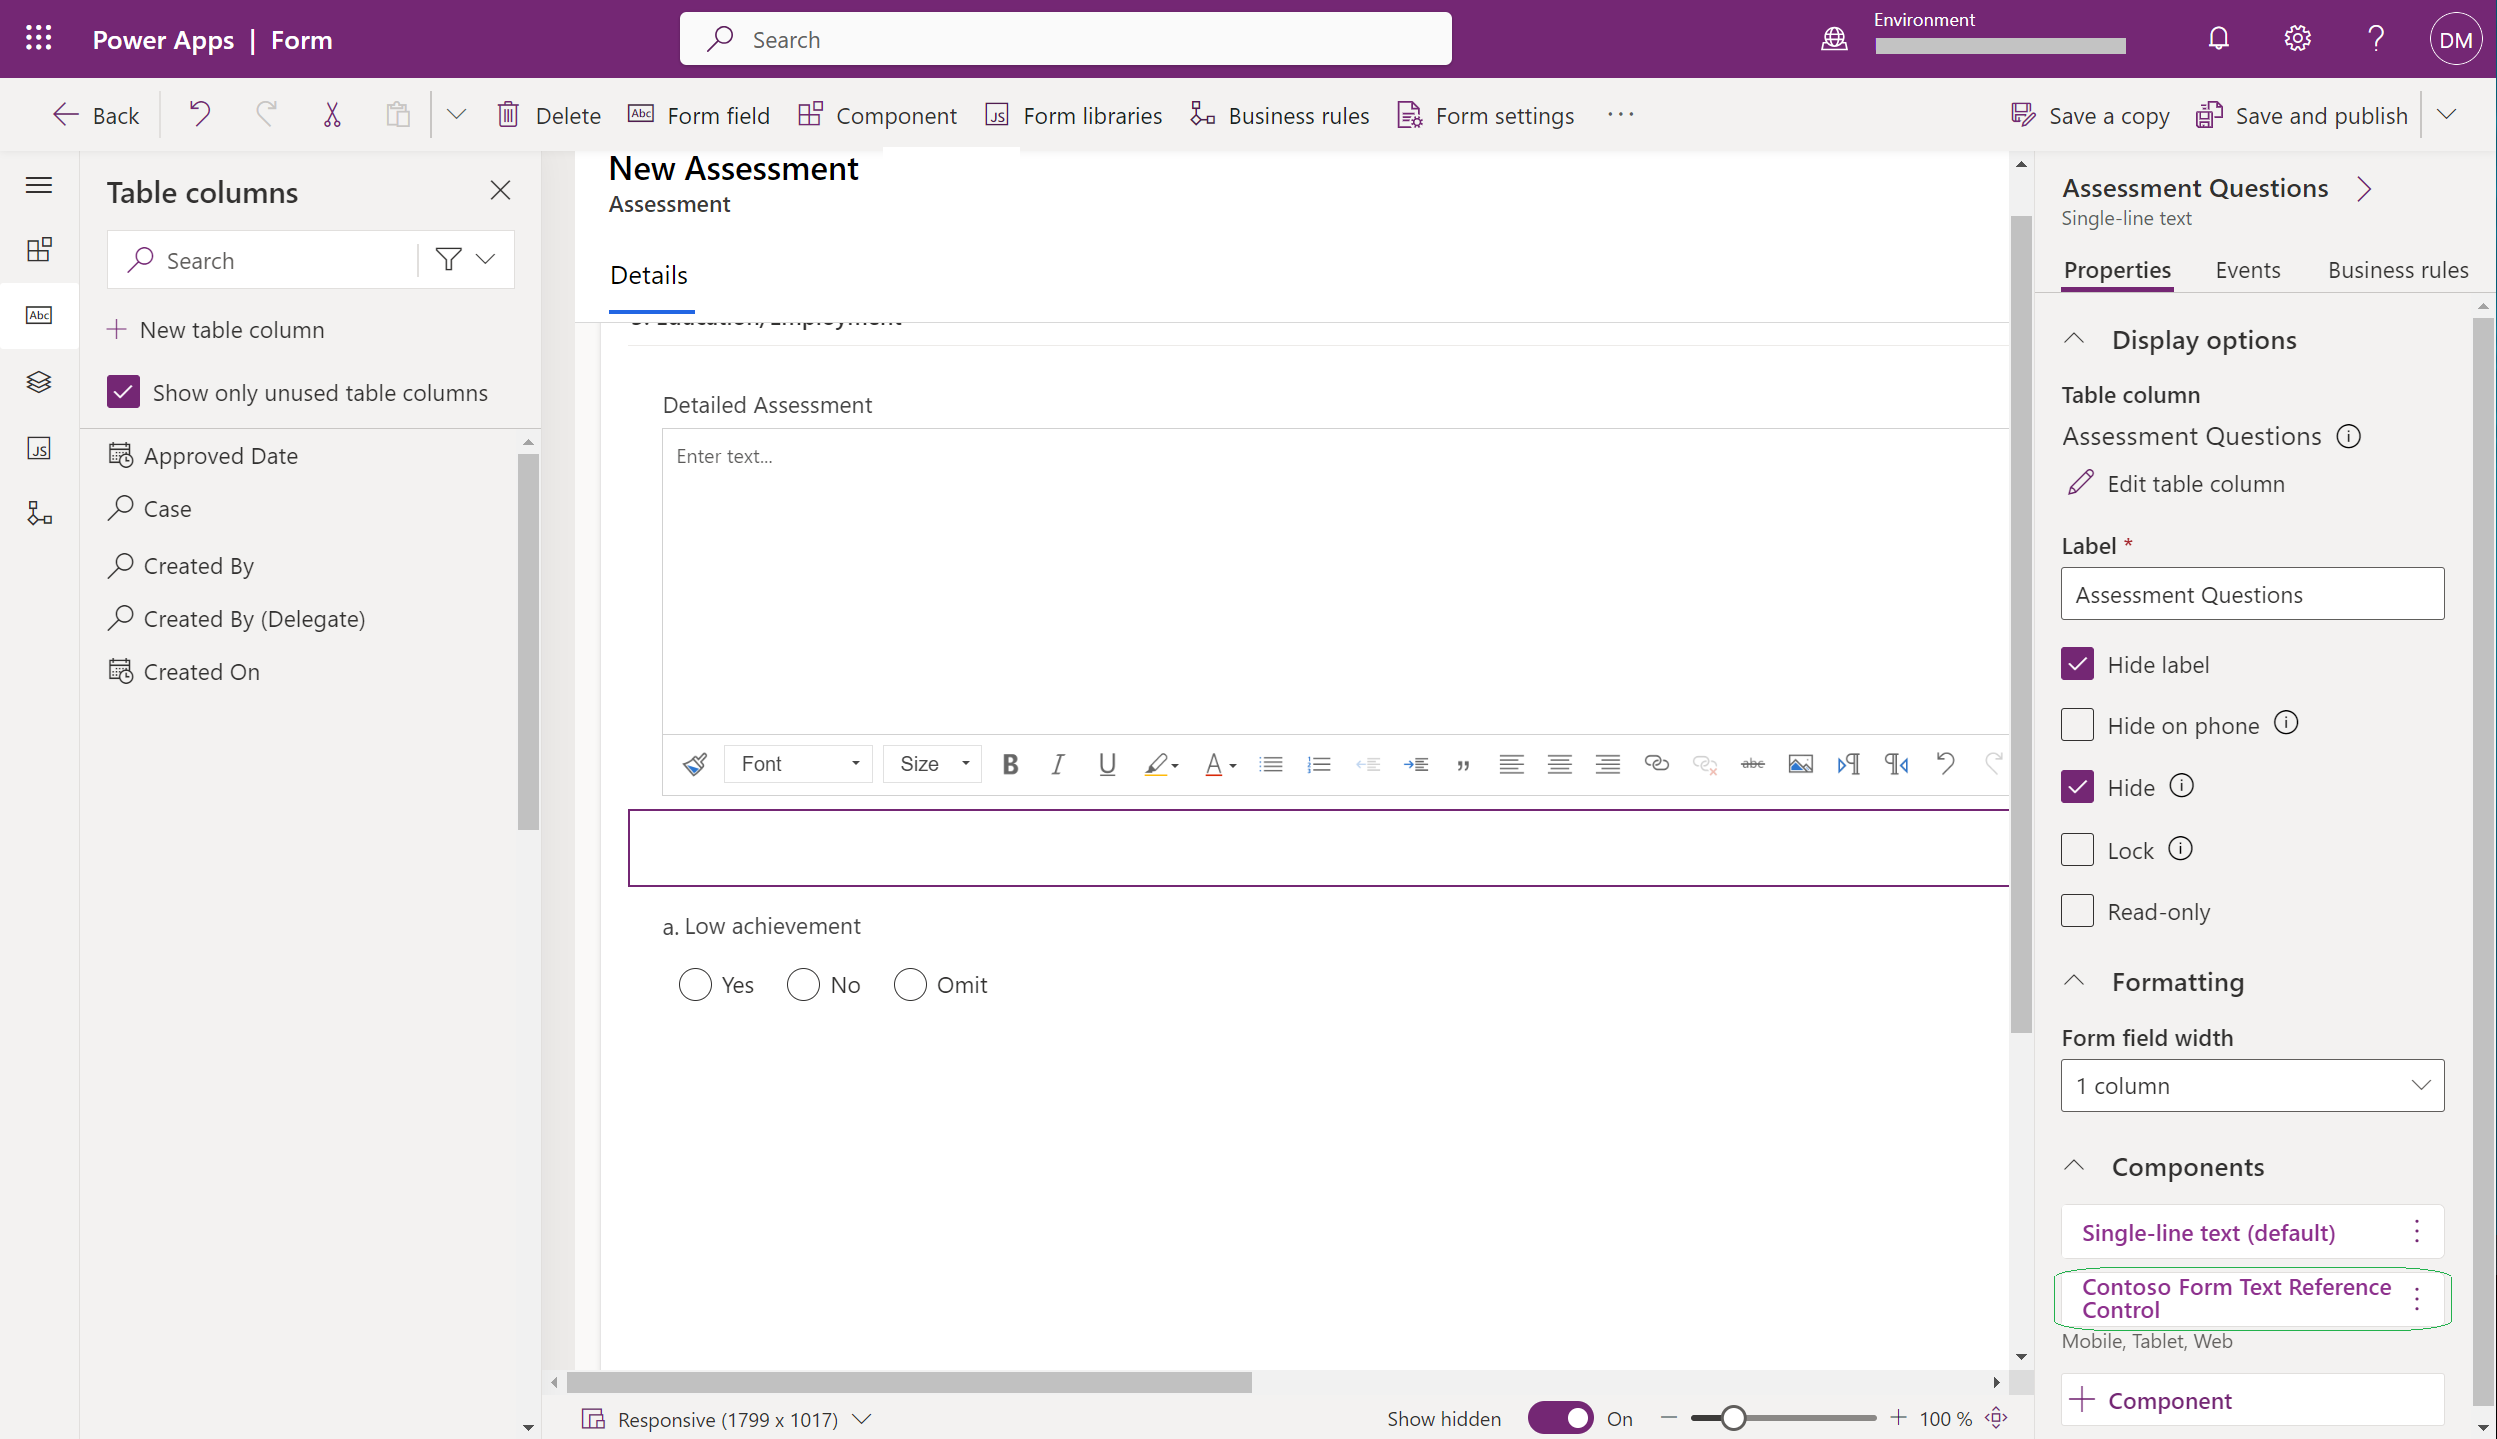
The post describes the steps involved in creating and deploying a simple PCF control (the control is circled in green in Figure 2).
Consider the requirement to place labels on a form. One way to do this is to place an OOTB read only textbox on the form and populate the text box with the label text (see Figure 1). (The label text being retrieved from an entity called cpl_formtextreference (see Figure 15).)
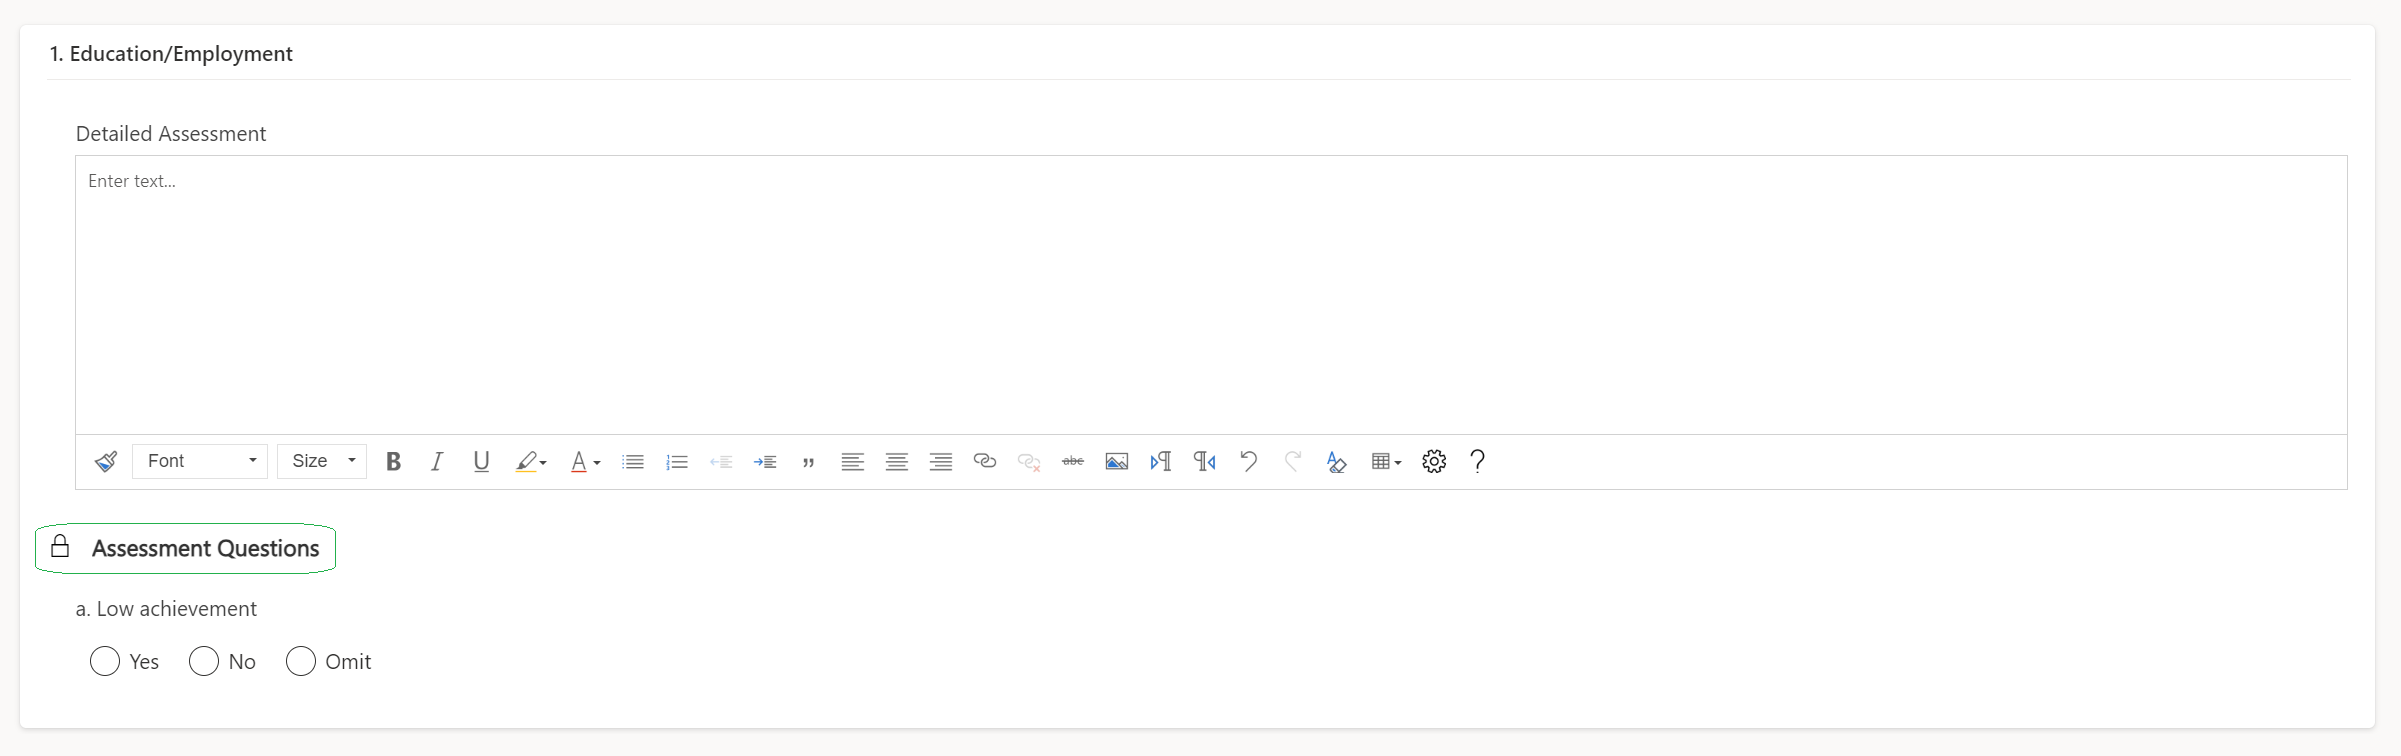
Figure 2 displays a PCF control that will be created in this post. The benefit of using this control is that the lock icon isn’t displayed. (This example is for demonstration purposes only as a HTML web resource would normally be used to achieve this.)
Steps
1.) Create the control
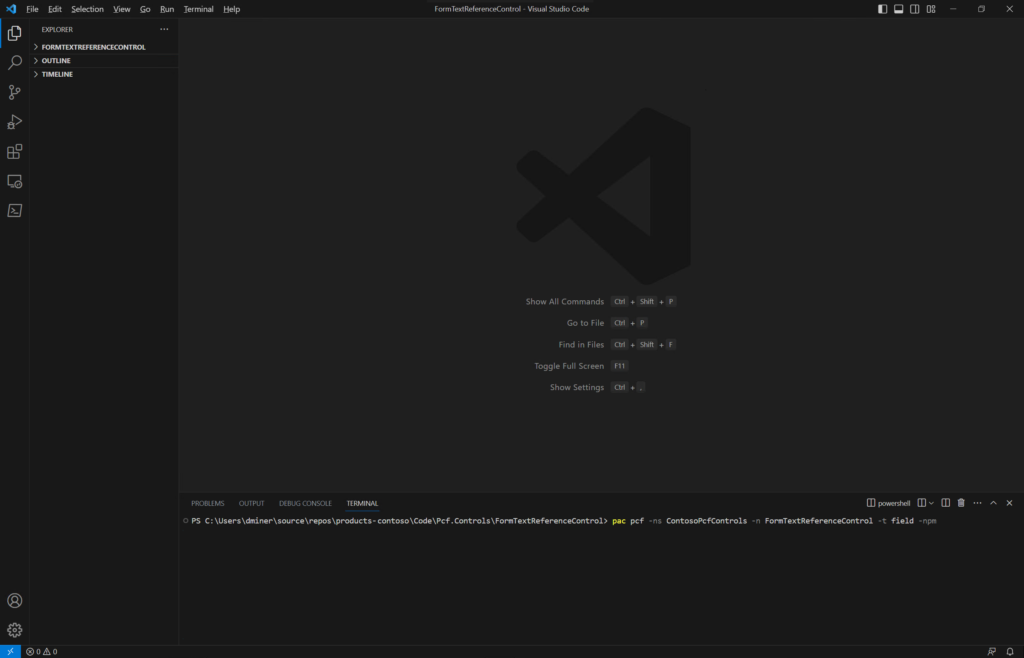
Create a folder called ‘FormTextRefererenceControl’
Within this folder, execute the command ‘pac pcf init -ns ContosoPcfControls -n FormTextReferenceControl -t field -npm’ (see Figure 3)
Execute the command ‘npm install react react-dom @fluentui/react’
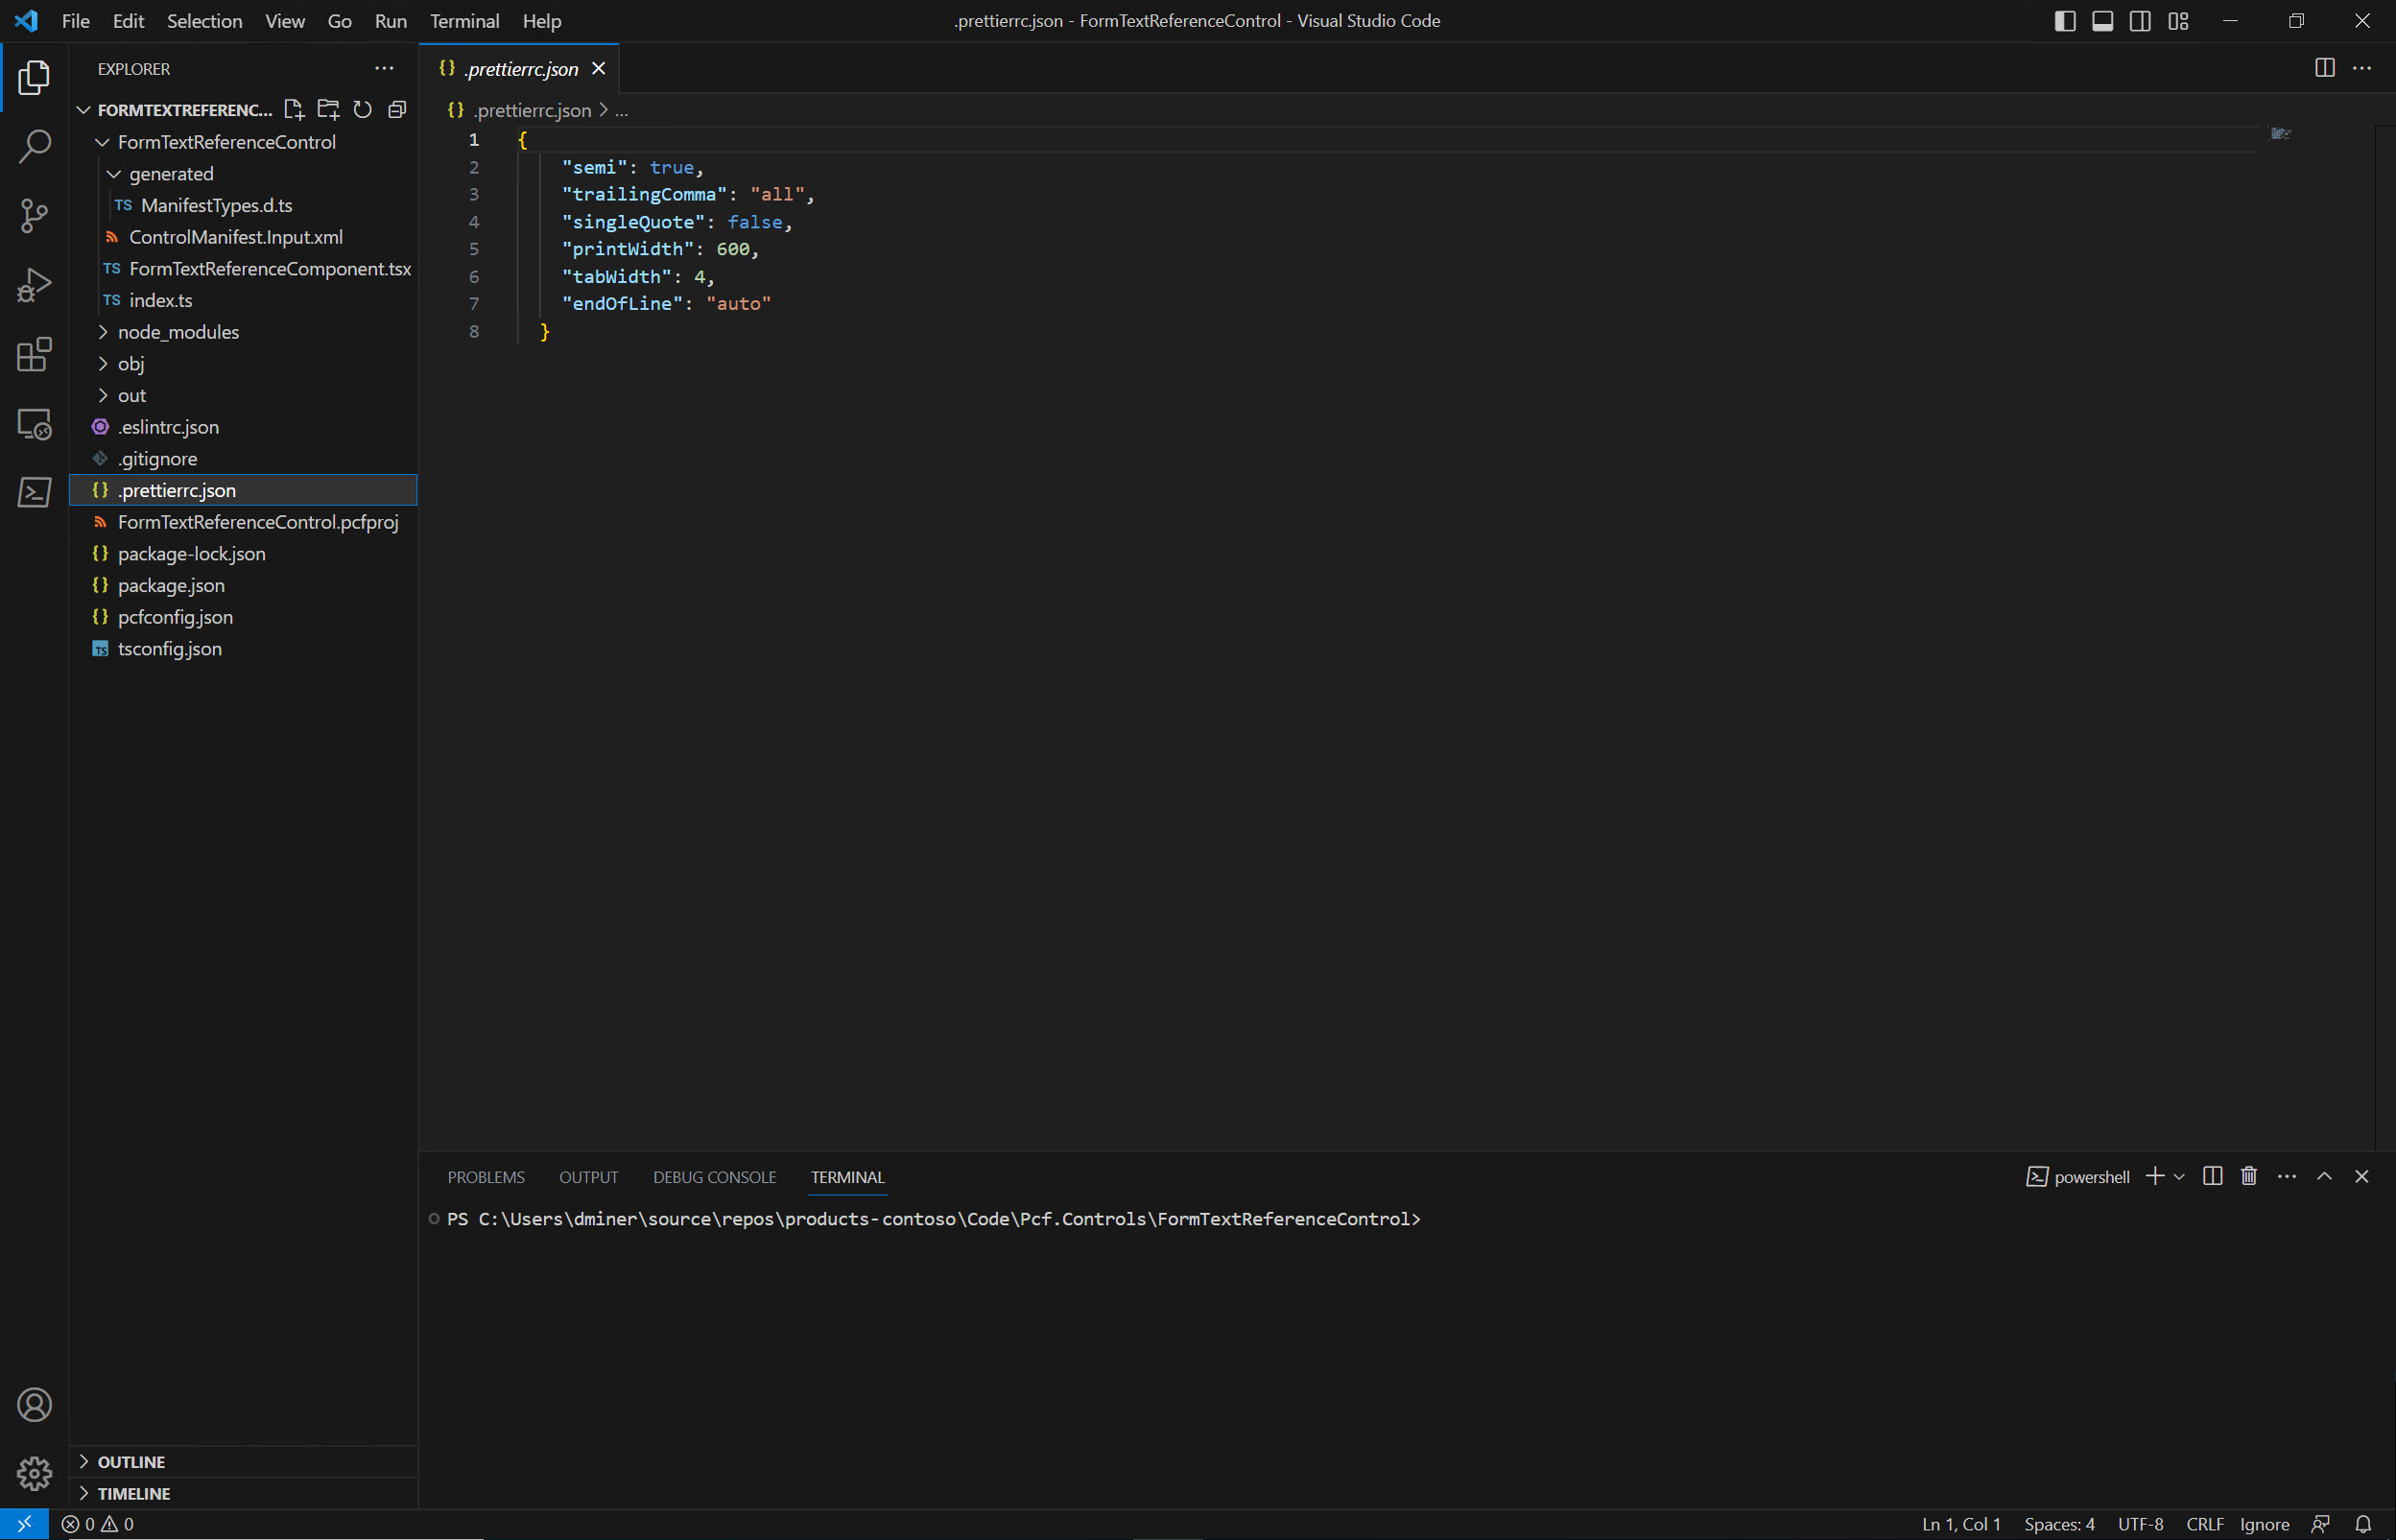
(Optional) execute the command ‘npm install –save-dev –save-exact prettier’
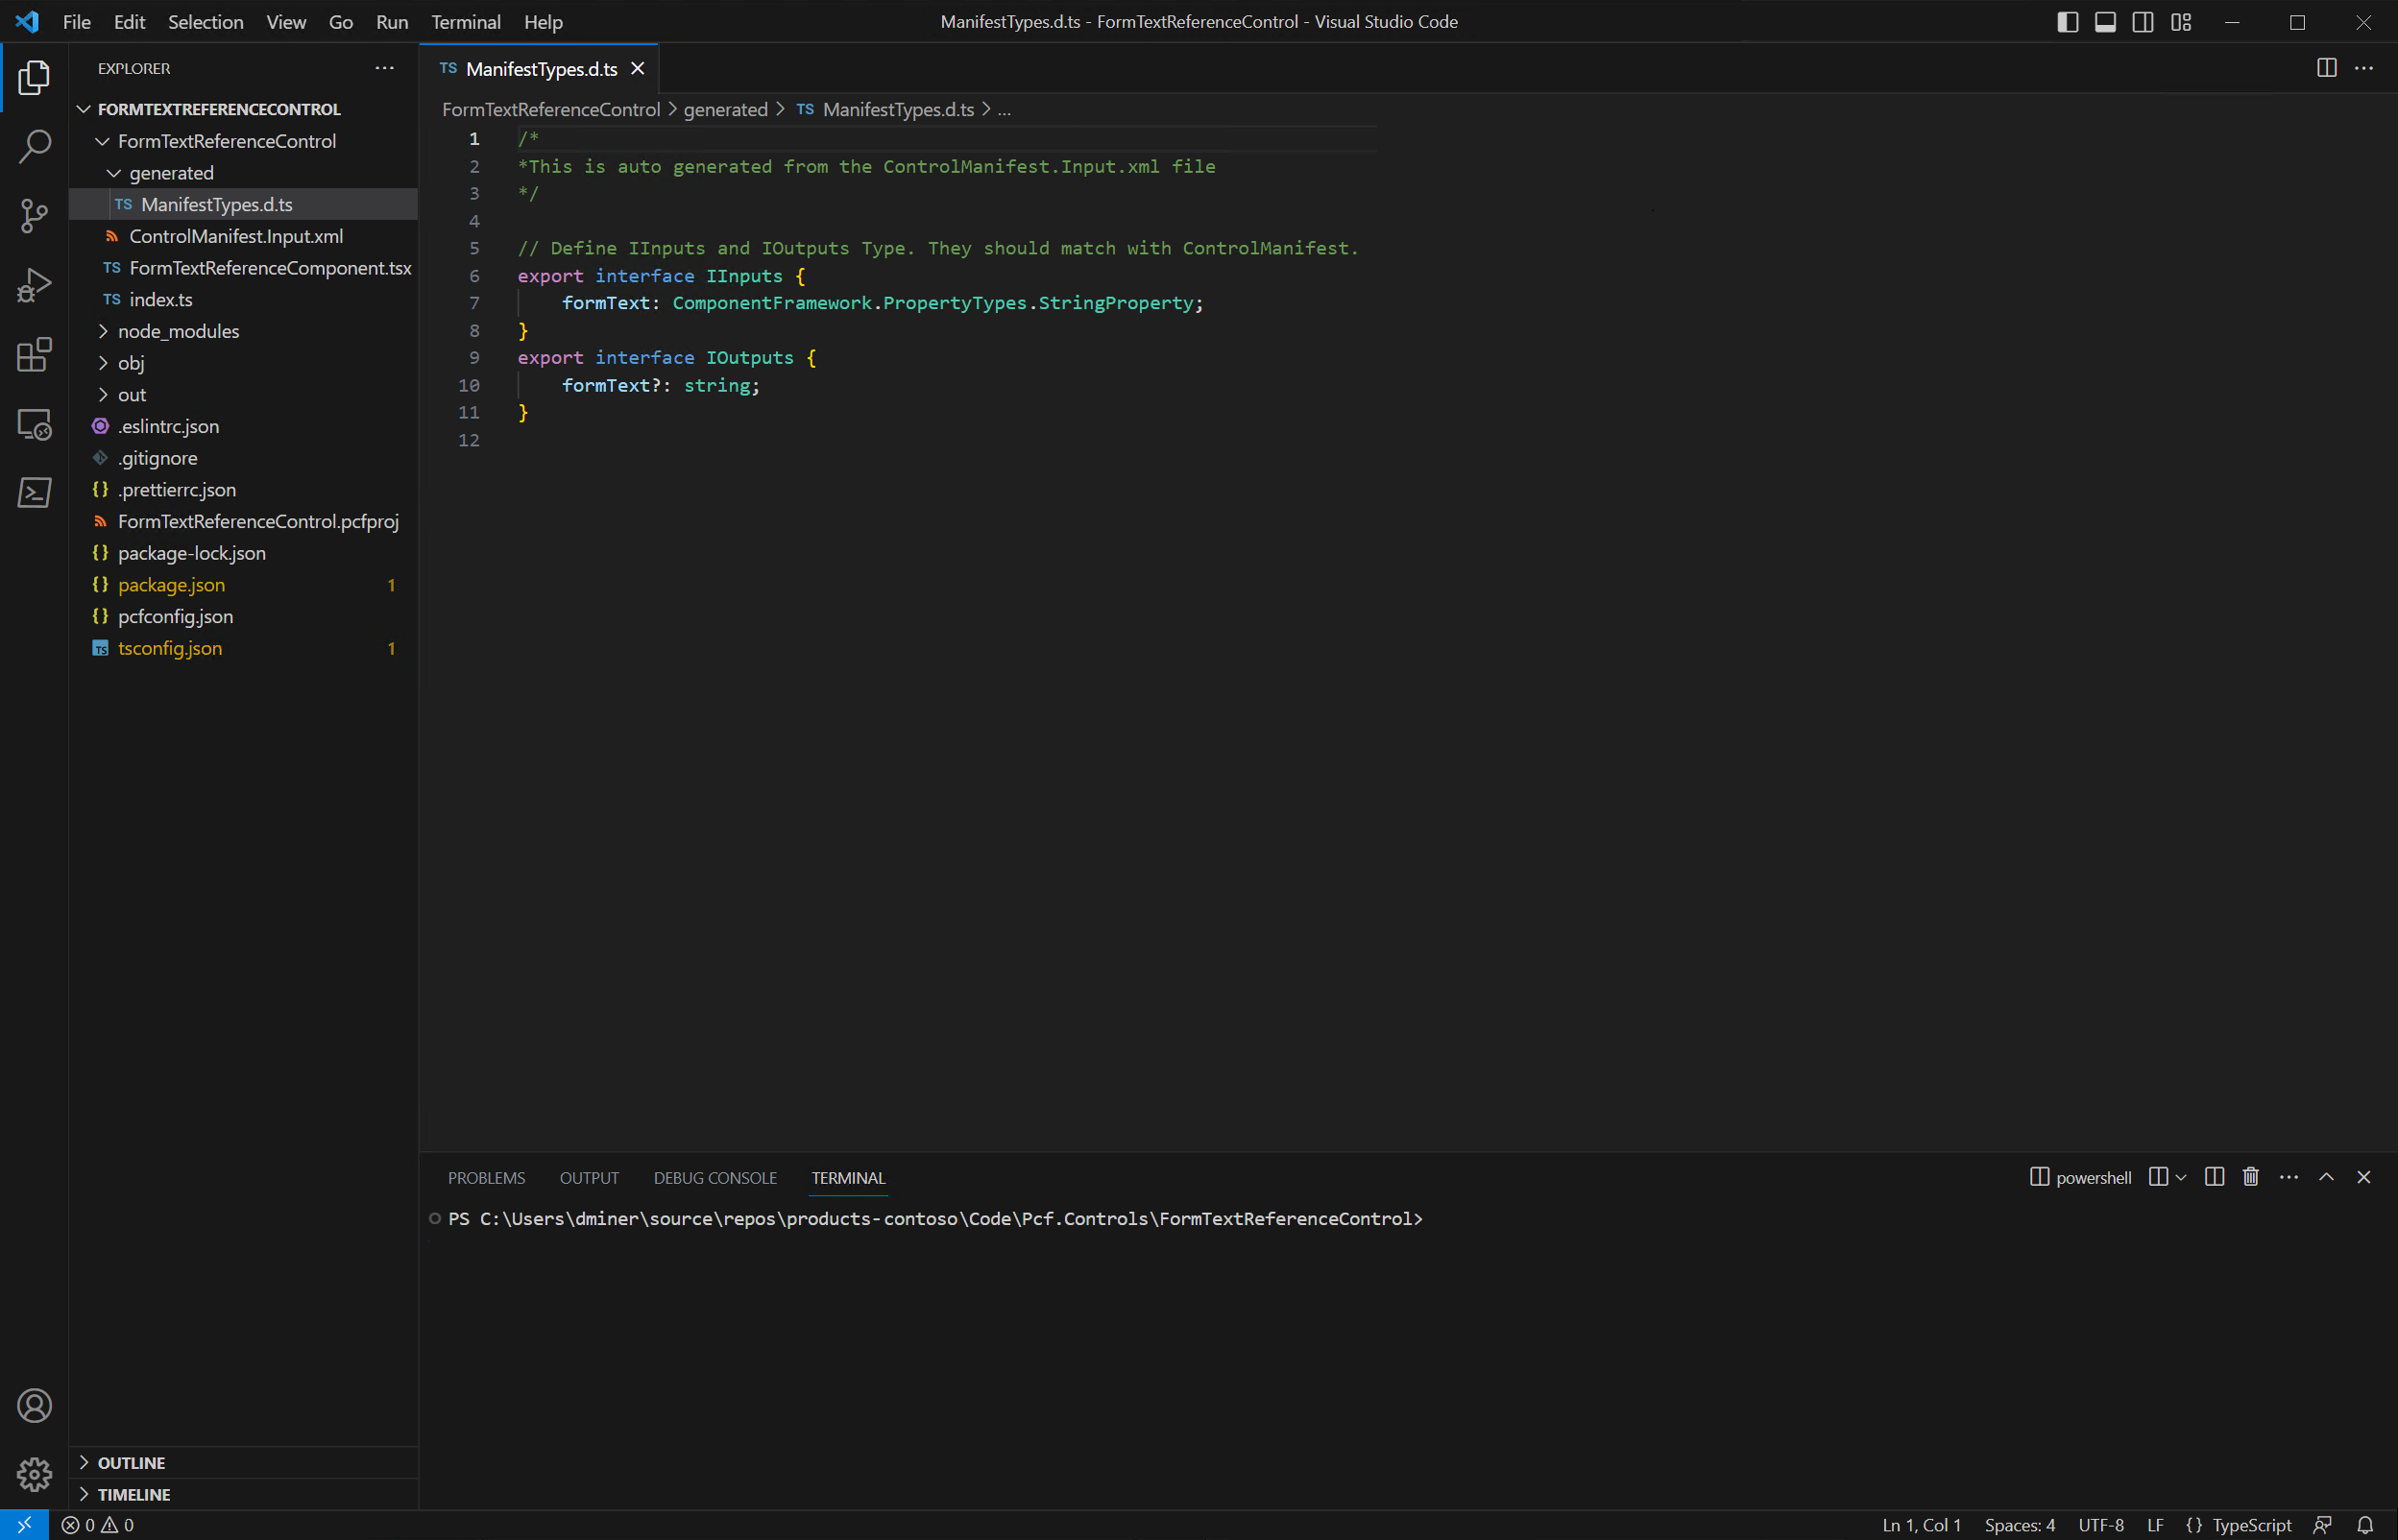
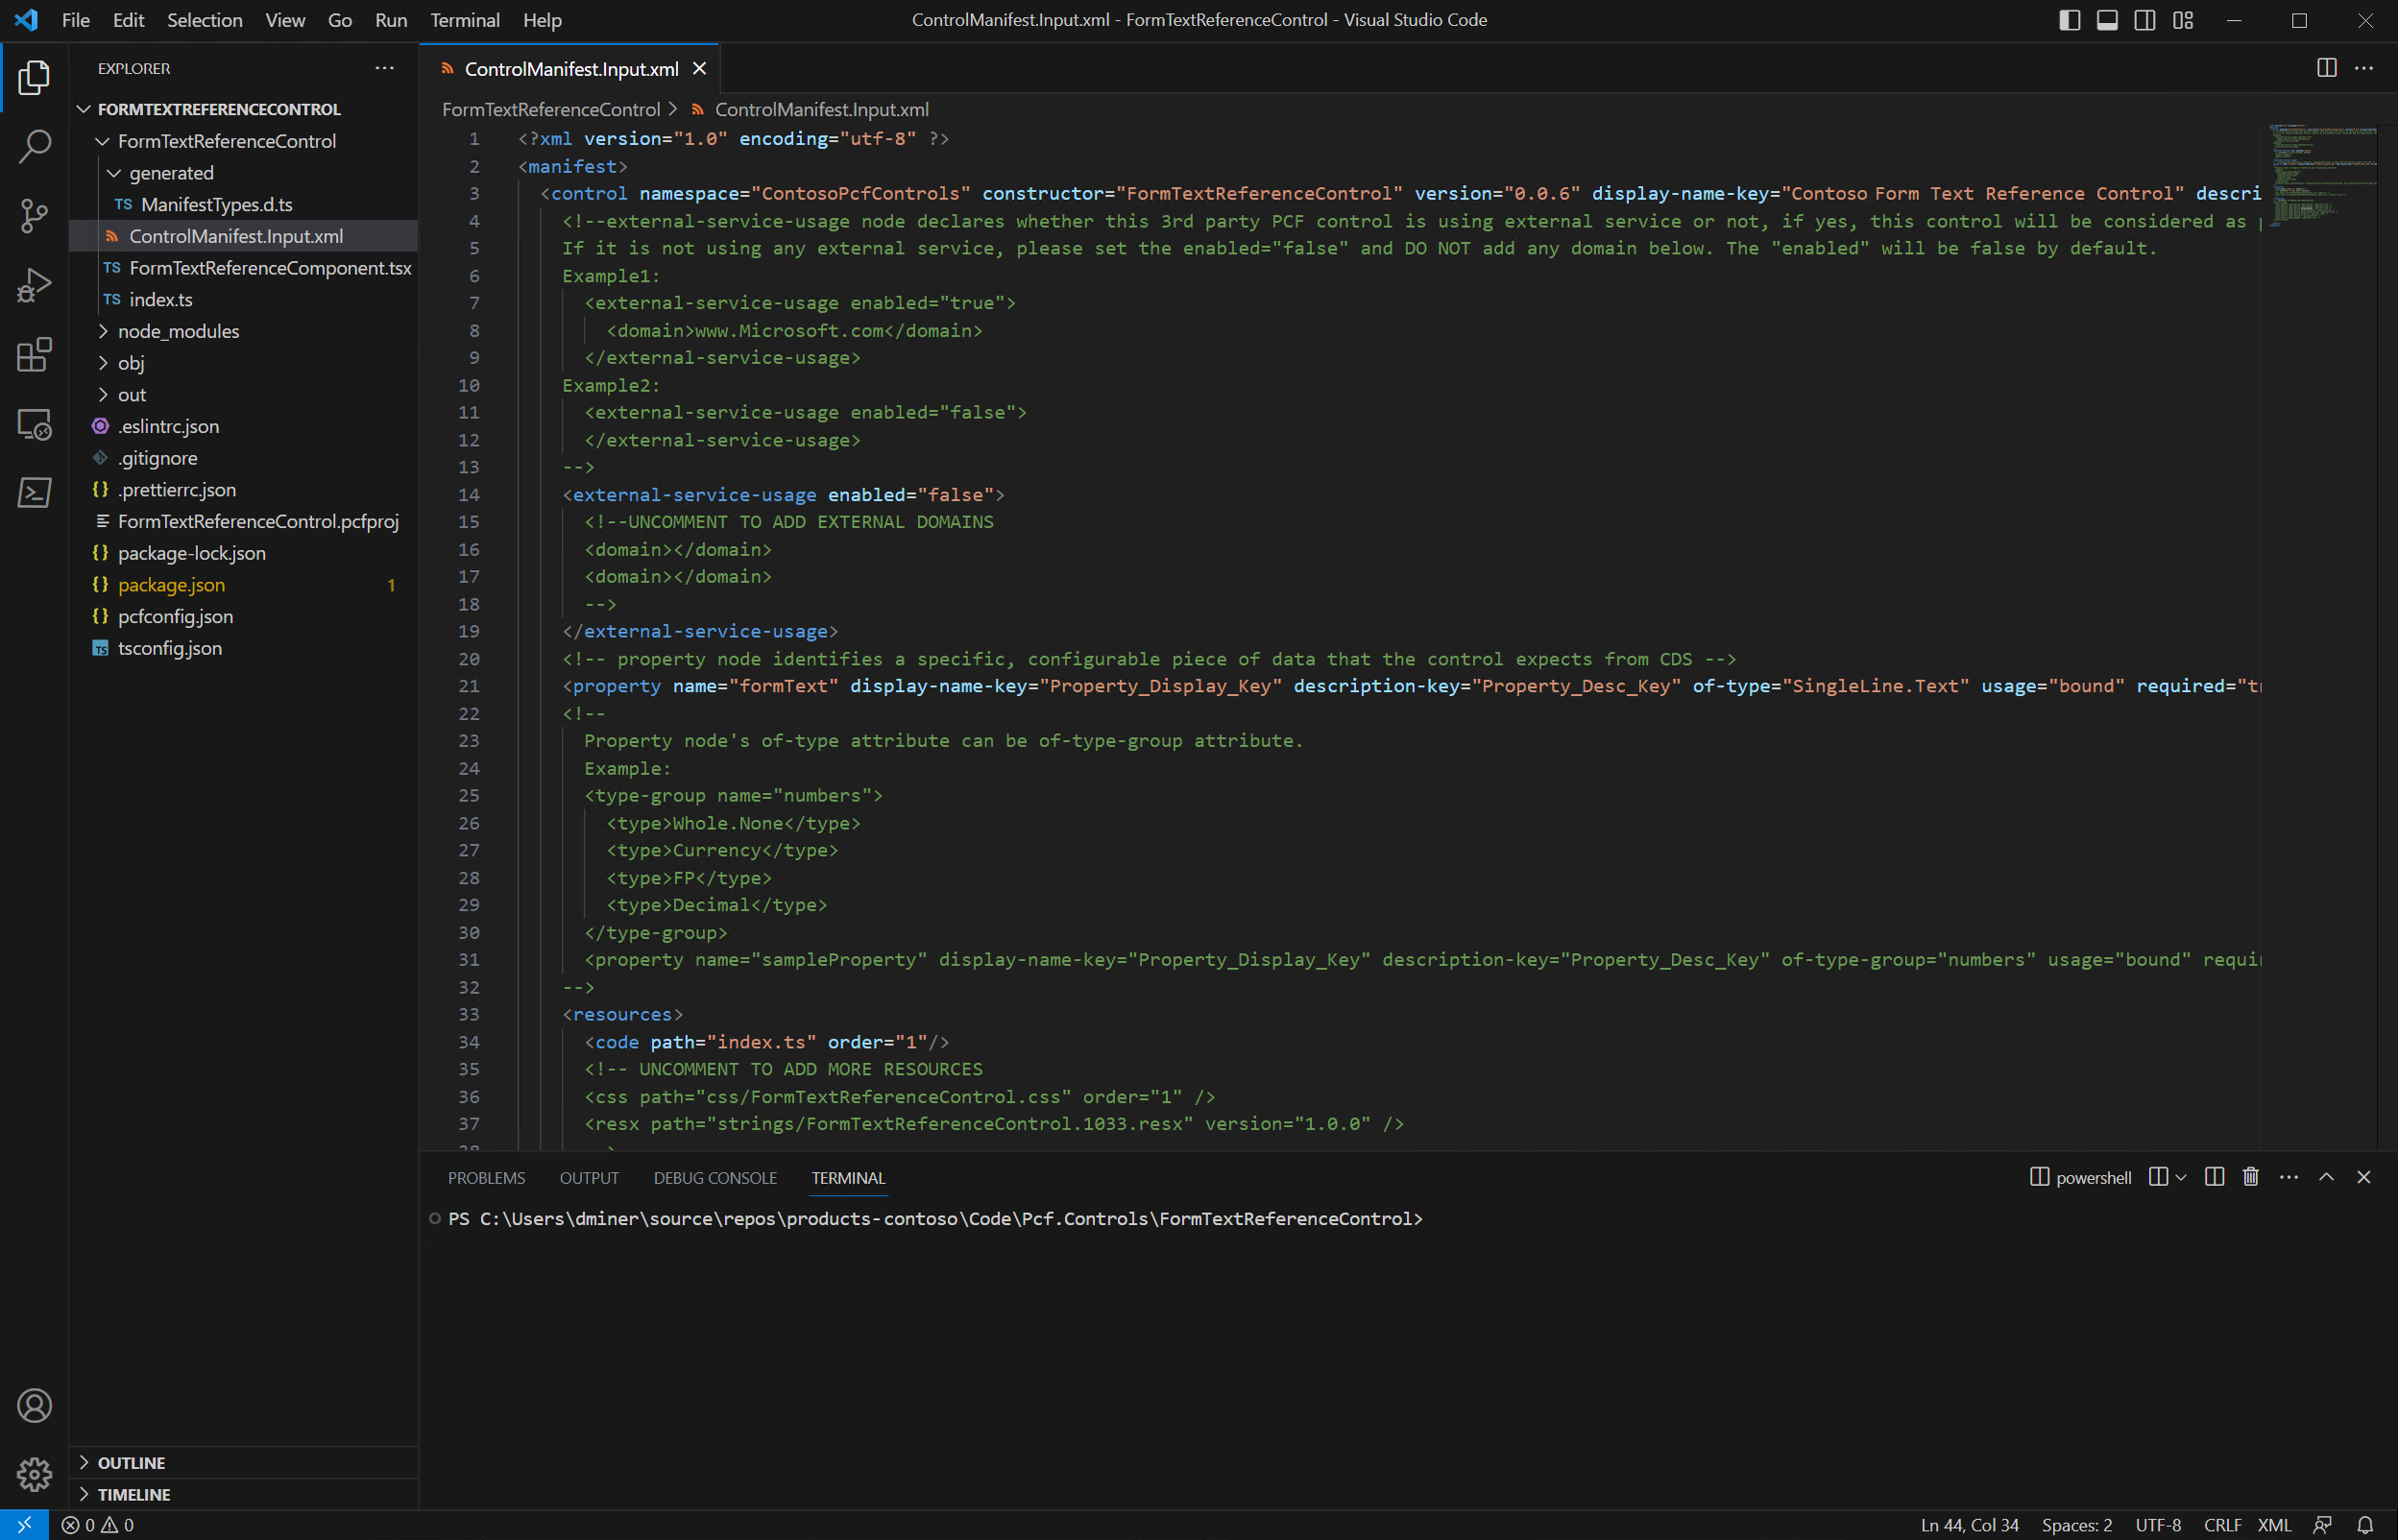
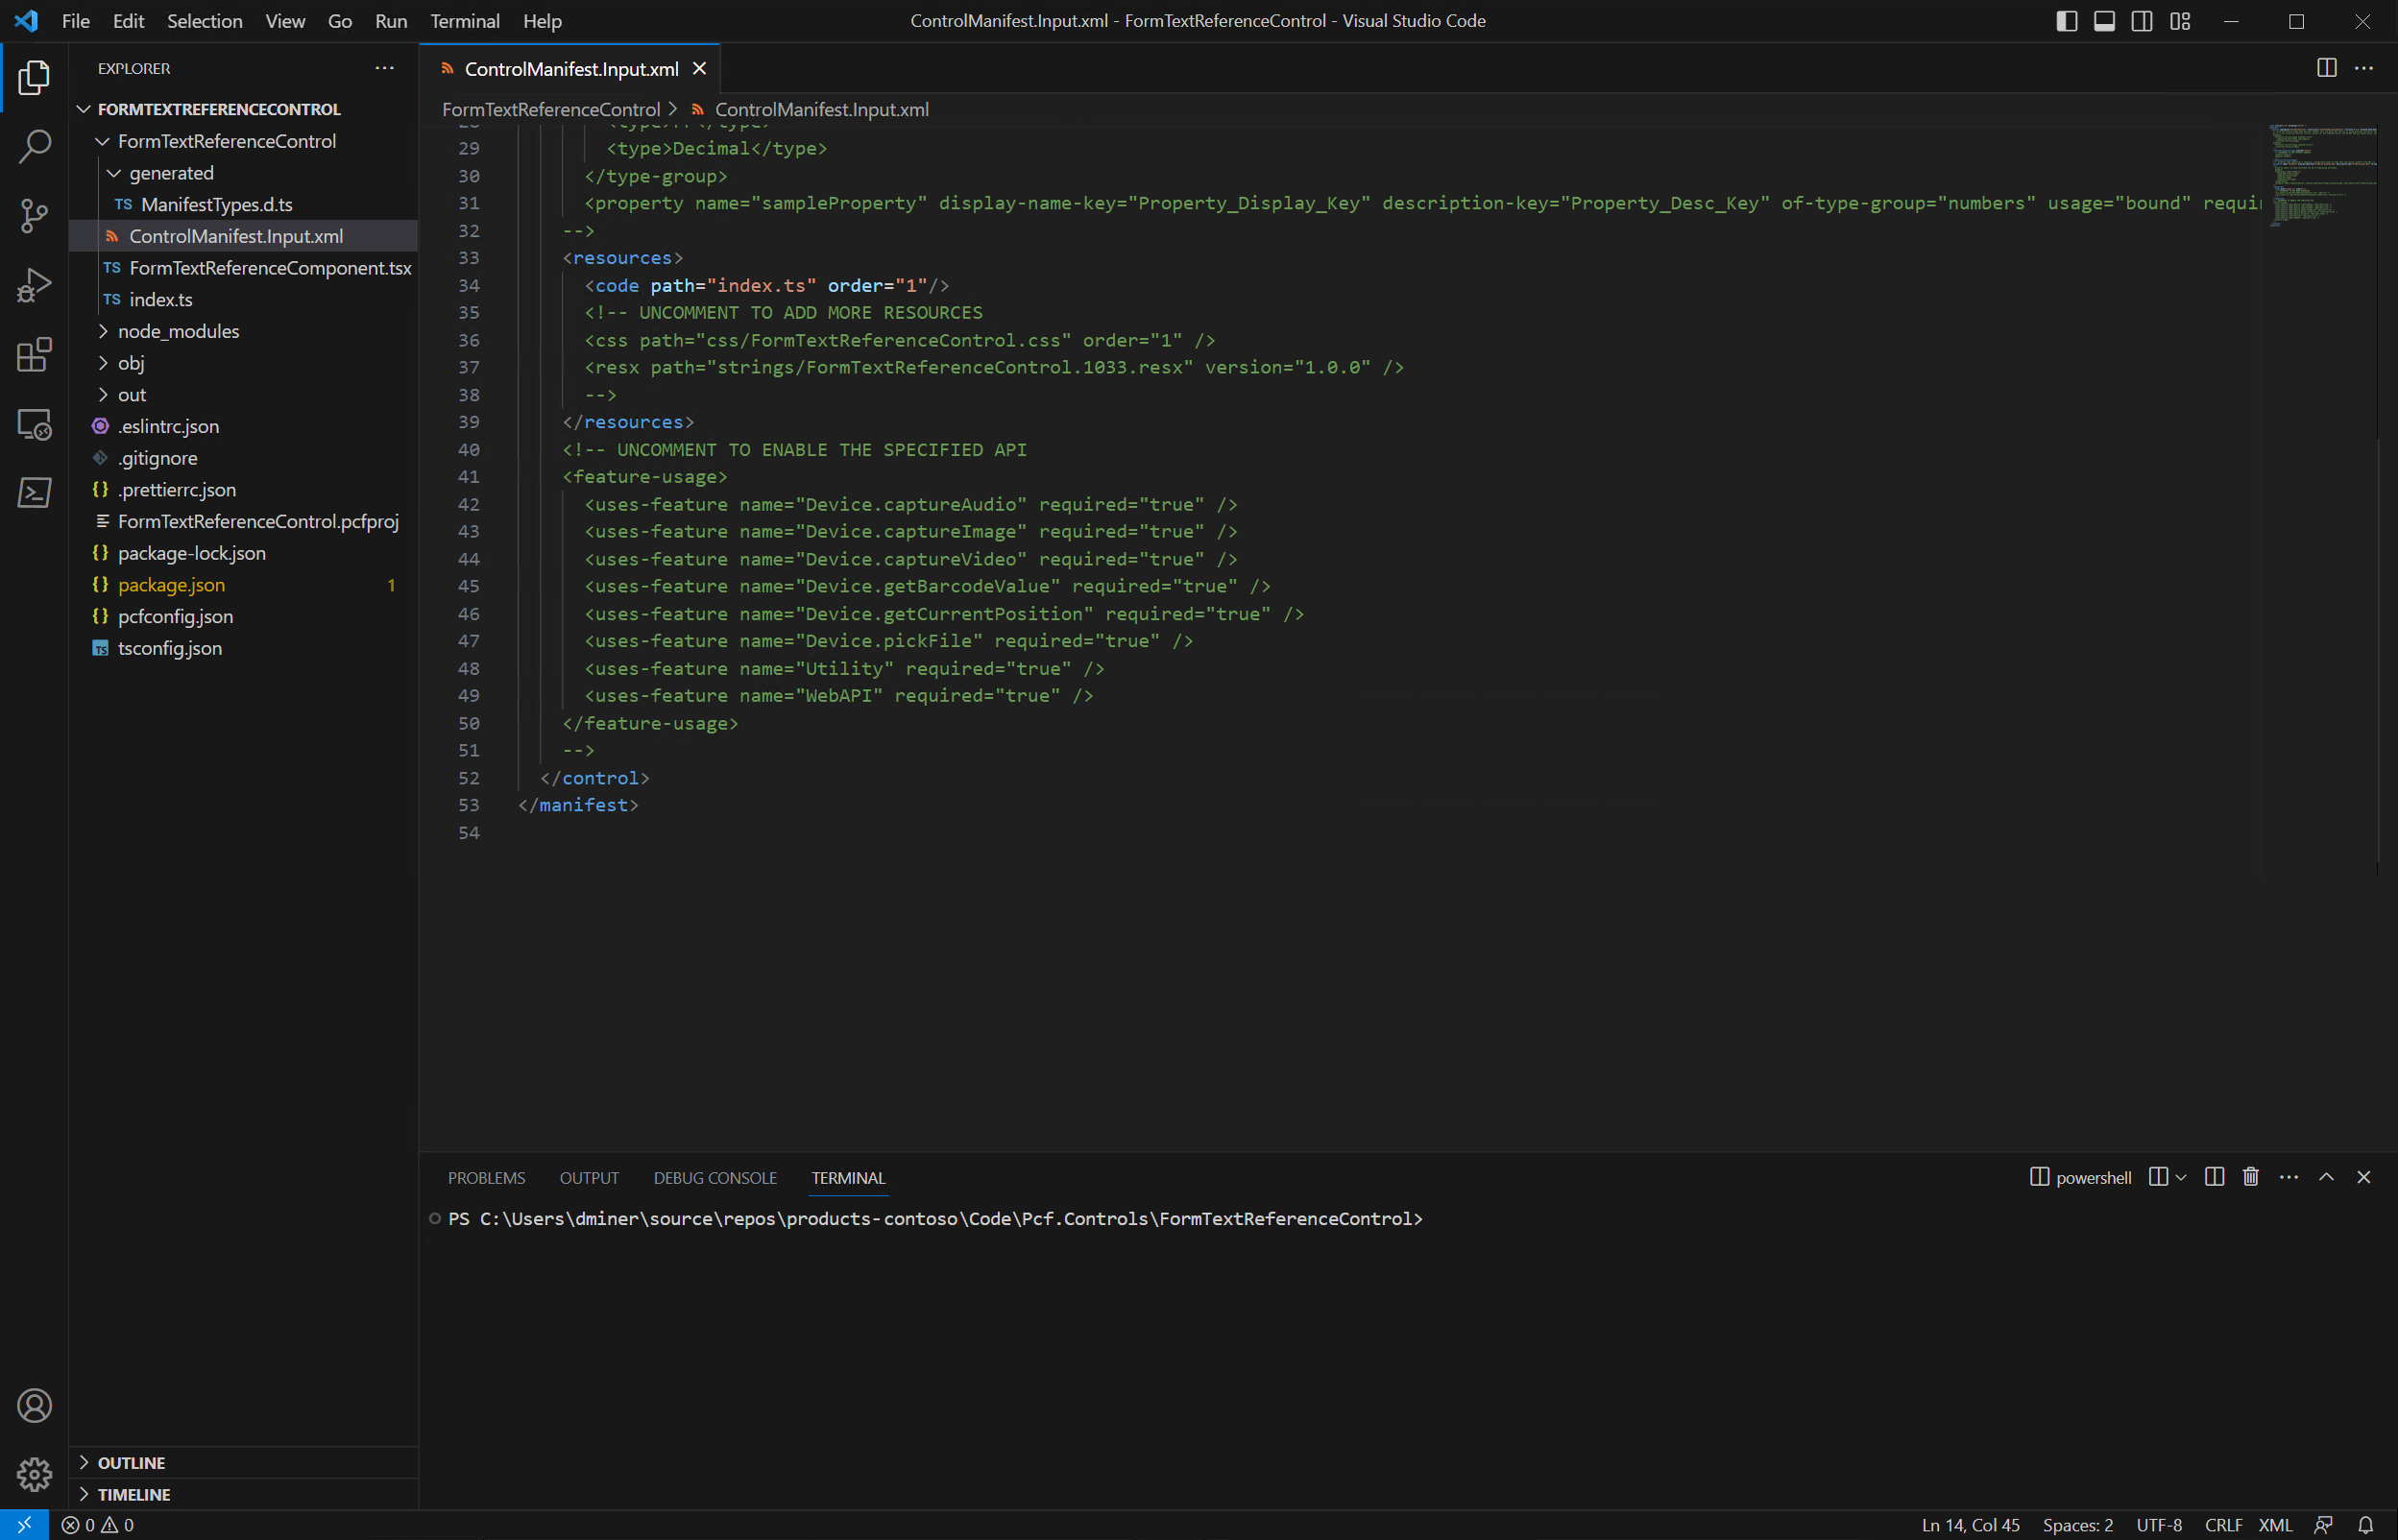
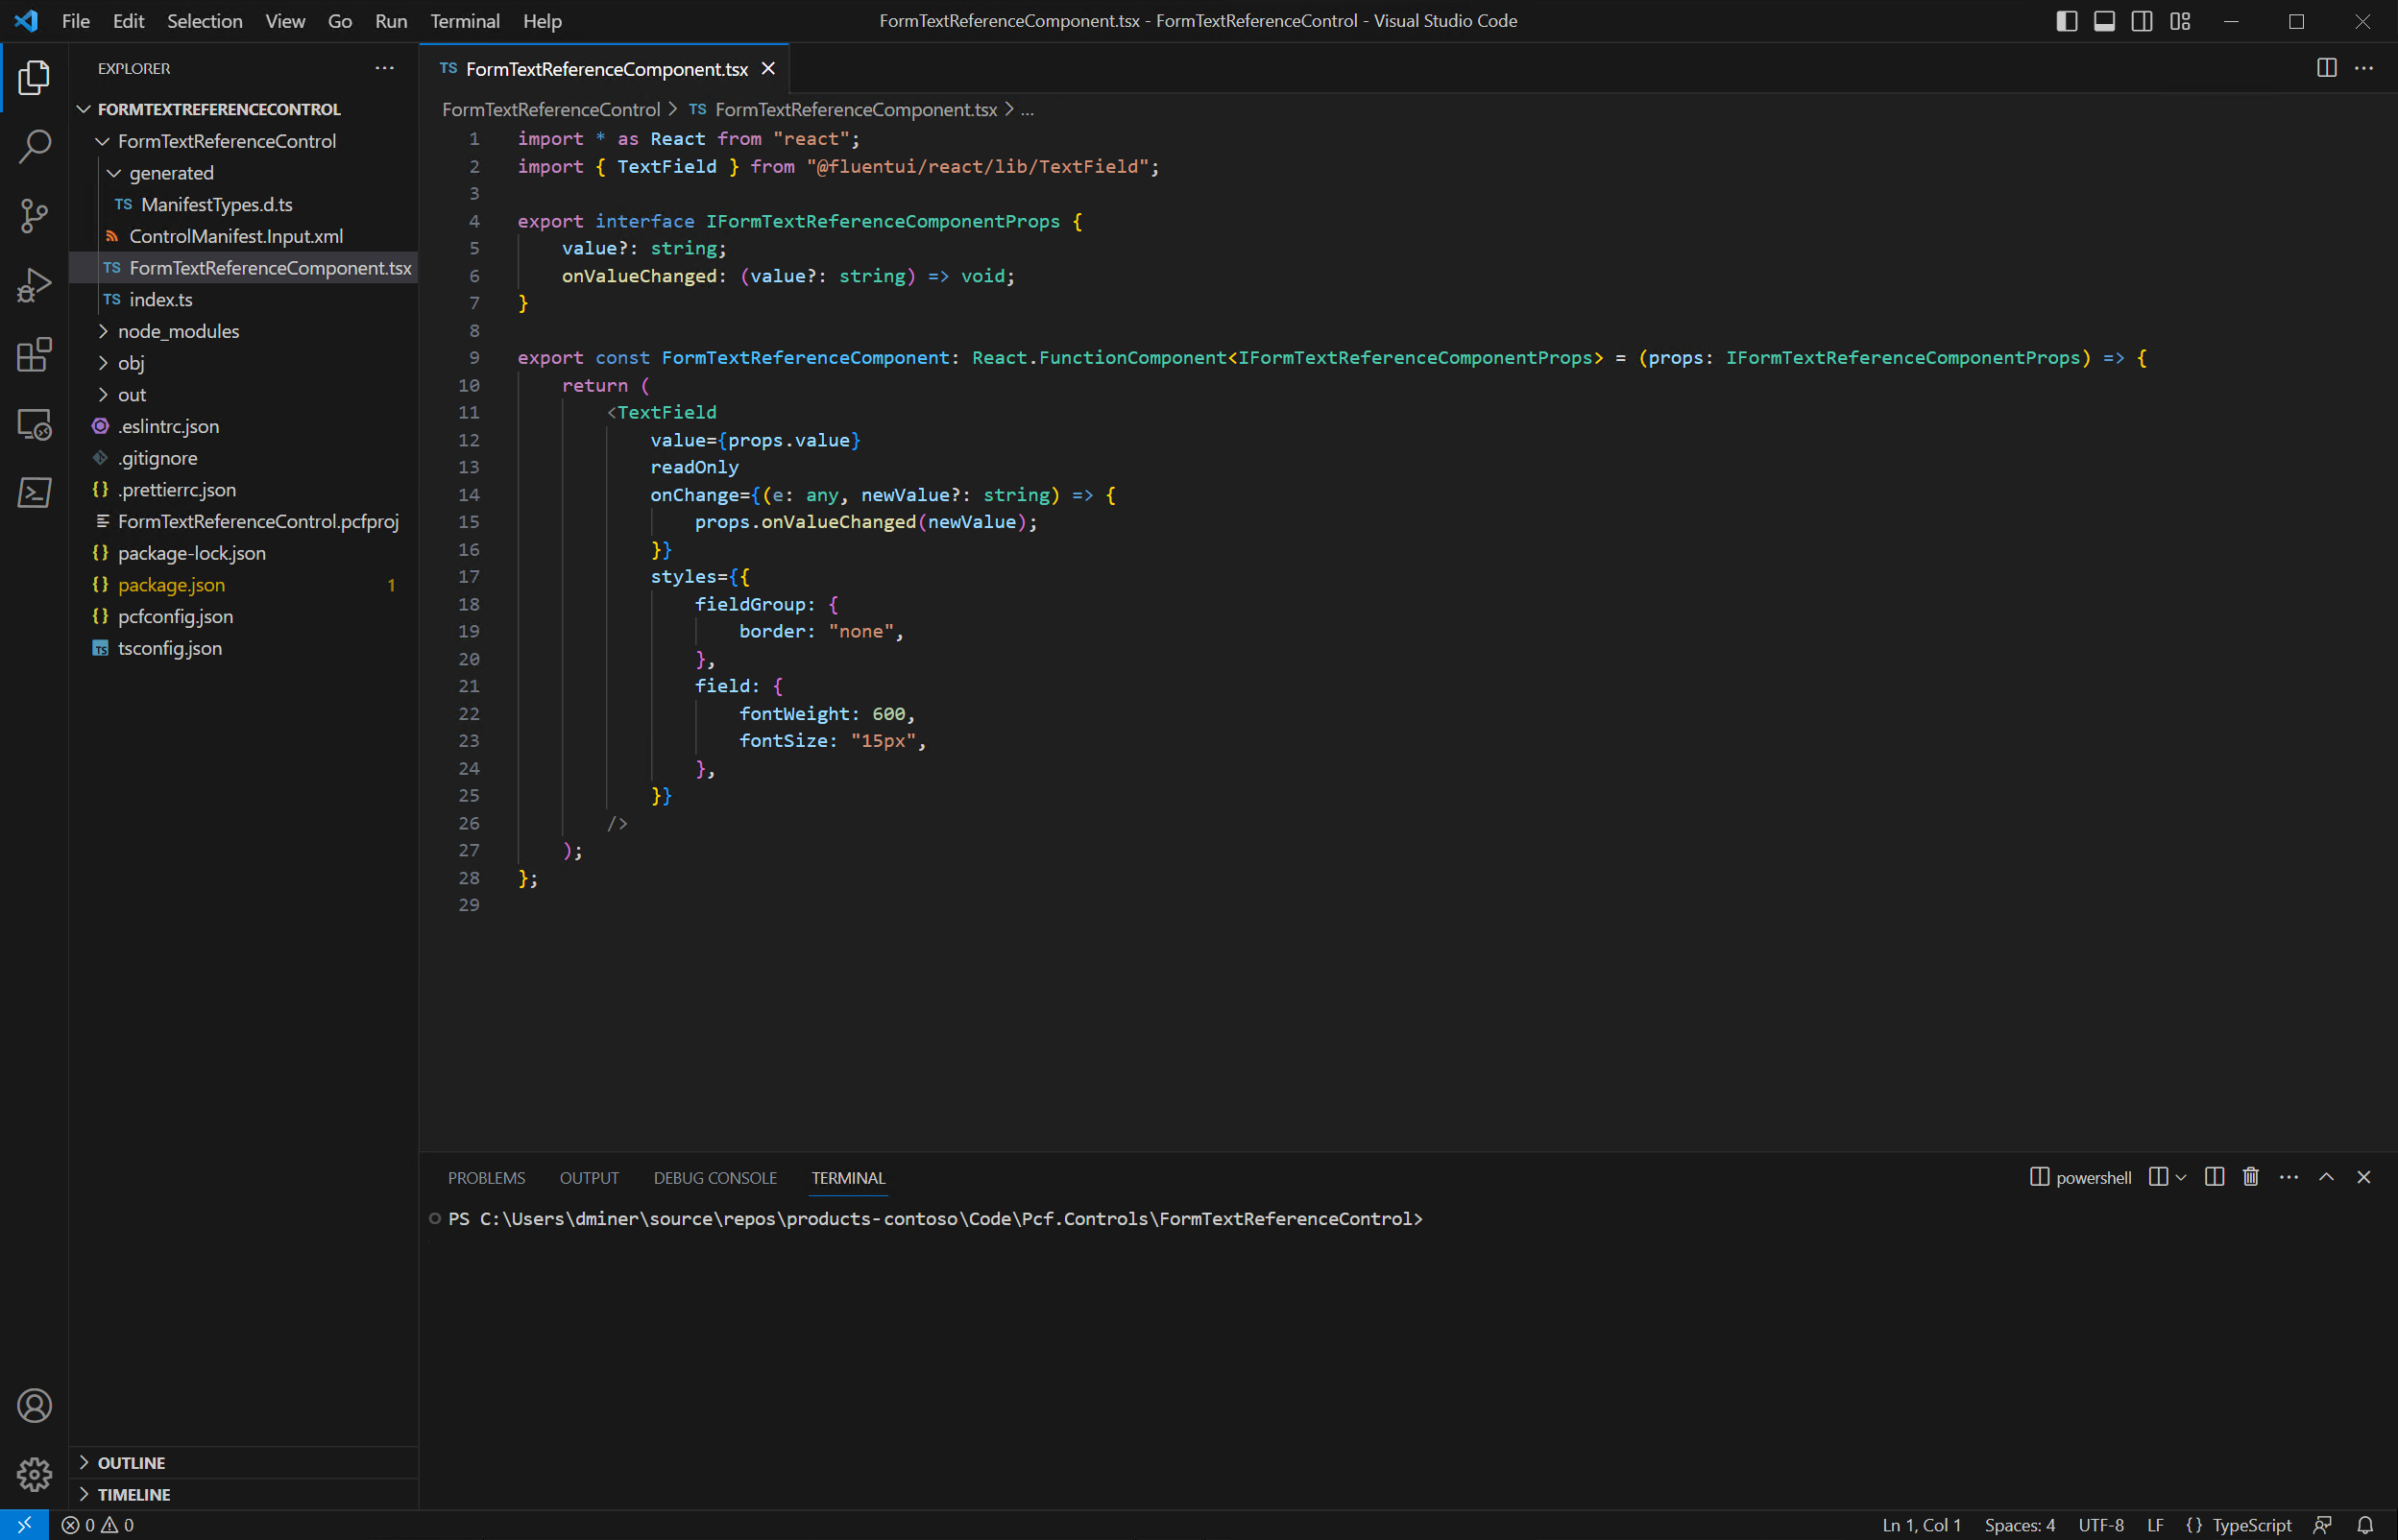
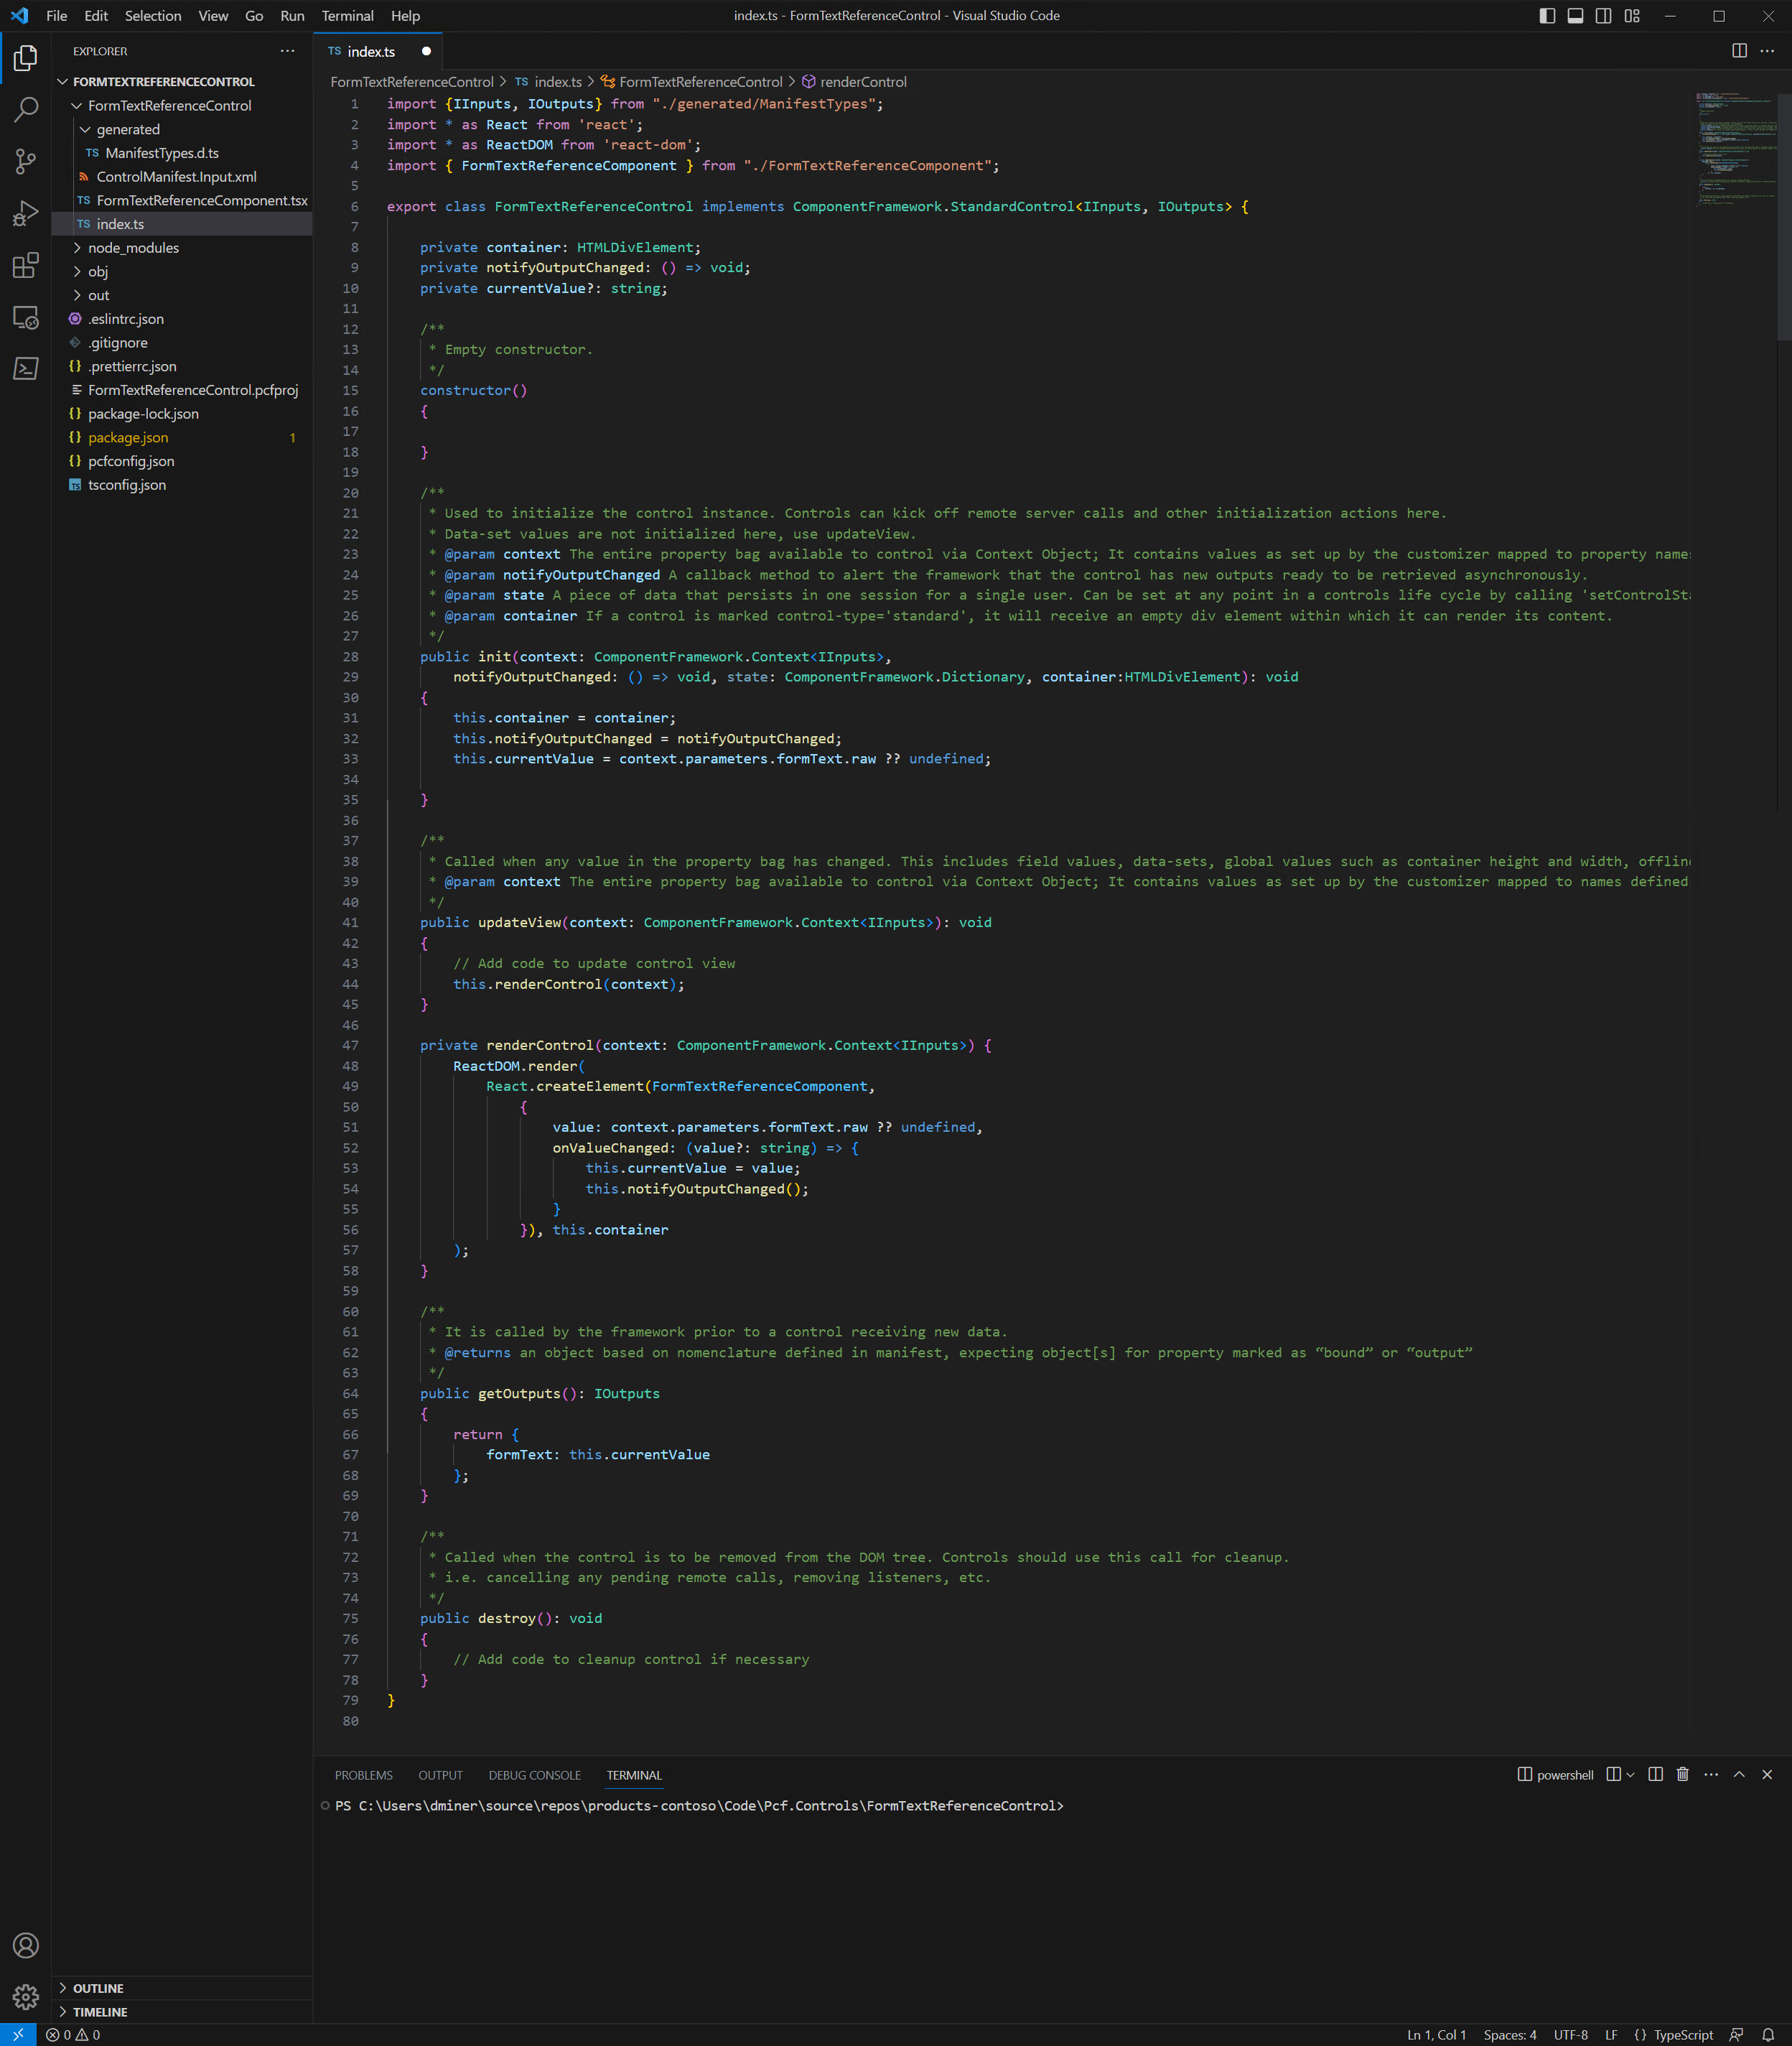
1.1) Add the code
(See reference 1 for more information.)
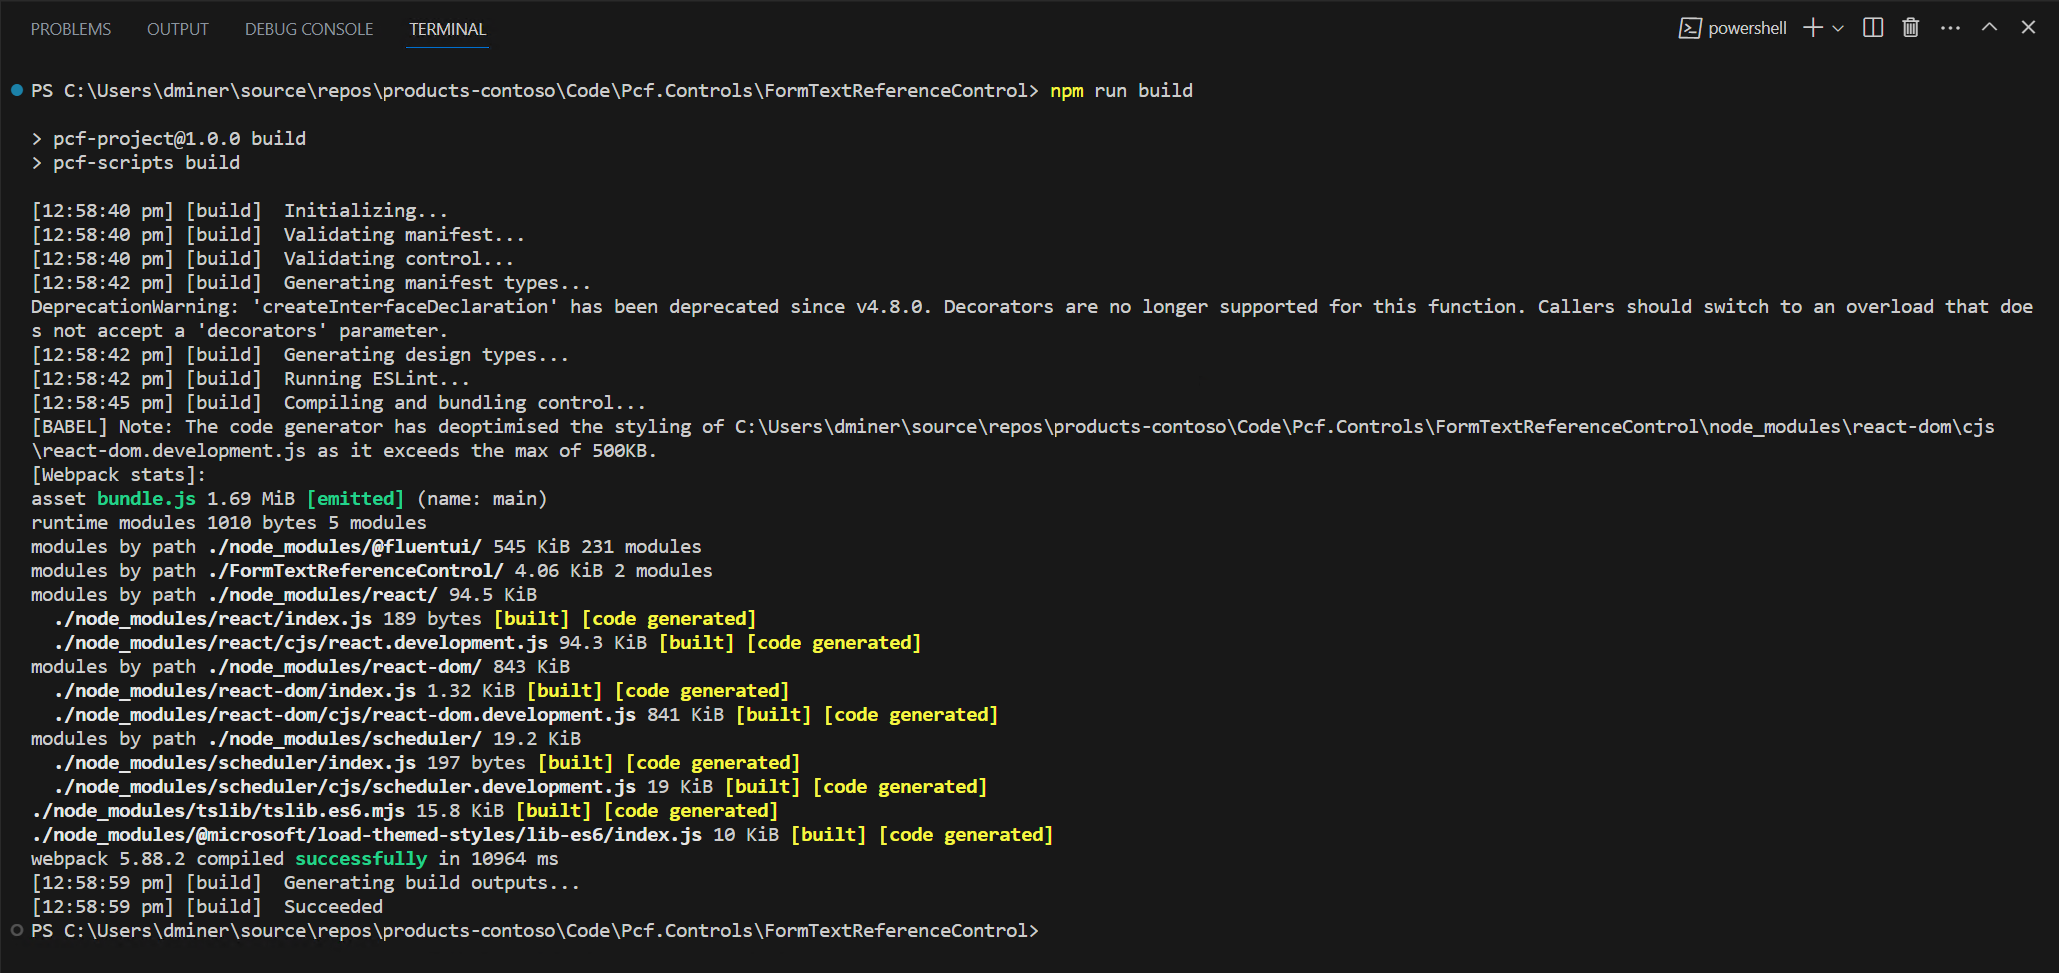
1.2) Build the control
Execute the command ‘npm run build’
2.) Create the solution
(See reference 7 for more information.)
Create a folder called ‘ContosoPCFControls’ (see Figure 16)
With this folder, execute the following commands:
- pac auth create –url https://myorg.crm6.dynamics.com
- pac solution init –publisher-name contoso –publisher-prefix cpl
- pac solution add-reference –path ..\FormTextReferenceControl
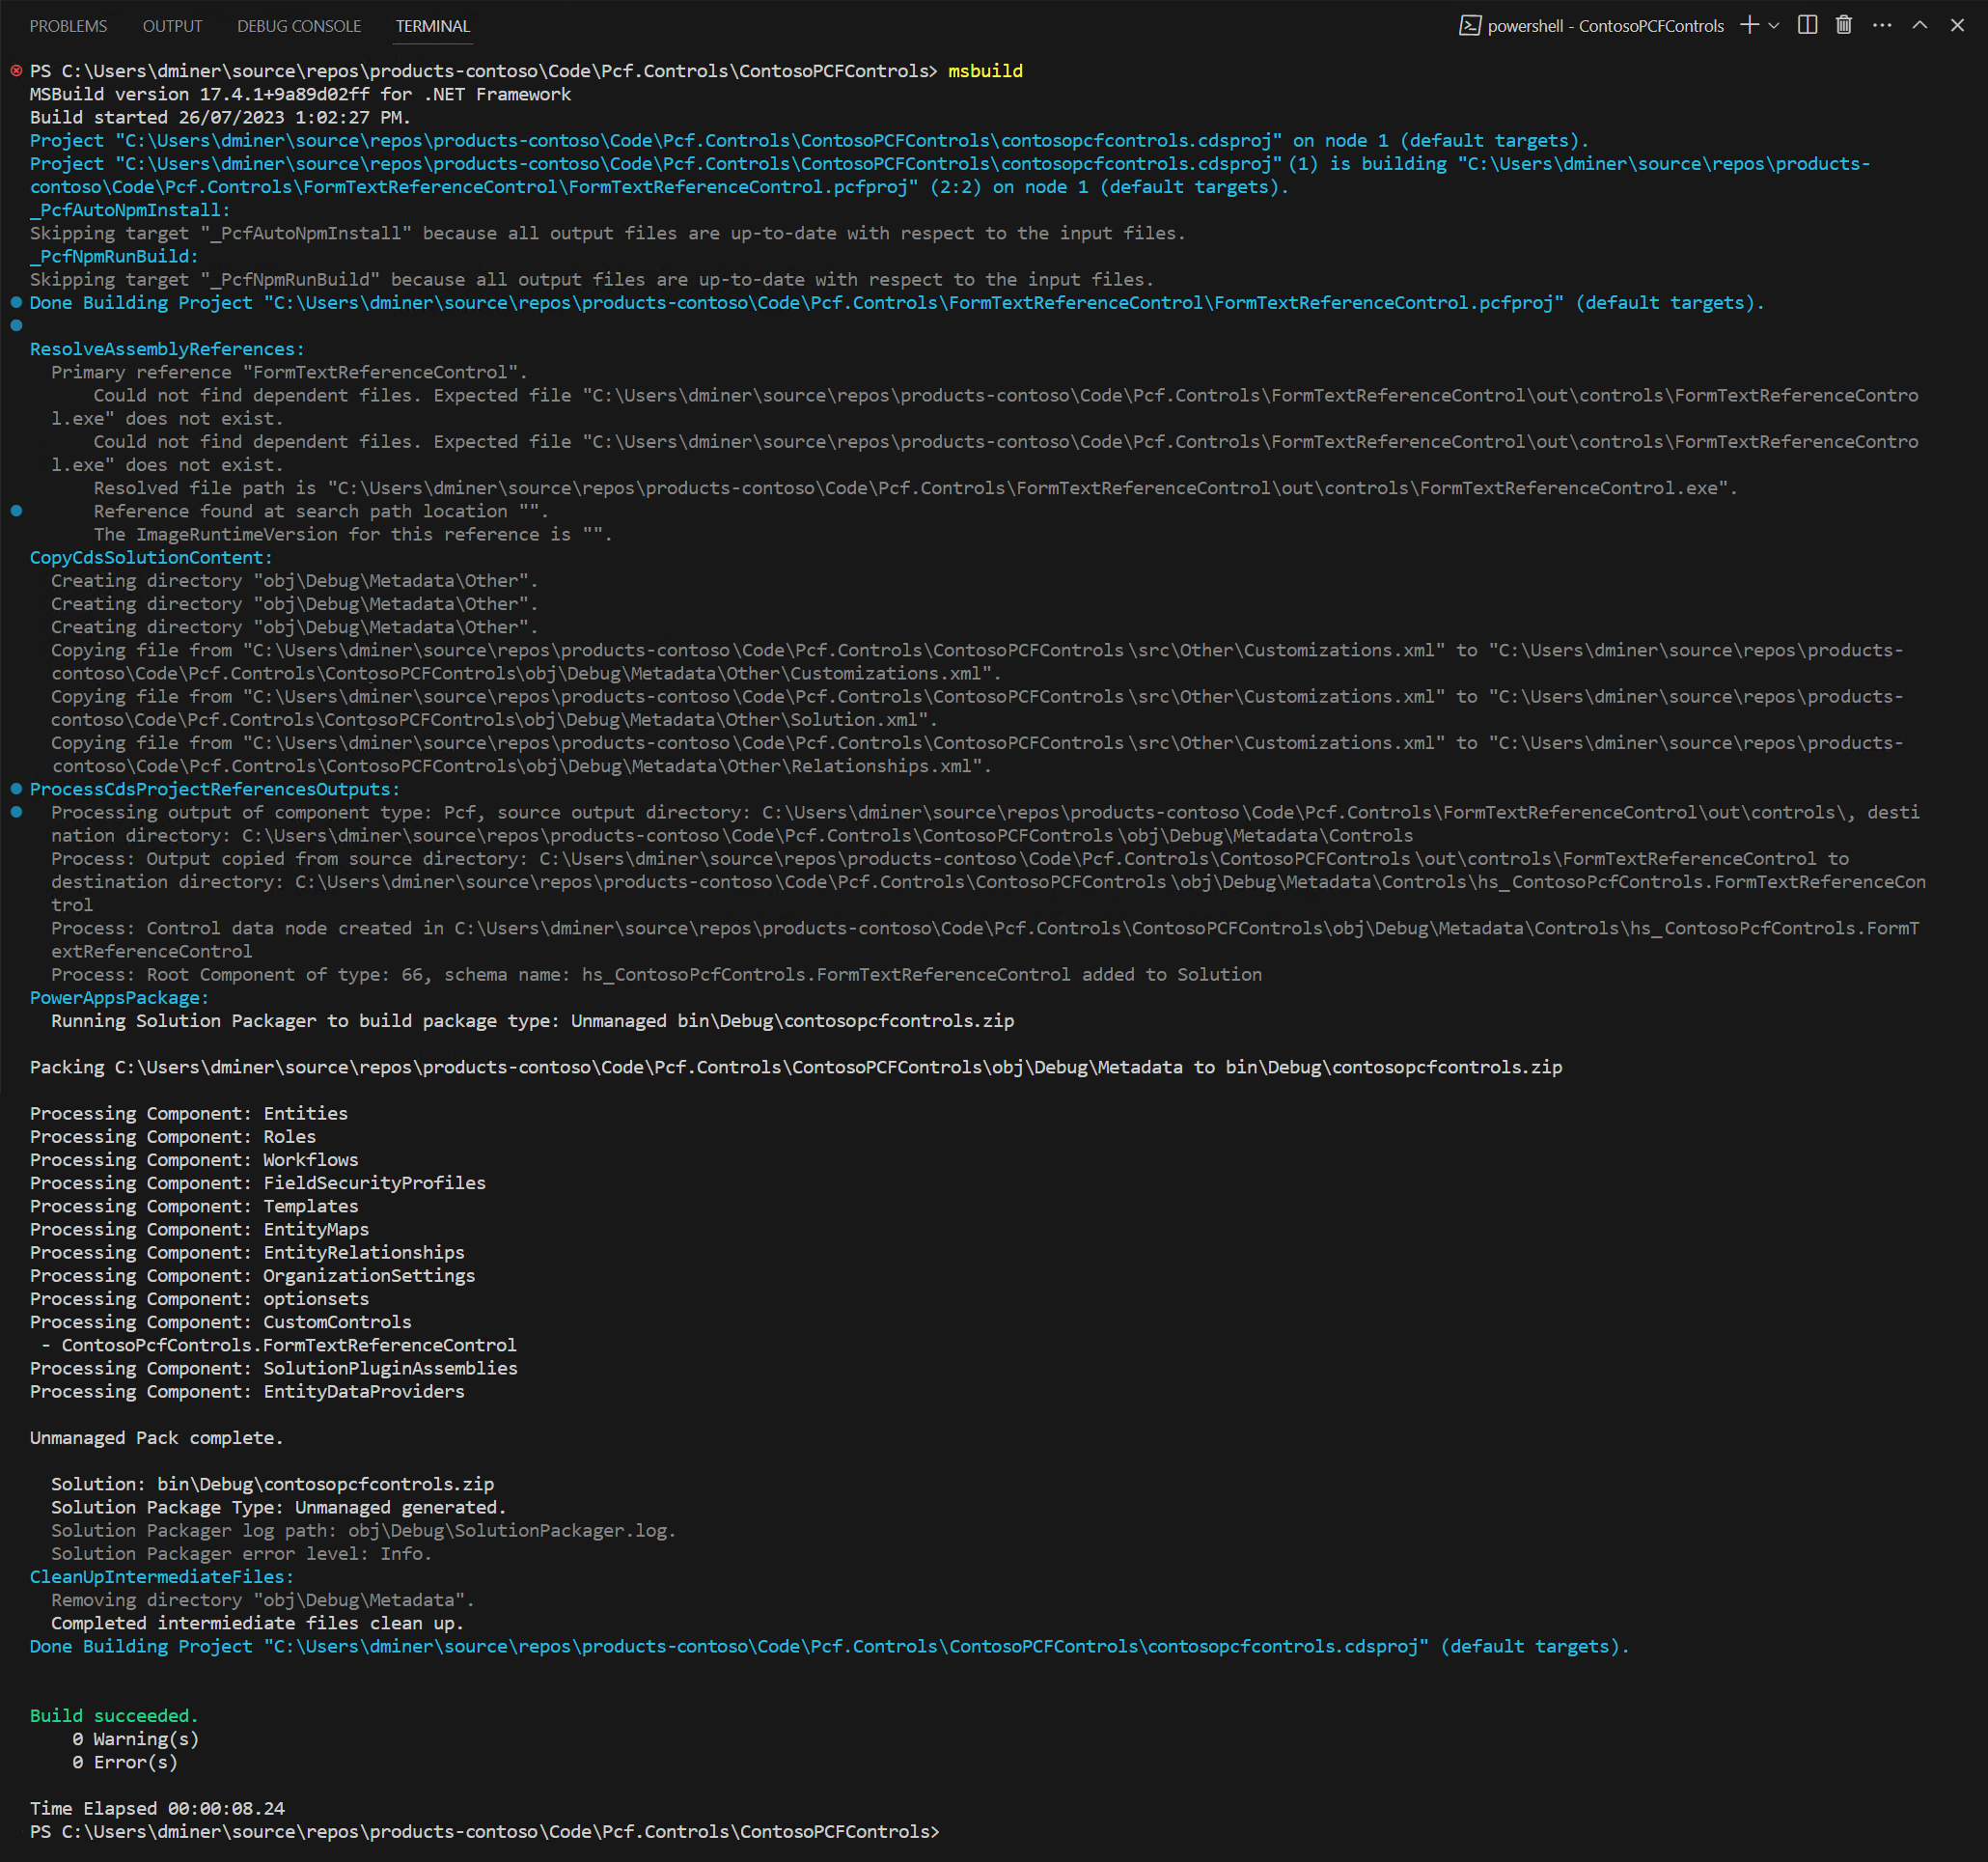
2.1) Build the solution
Execute the command
- “msbuild /t:build /restore” (when adding a new pcf; ‘/restore’ restores the NuGet packages)
- “msbuild” (‘msbuild’ for subsequent builds)
- “msbuild /p:configuration=Release” (for the minified version. Refer to reference #10)
2.2) Deploy the solution to the D365 development server
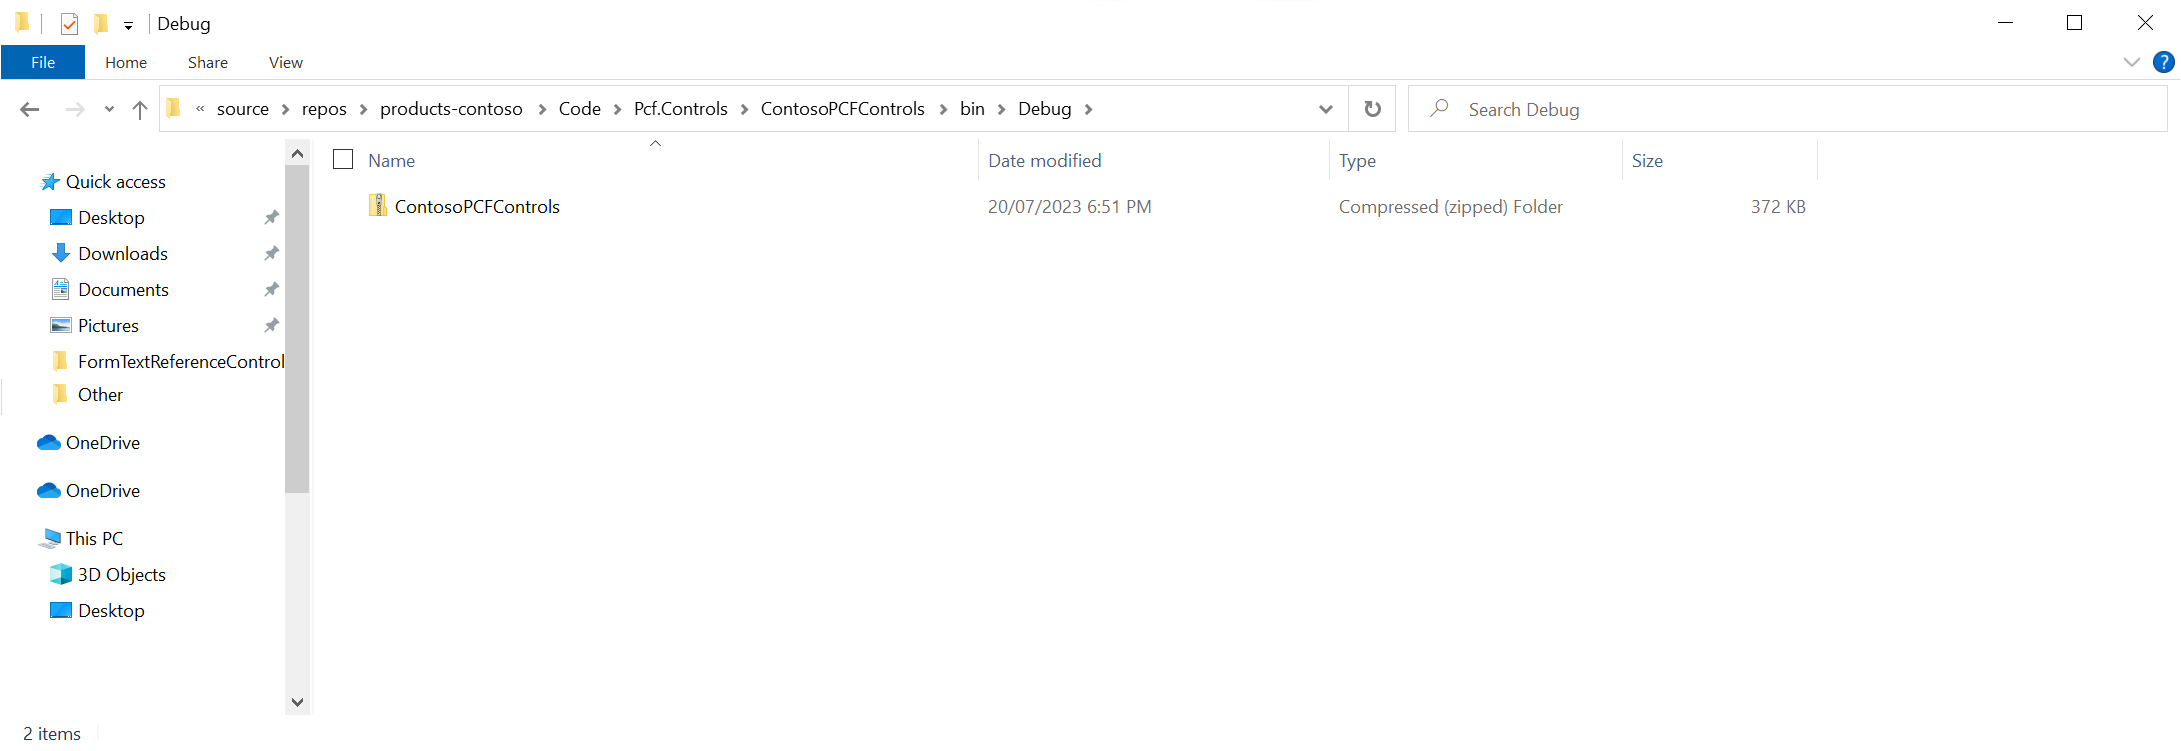
Deploy the unmanaged solution ContosoPCFControls.zip (see Figure 25) to the Dynamics 365 development server
3.) Add the control to the form
Add the control to the Single-line text component (see Figure 11)
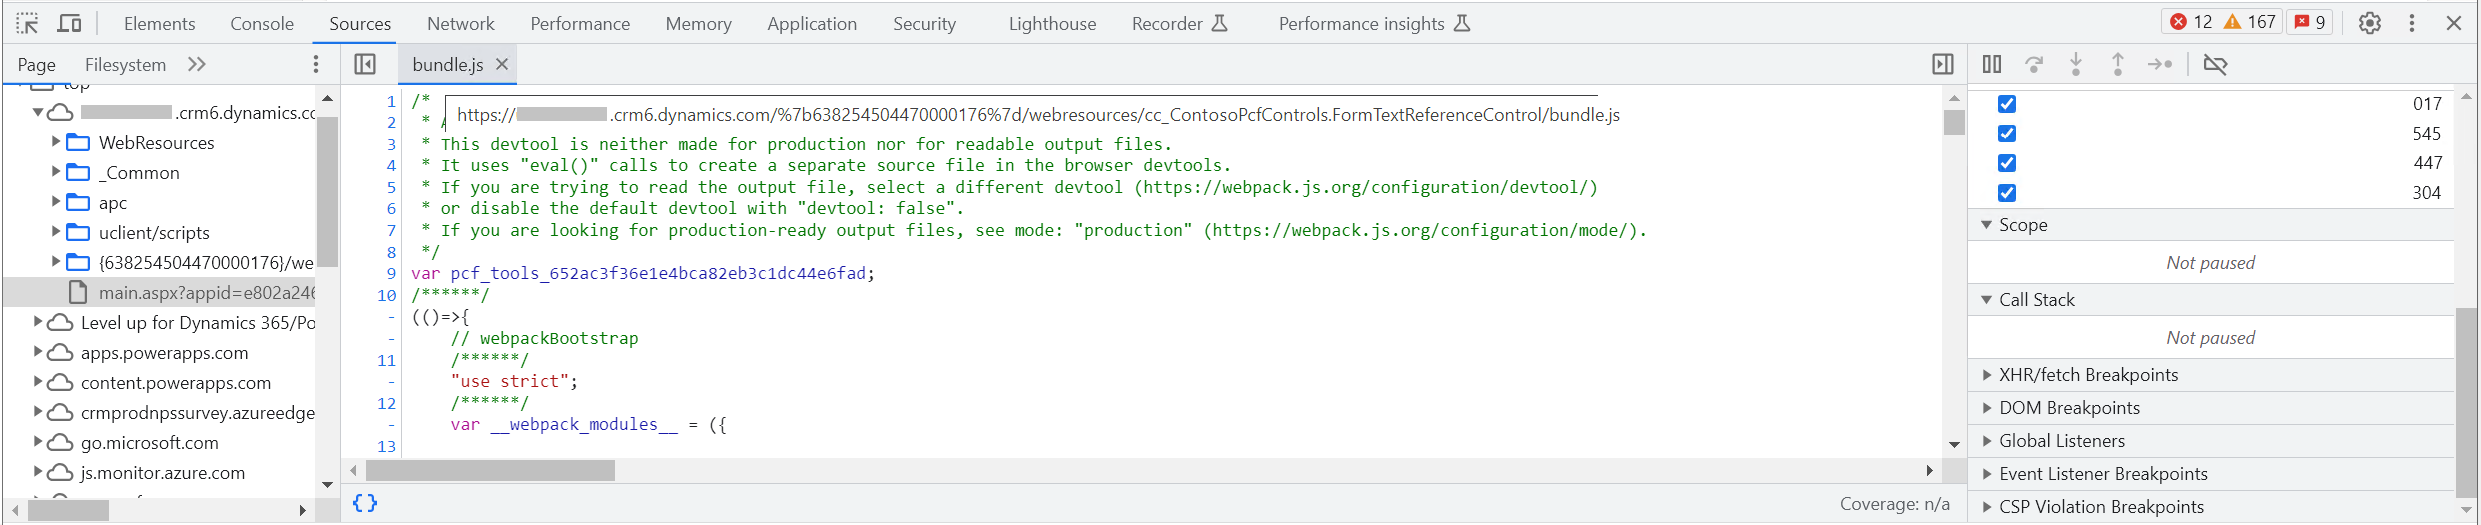
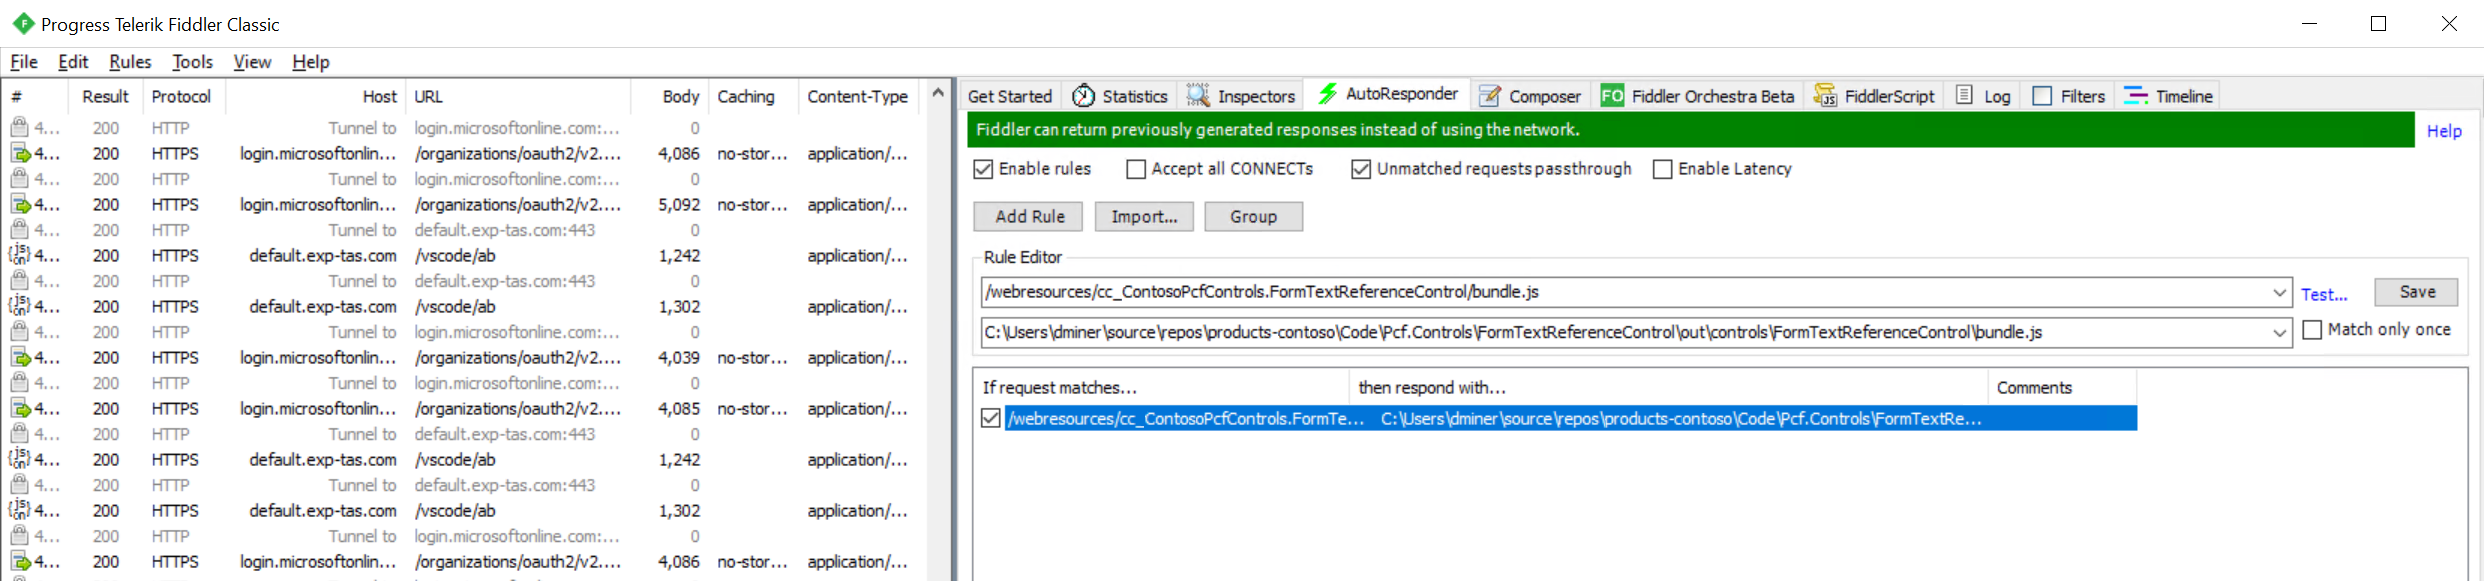
4.) Setup debugging of the control
When the control’s TypeScript is updated, and the control is rebuilt by executing ‘npm run build’, the bundle.js will also be updated. Using fiddler means that the updated bundle.js doesn’t need to be deployed to the development server each time it changes
5.) Import the updated solution to the development environment
(See reference 2 for more information.)
Once debugging (using fiddler) is complete, and the control is ready to be imported into the development server, do the following:
- Increment the version of the control (see Figure 5, line 3)
- Increment the version of the solution by updating the solution.xml
Import this new unmanaged solution version to the development server. Once imported, publish the solution. Verify that it contains the latest version of the control (Figure 14)

6.) Deploy the solution to the higher environments
Export the solution as a managed solution and deploy to the higher environments (select upgrade).
Appendix
1.) FormTextReference Entity

2.) Contents of folders
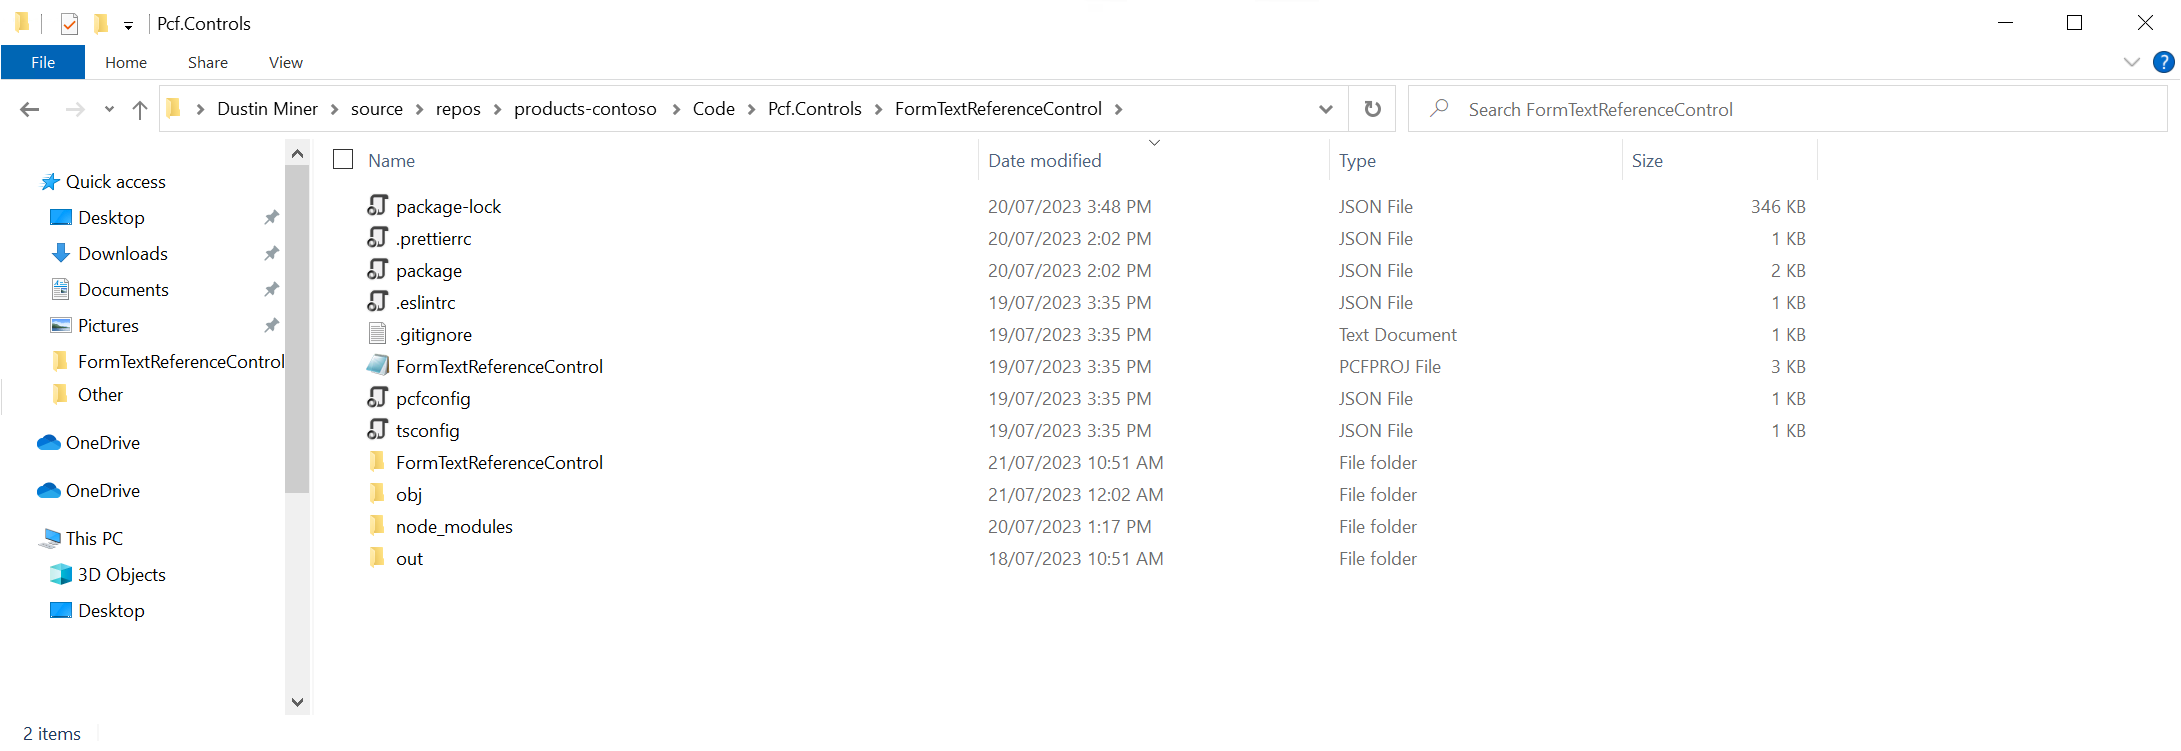
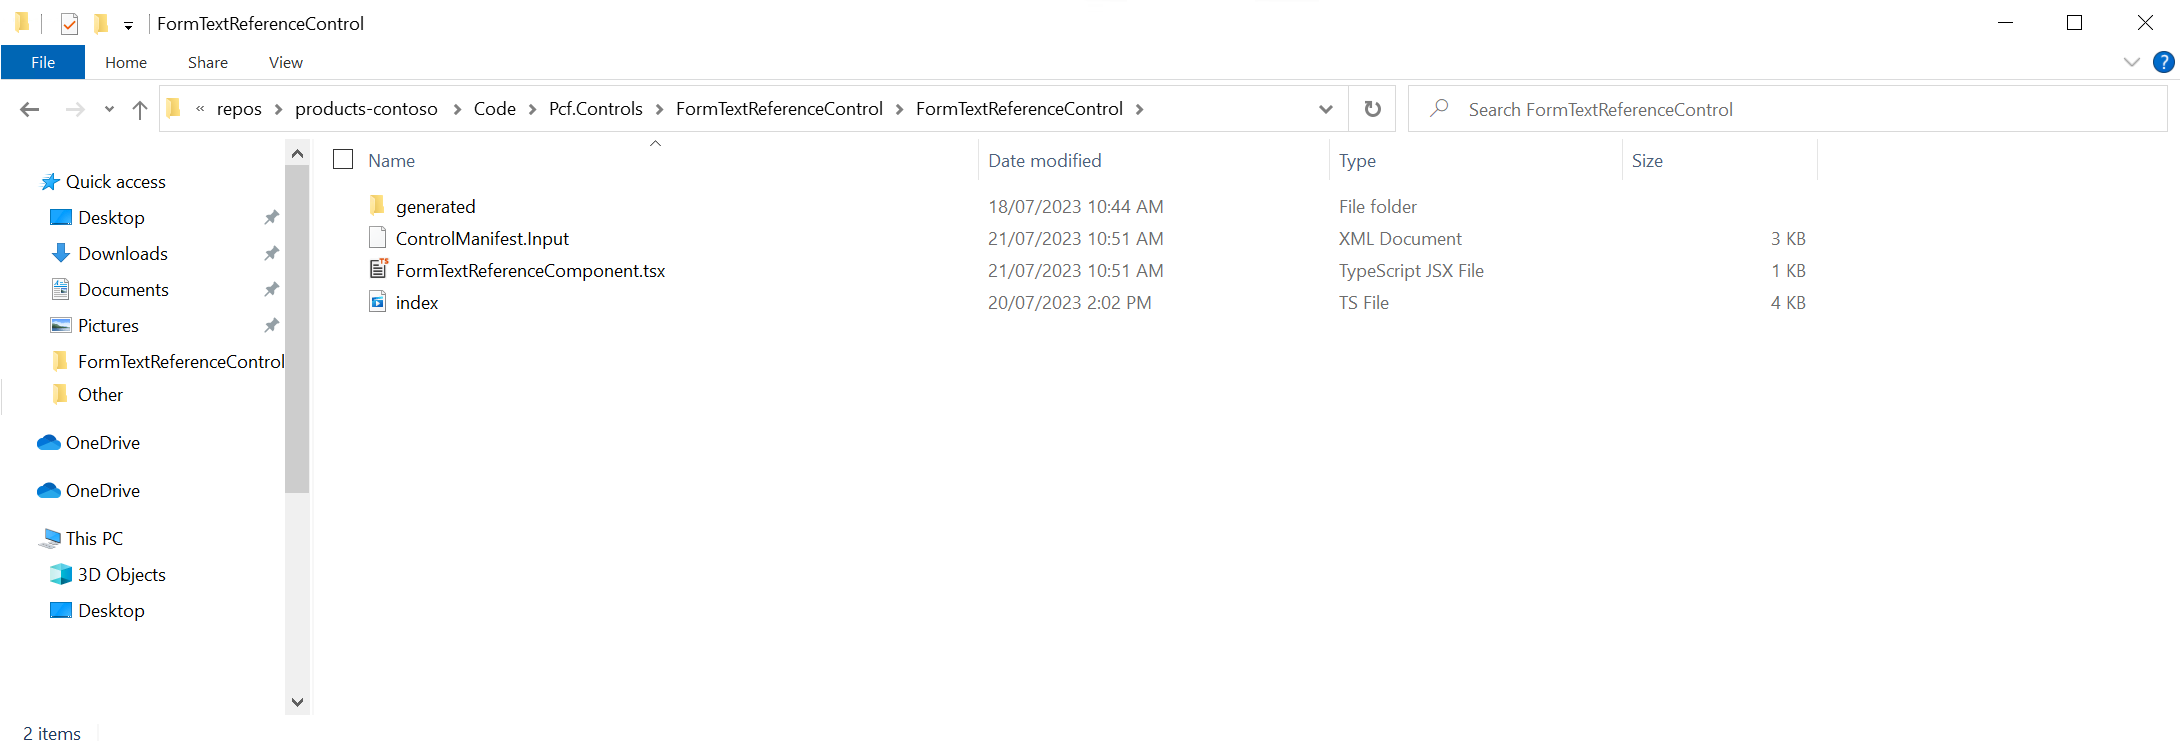
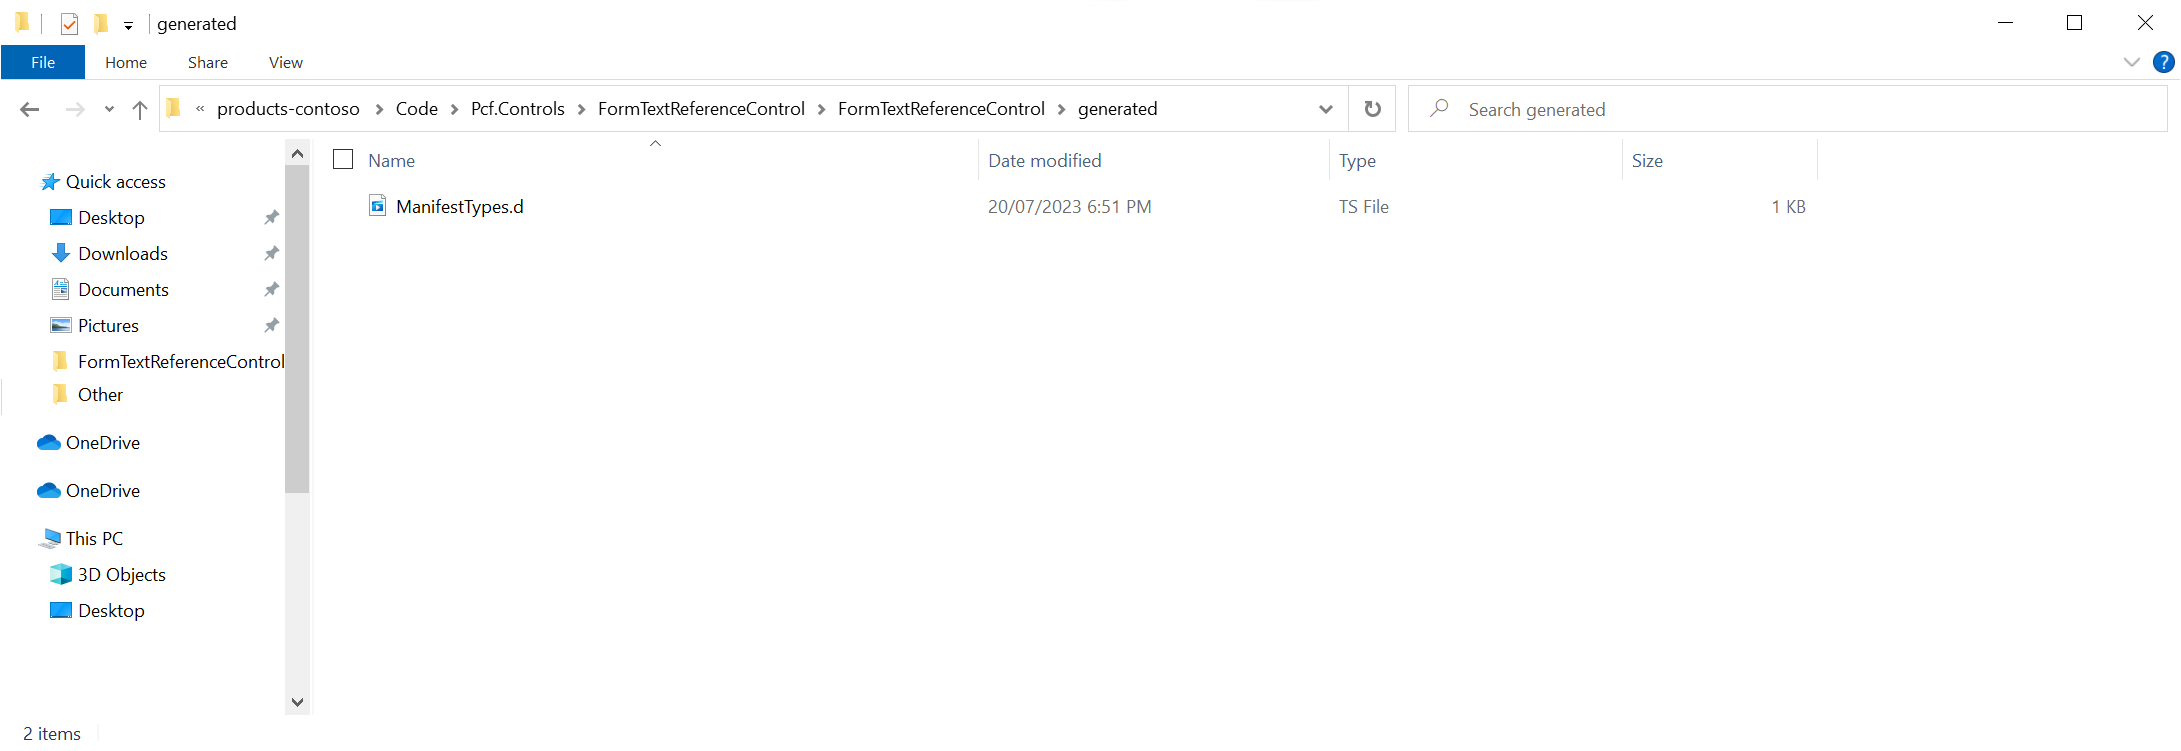
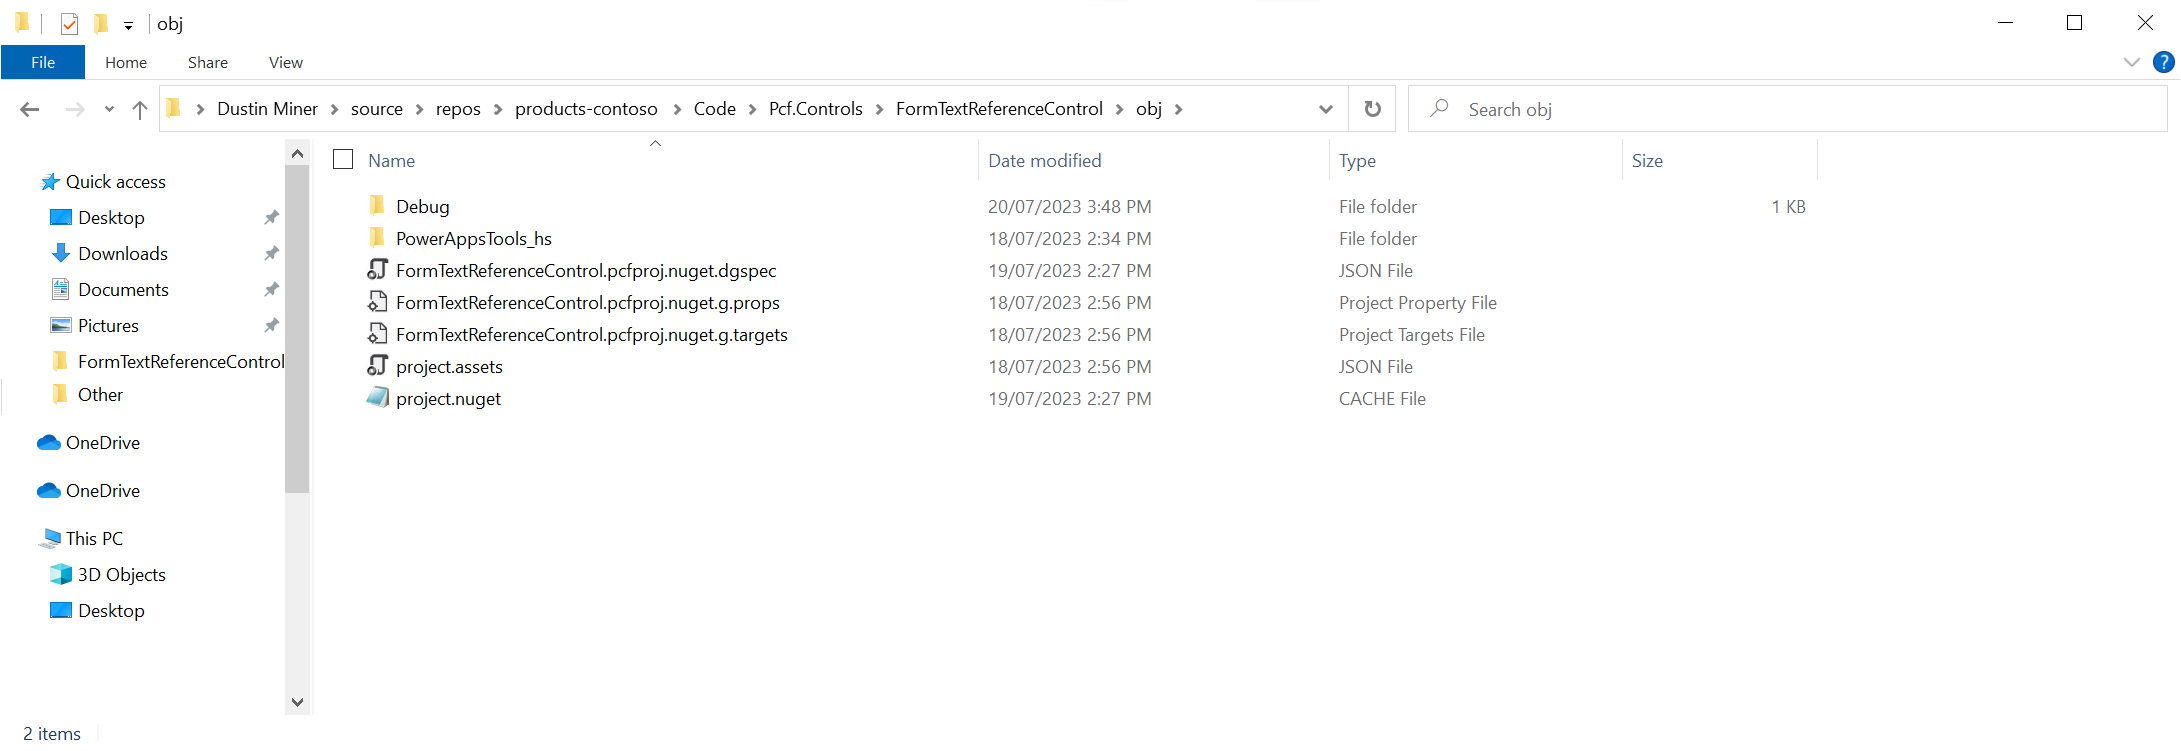
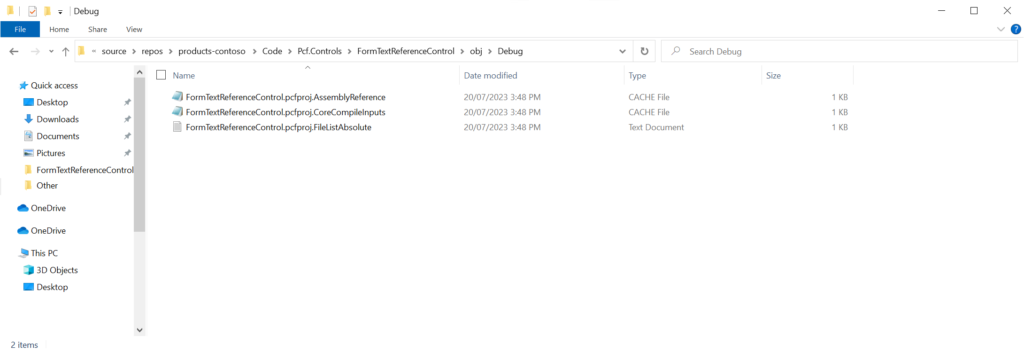
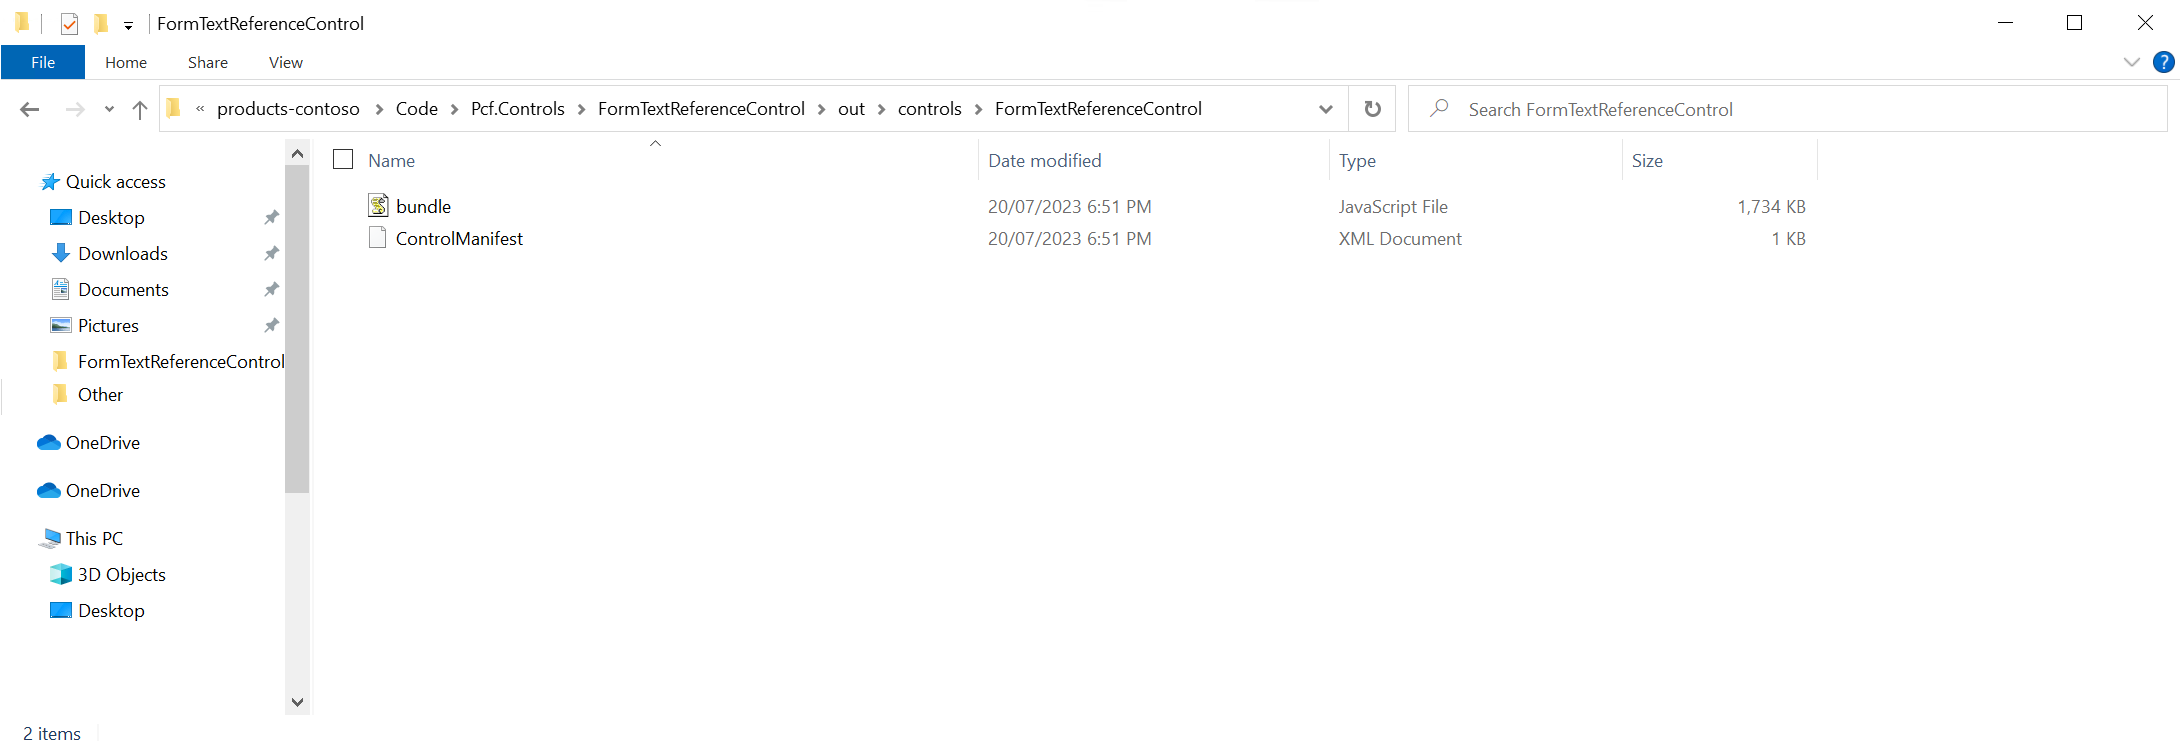
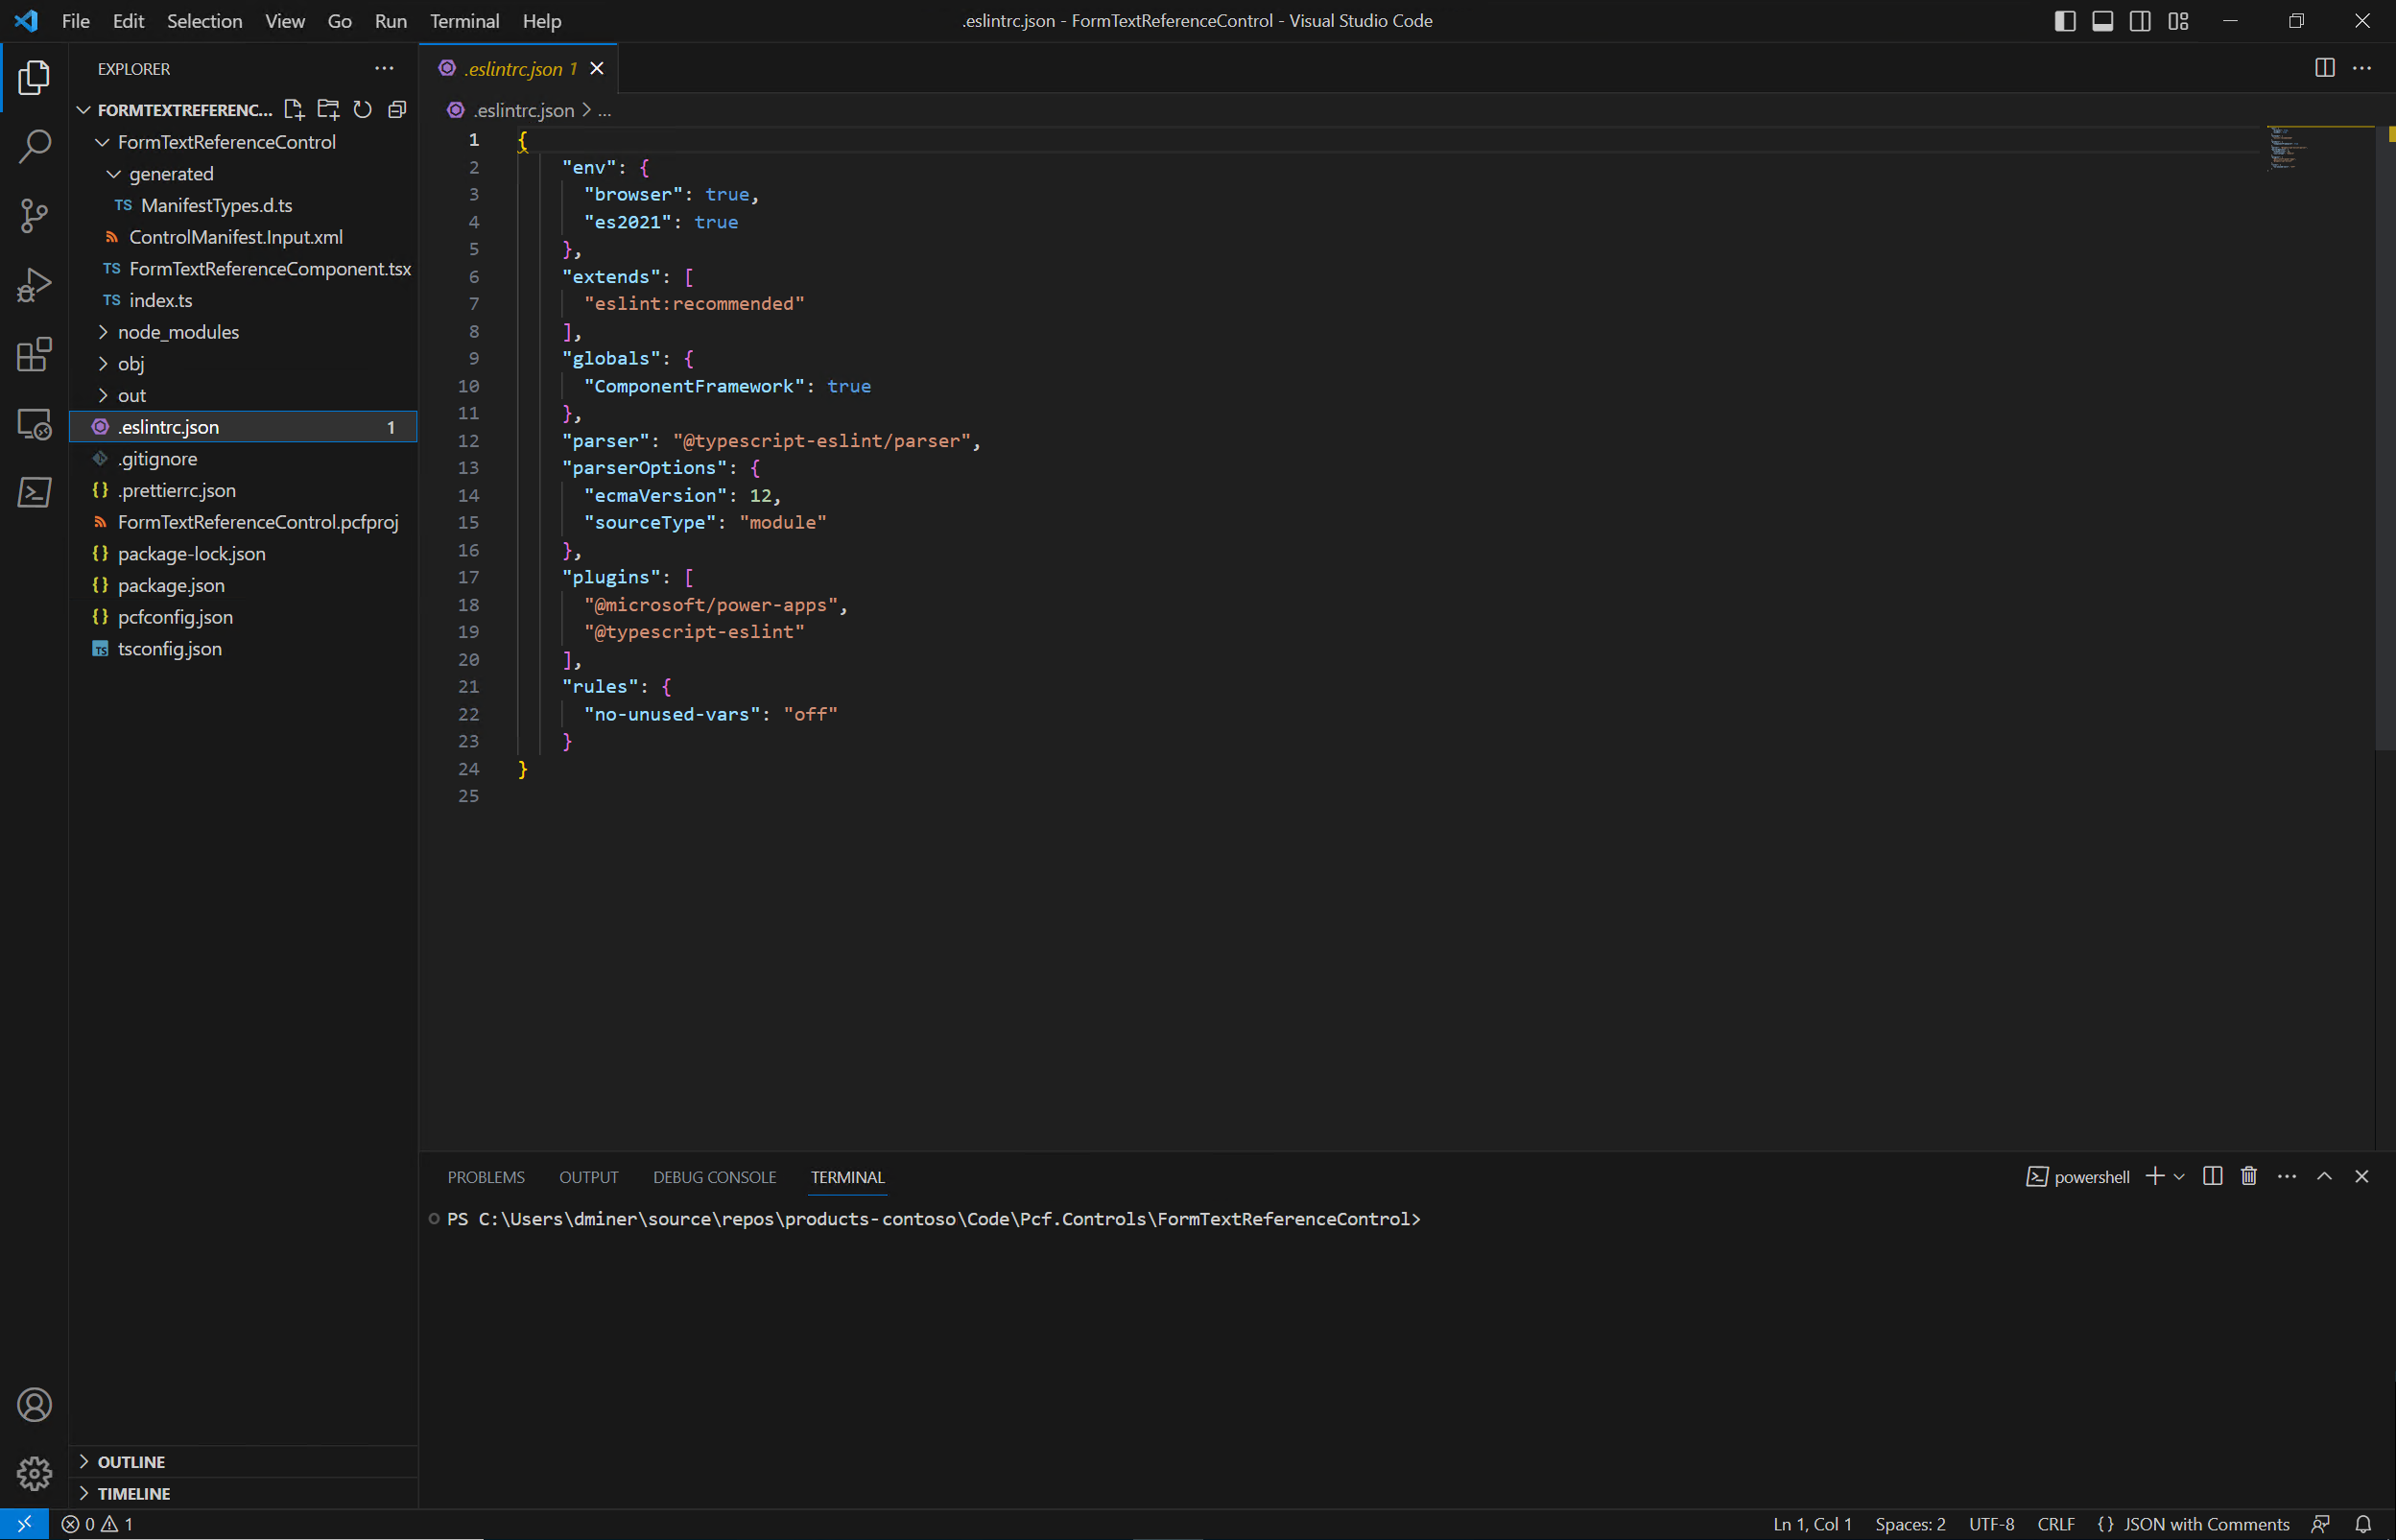
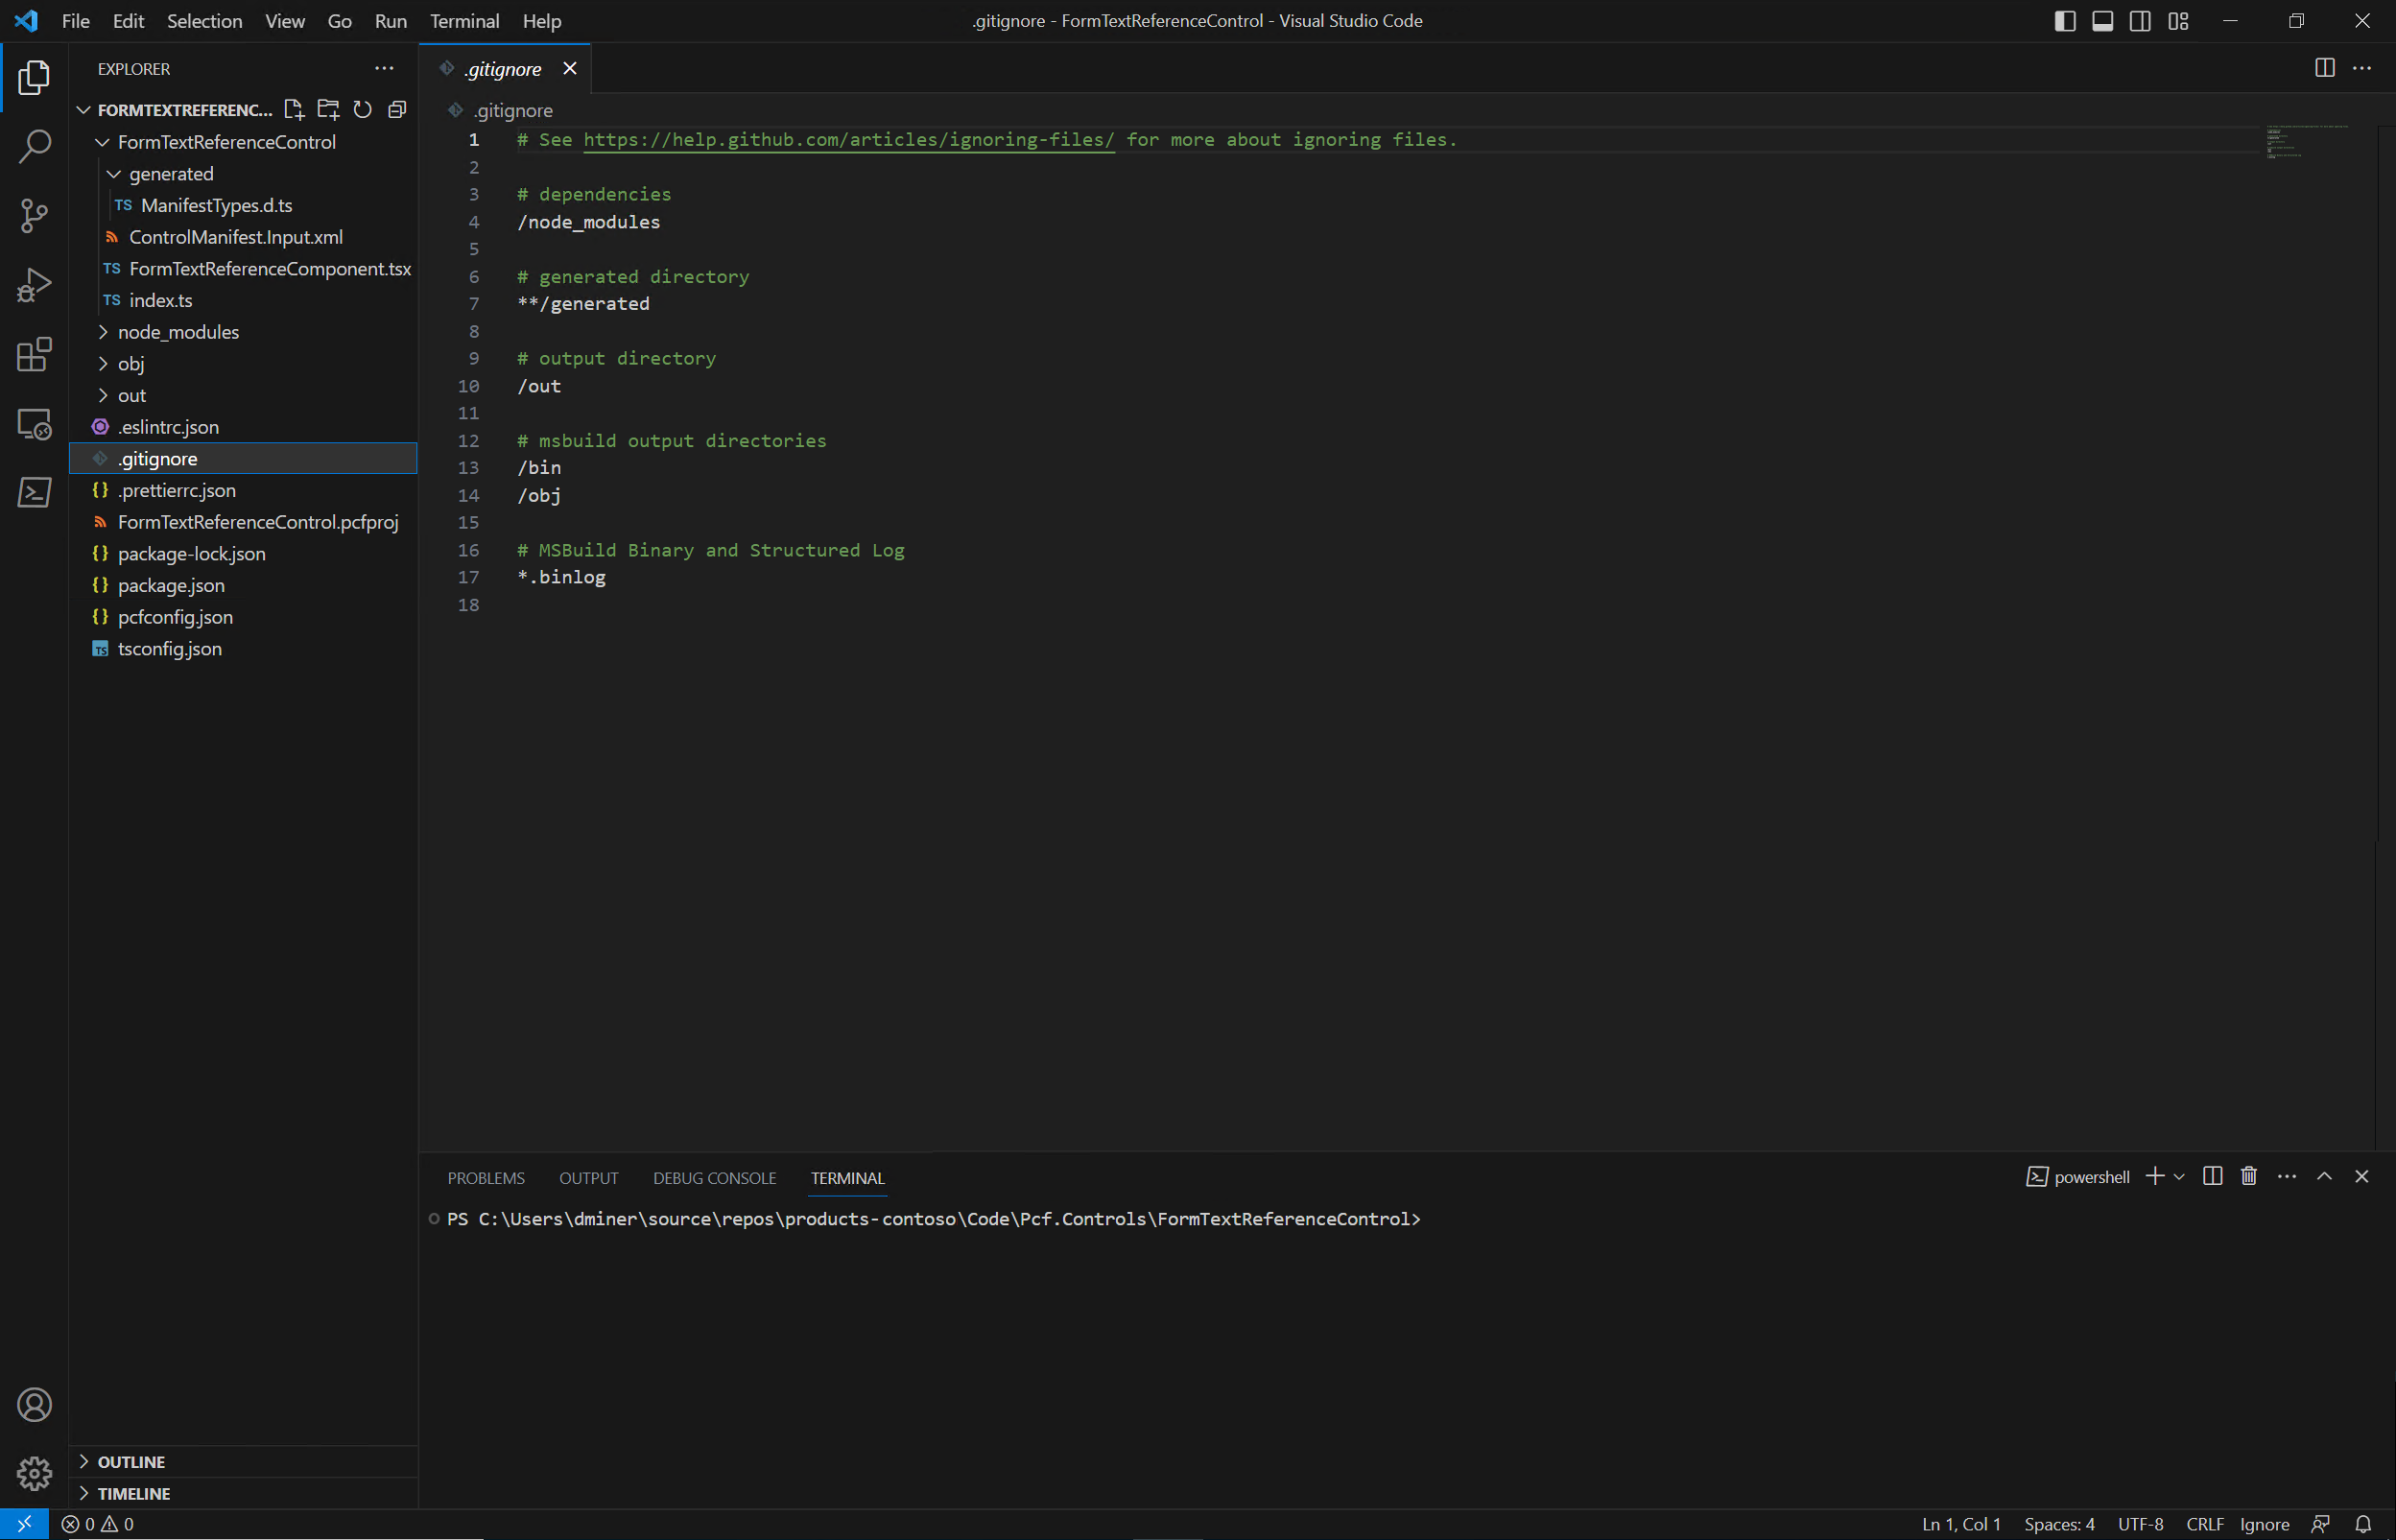
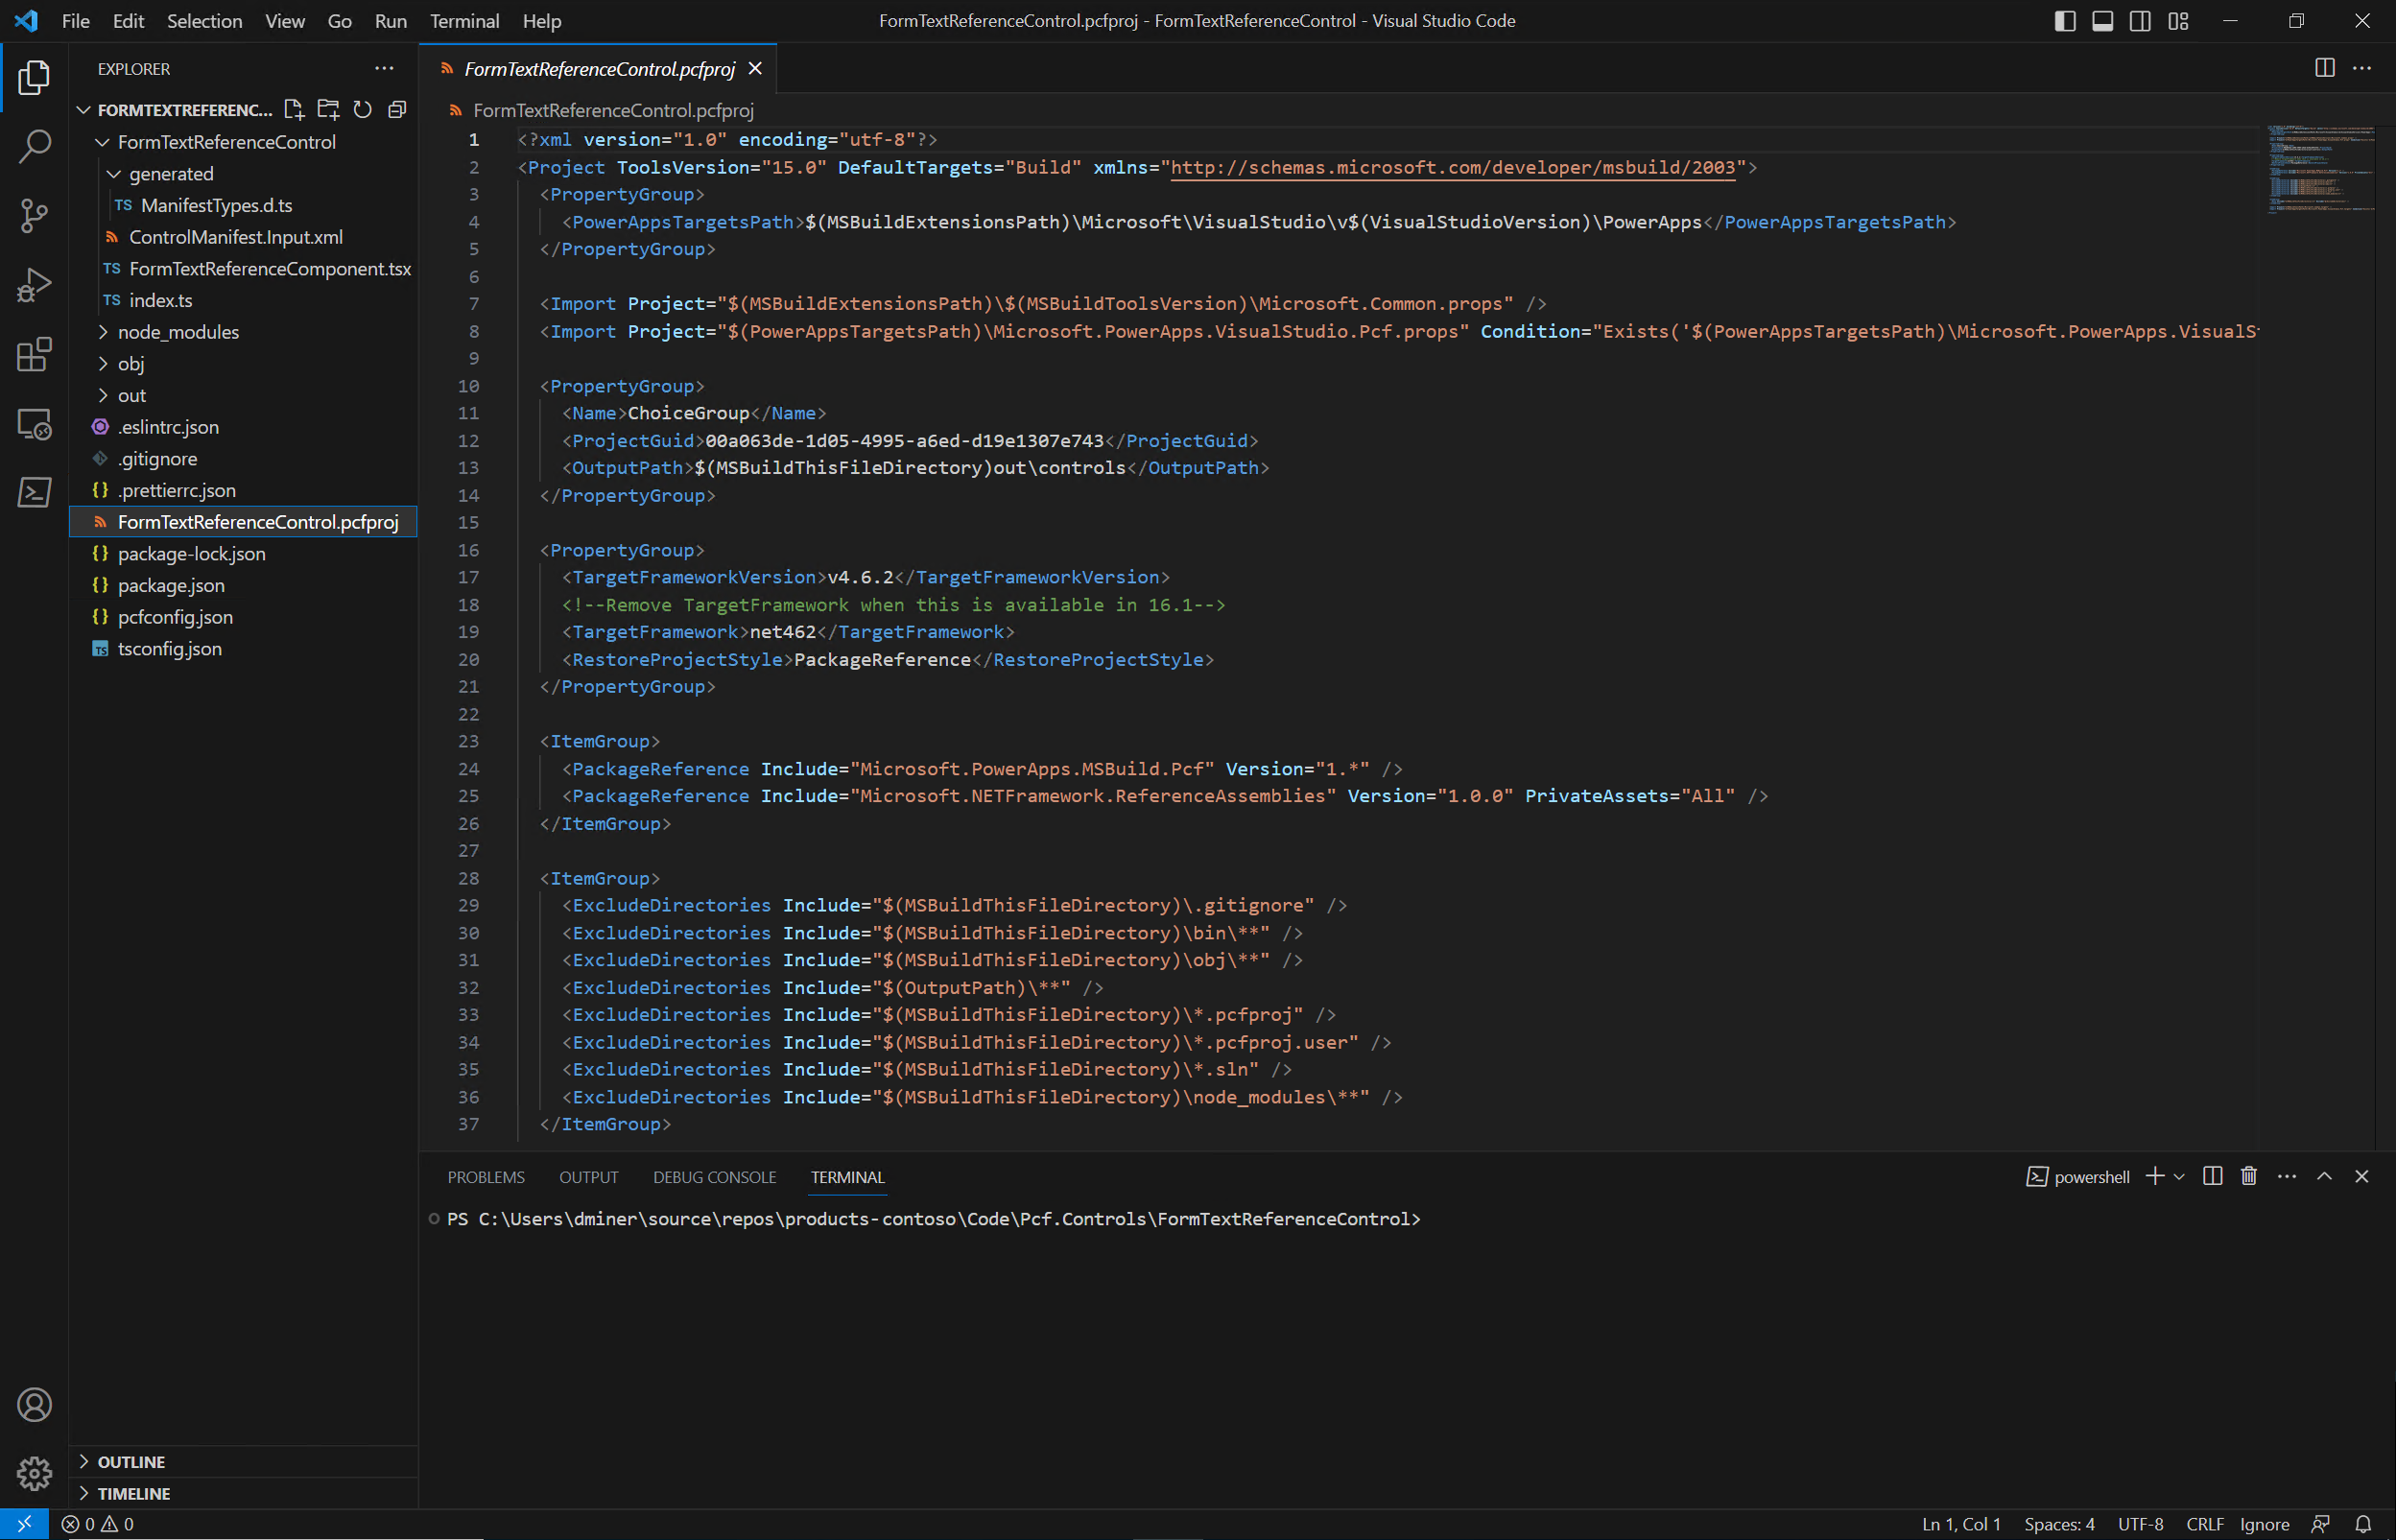
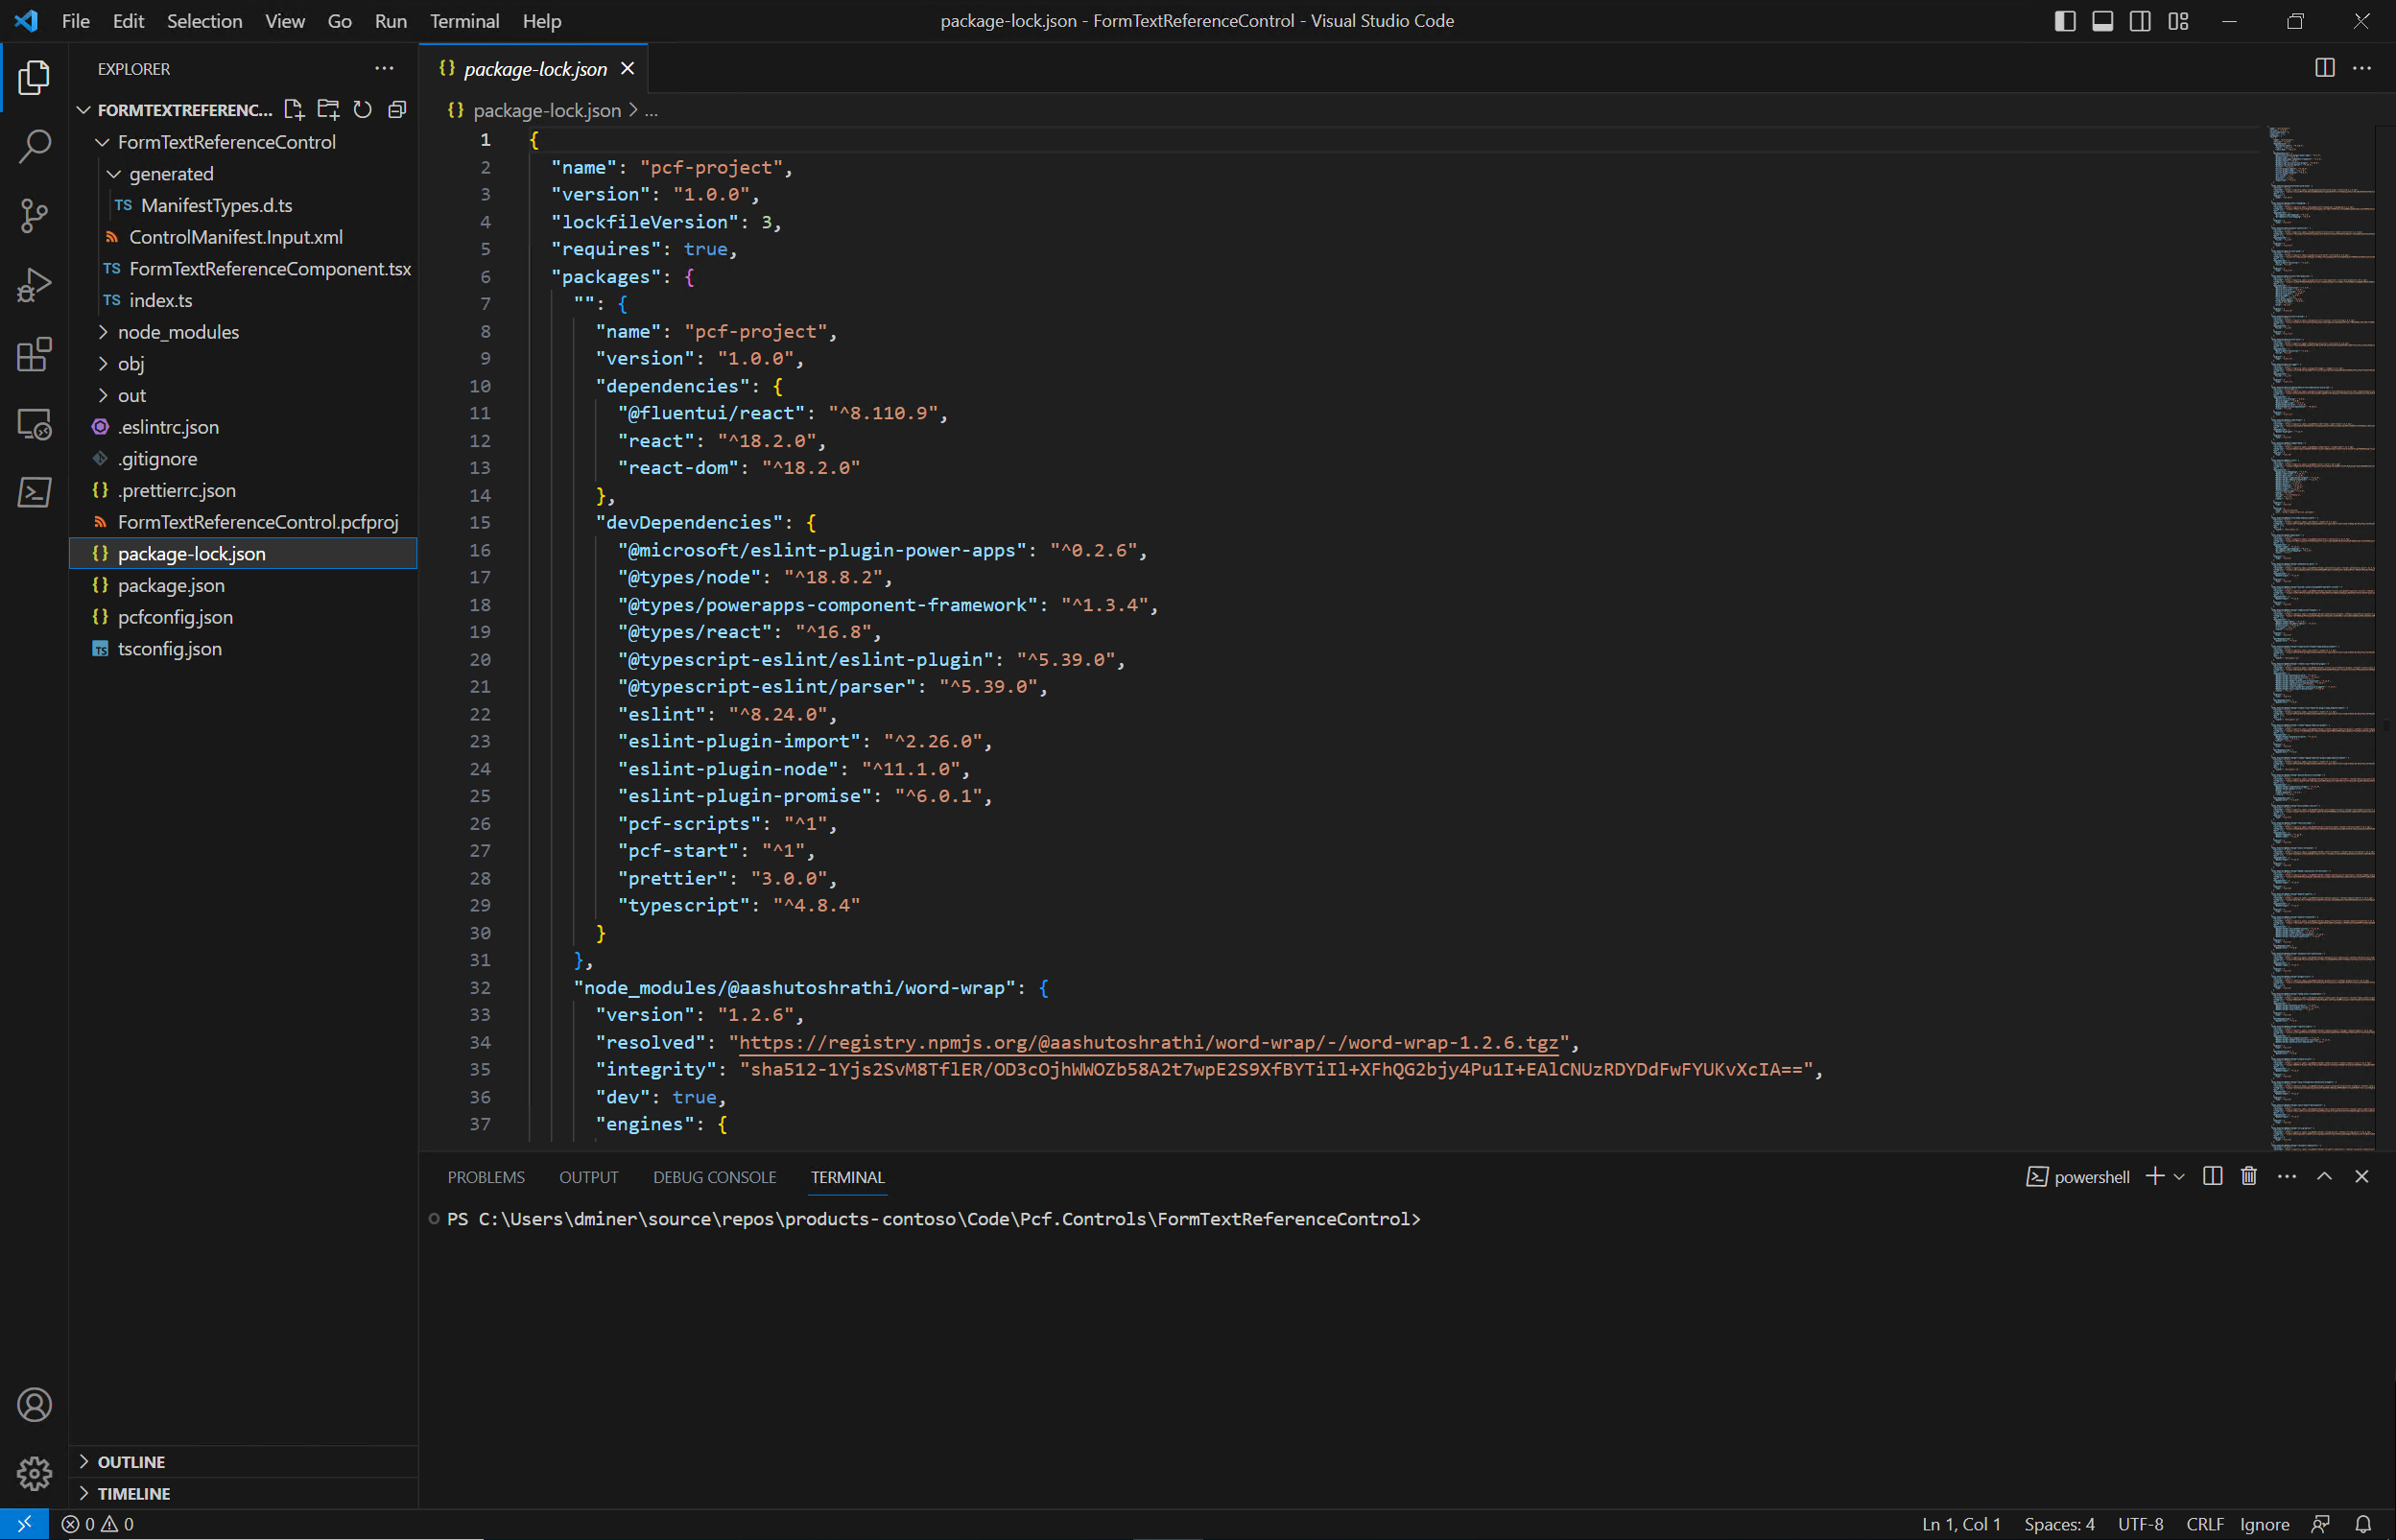
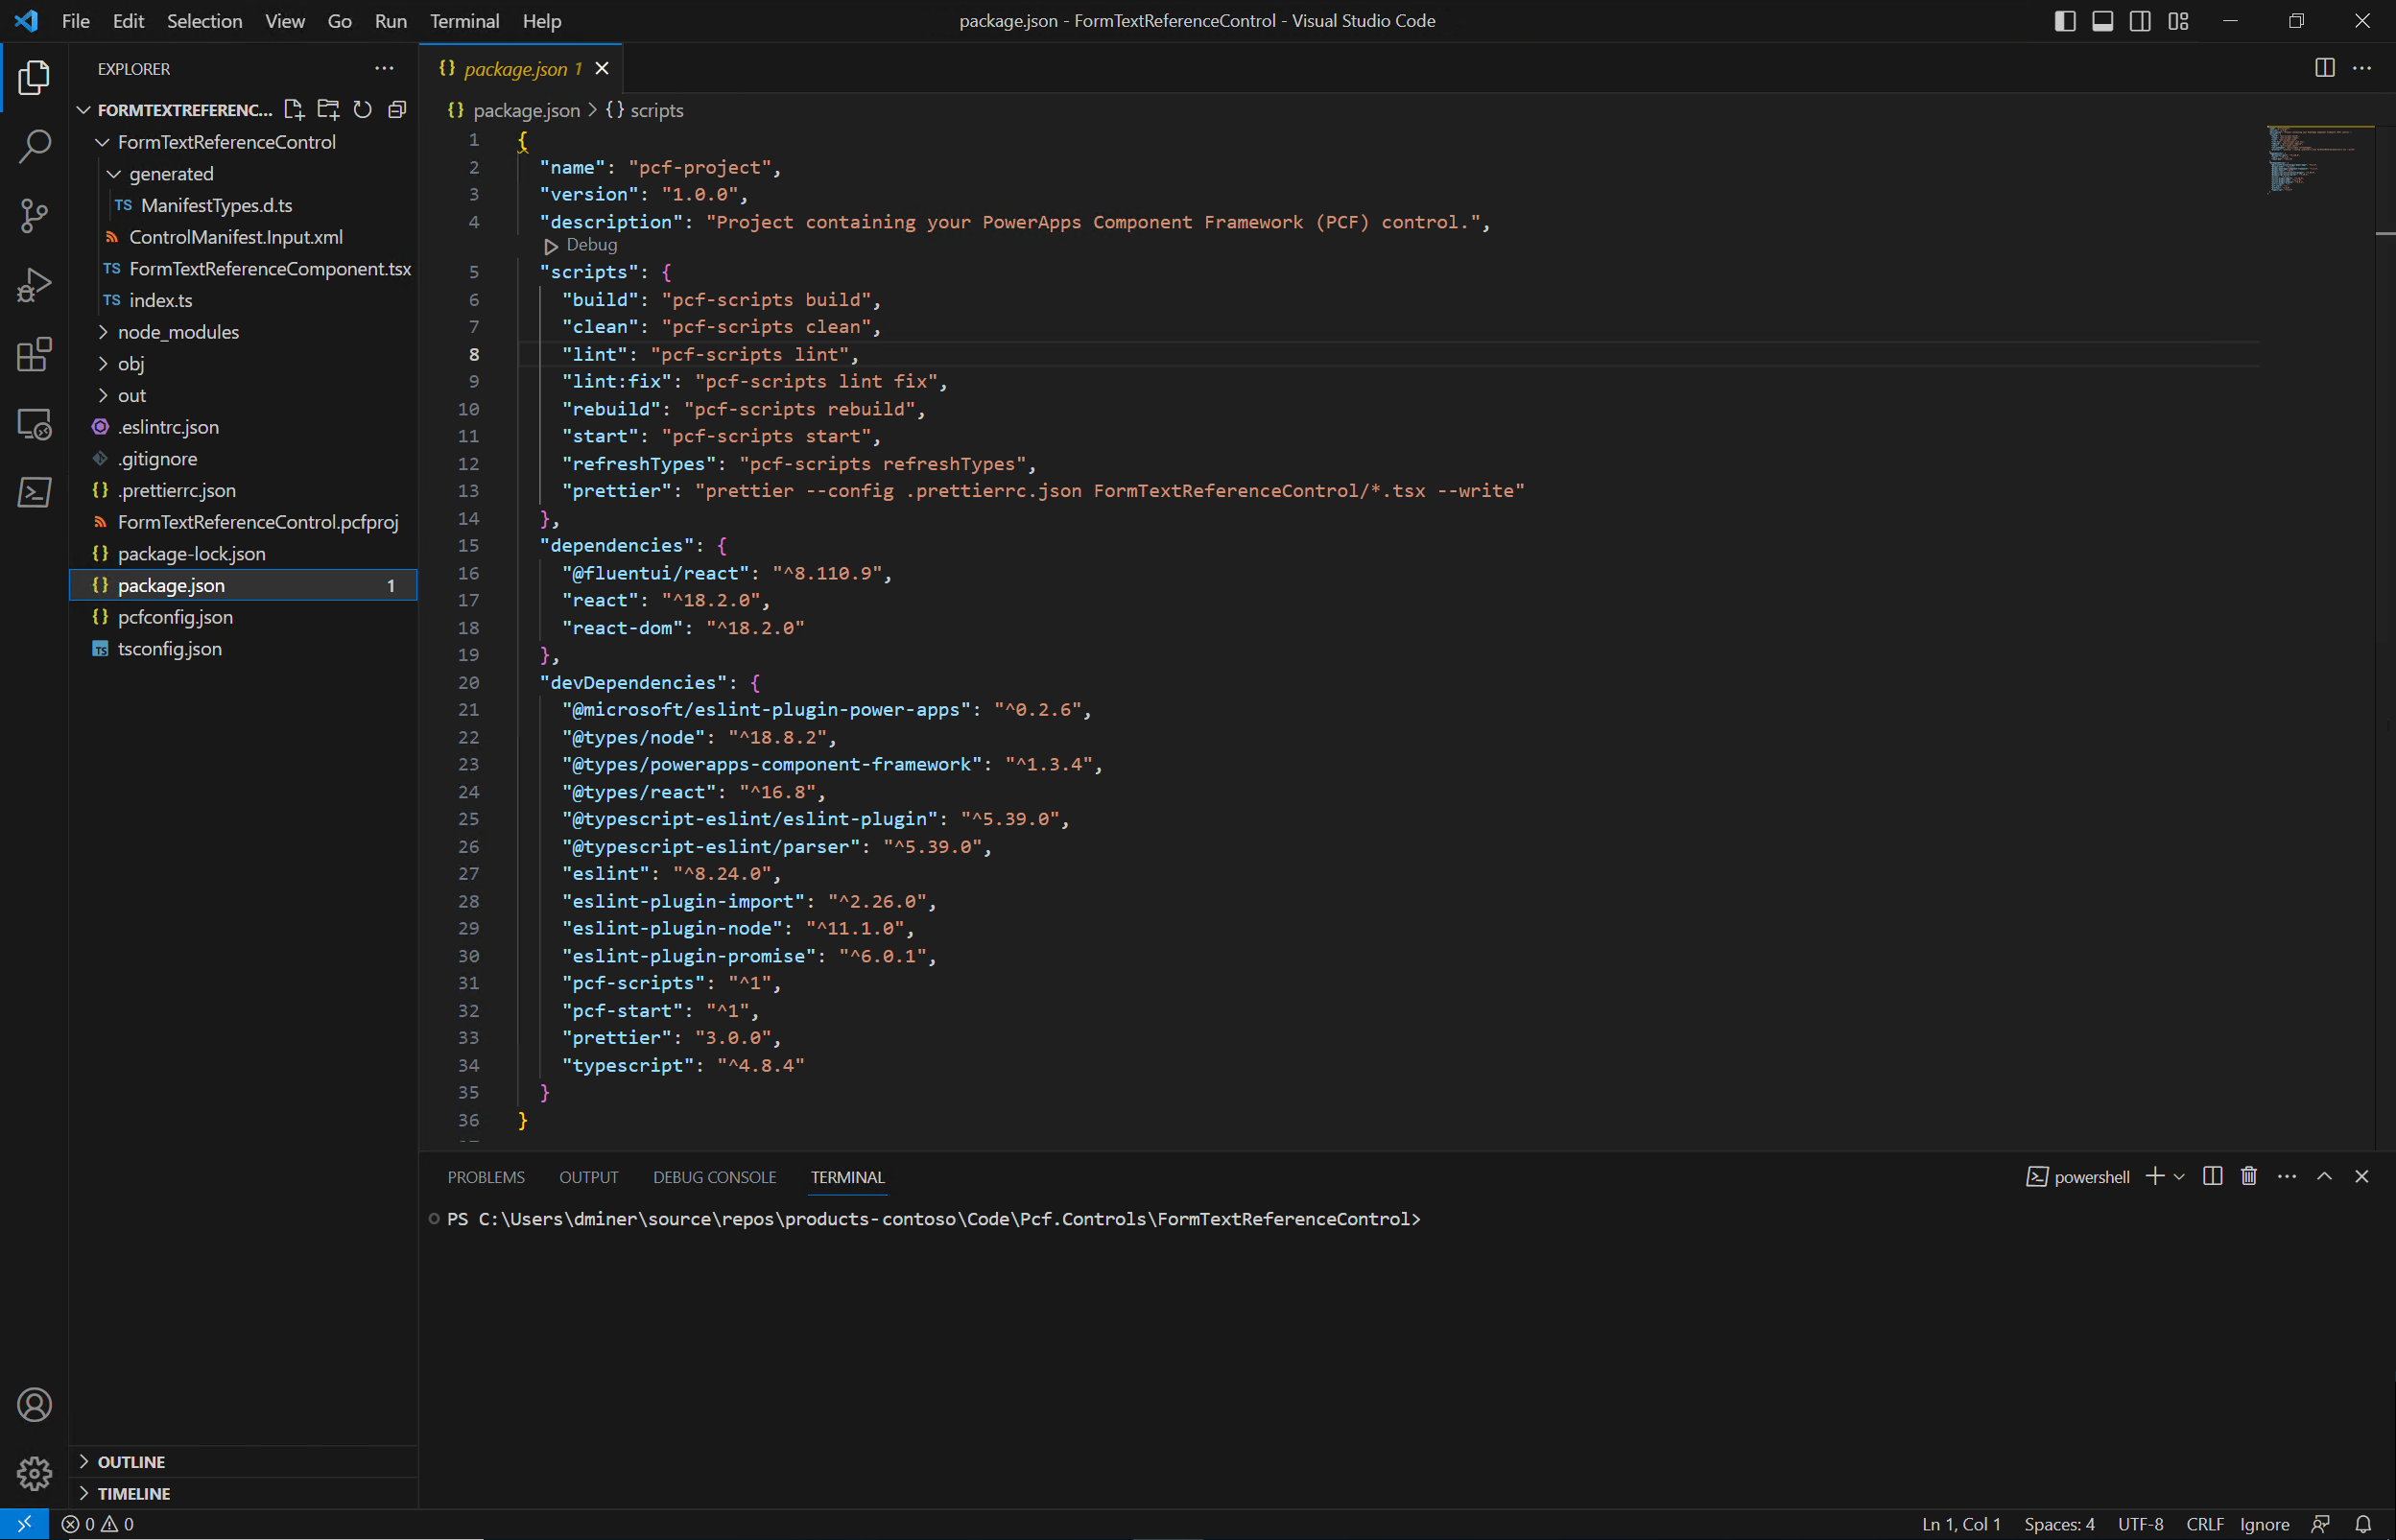
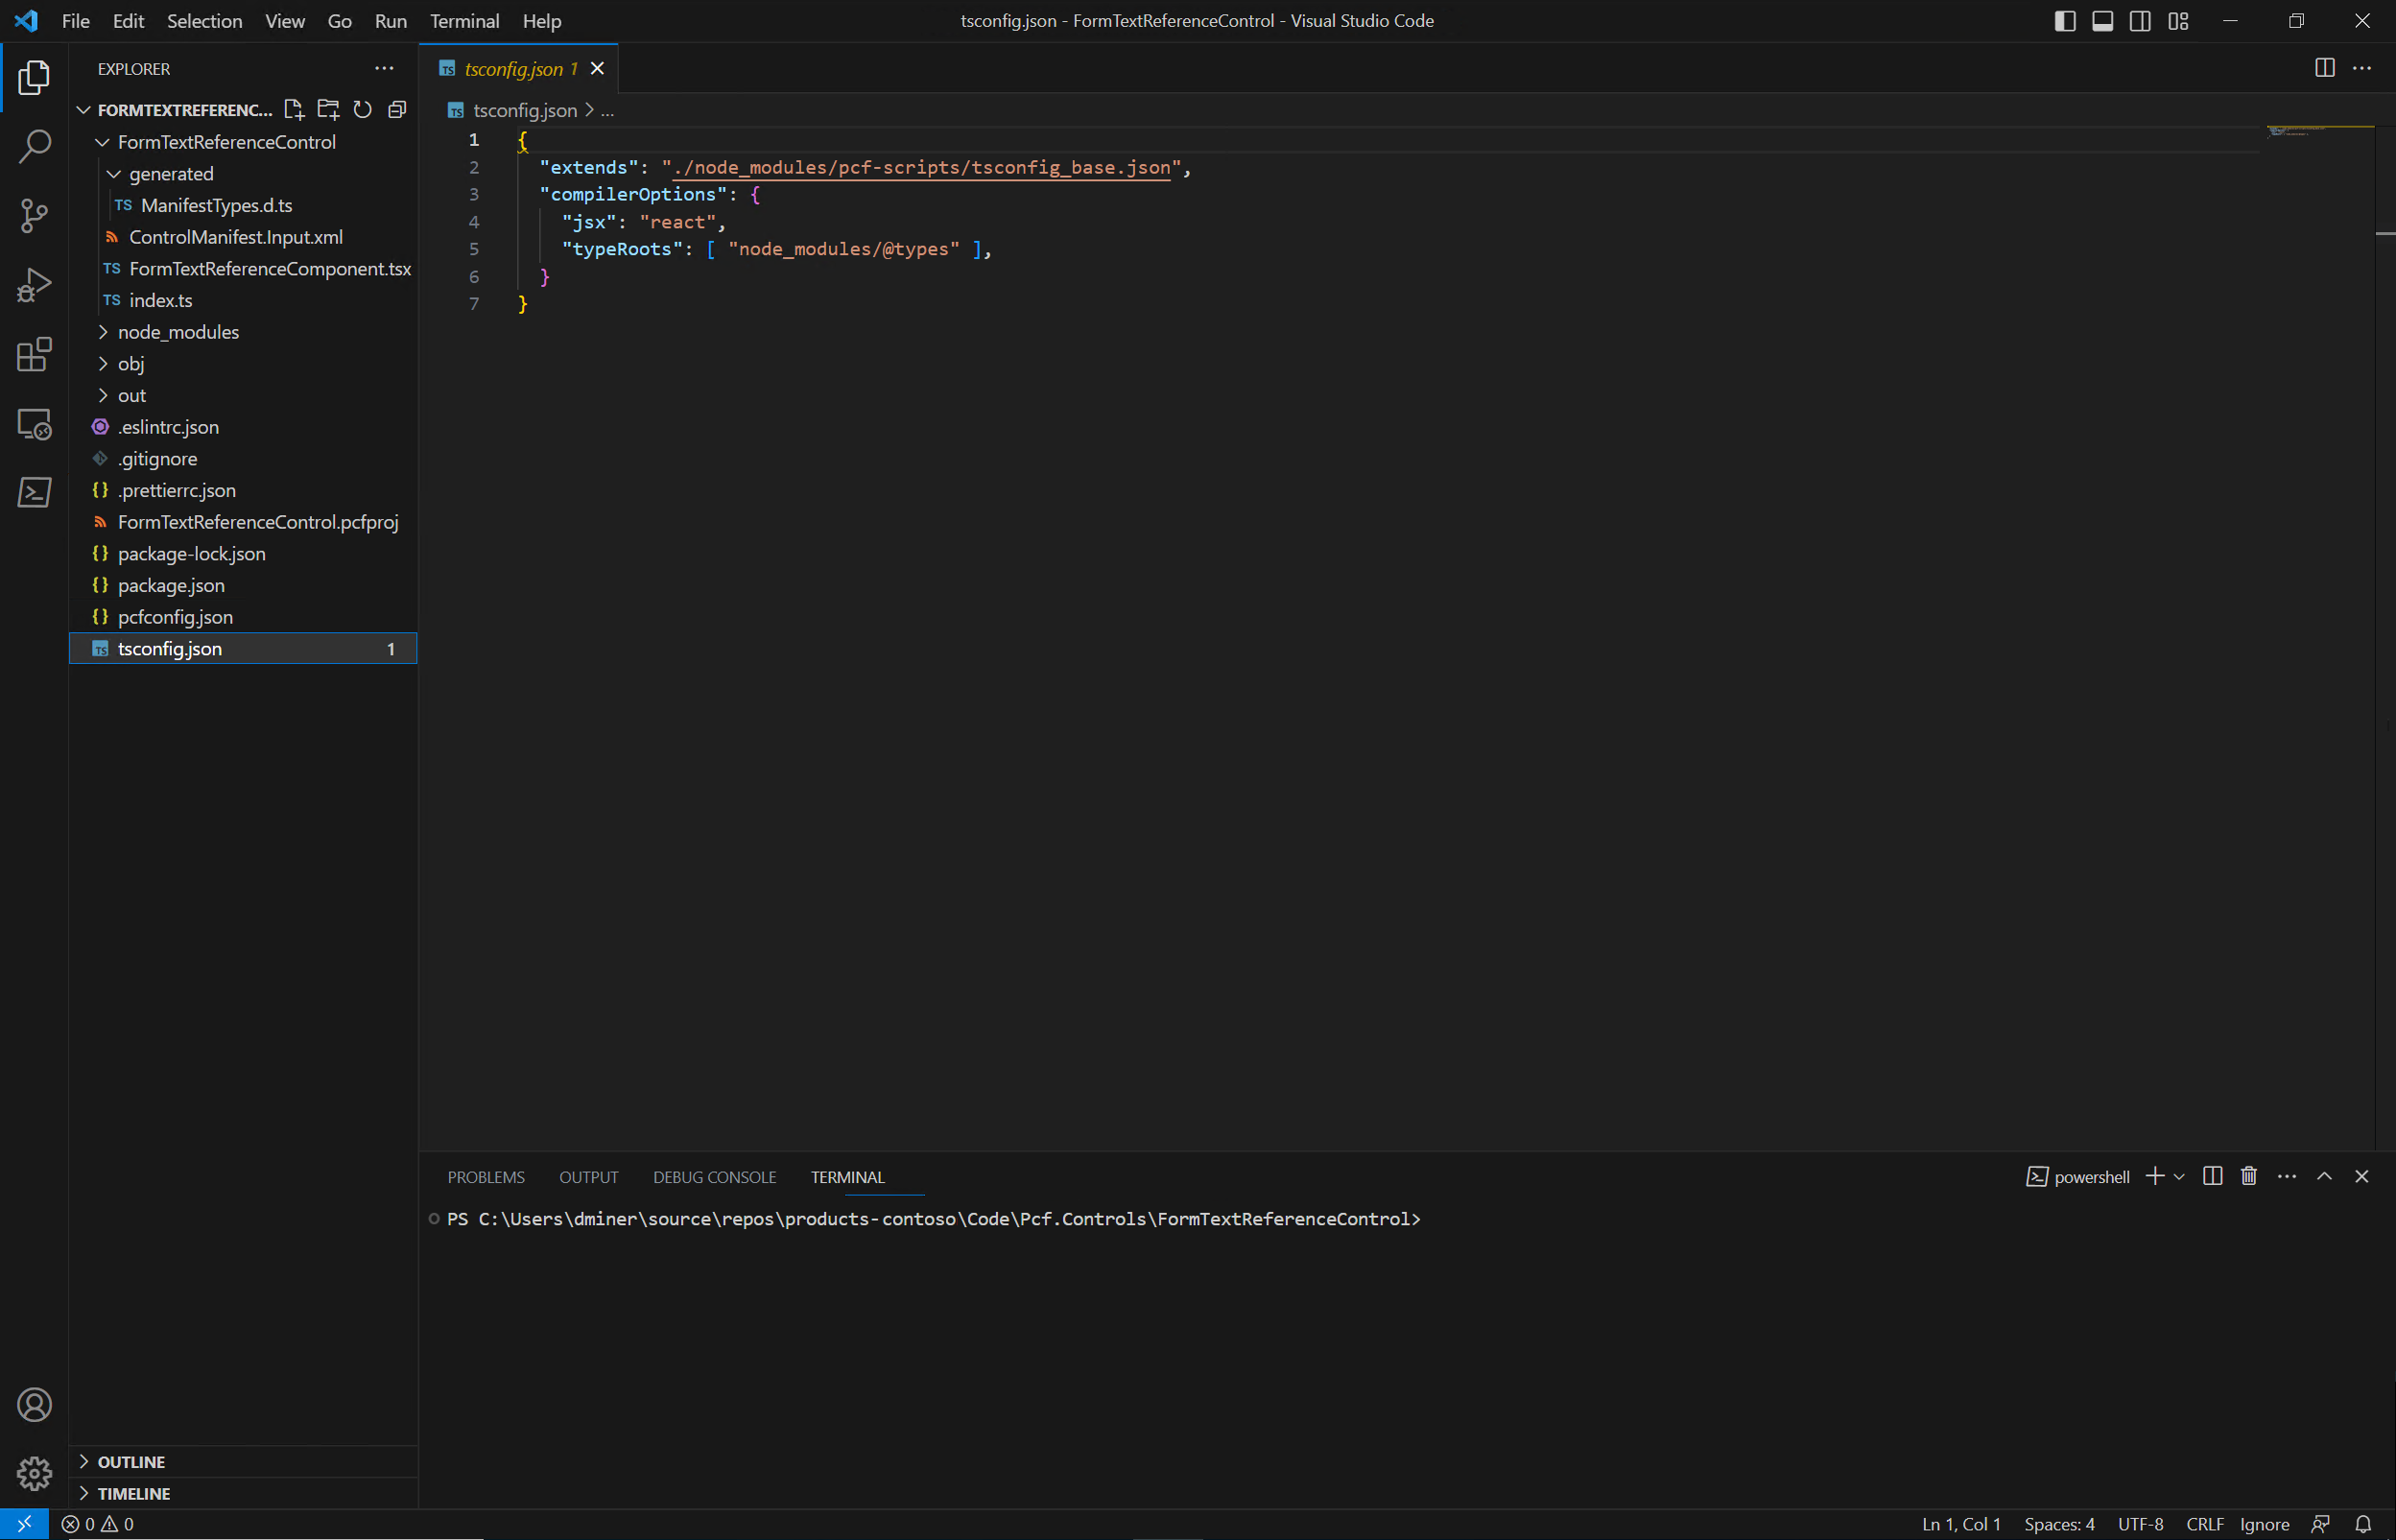
2.1) FormTextReferenceControl
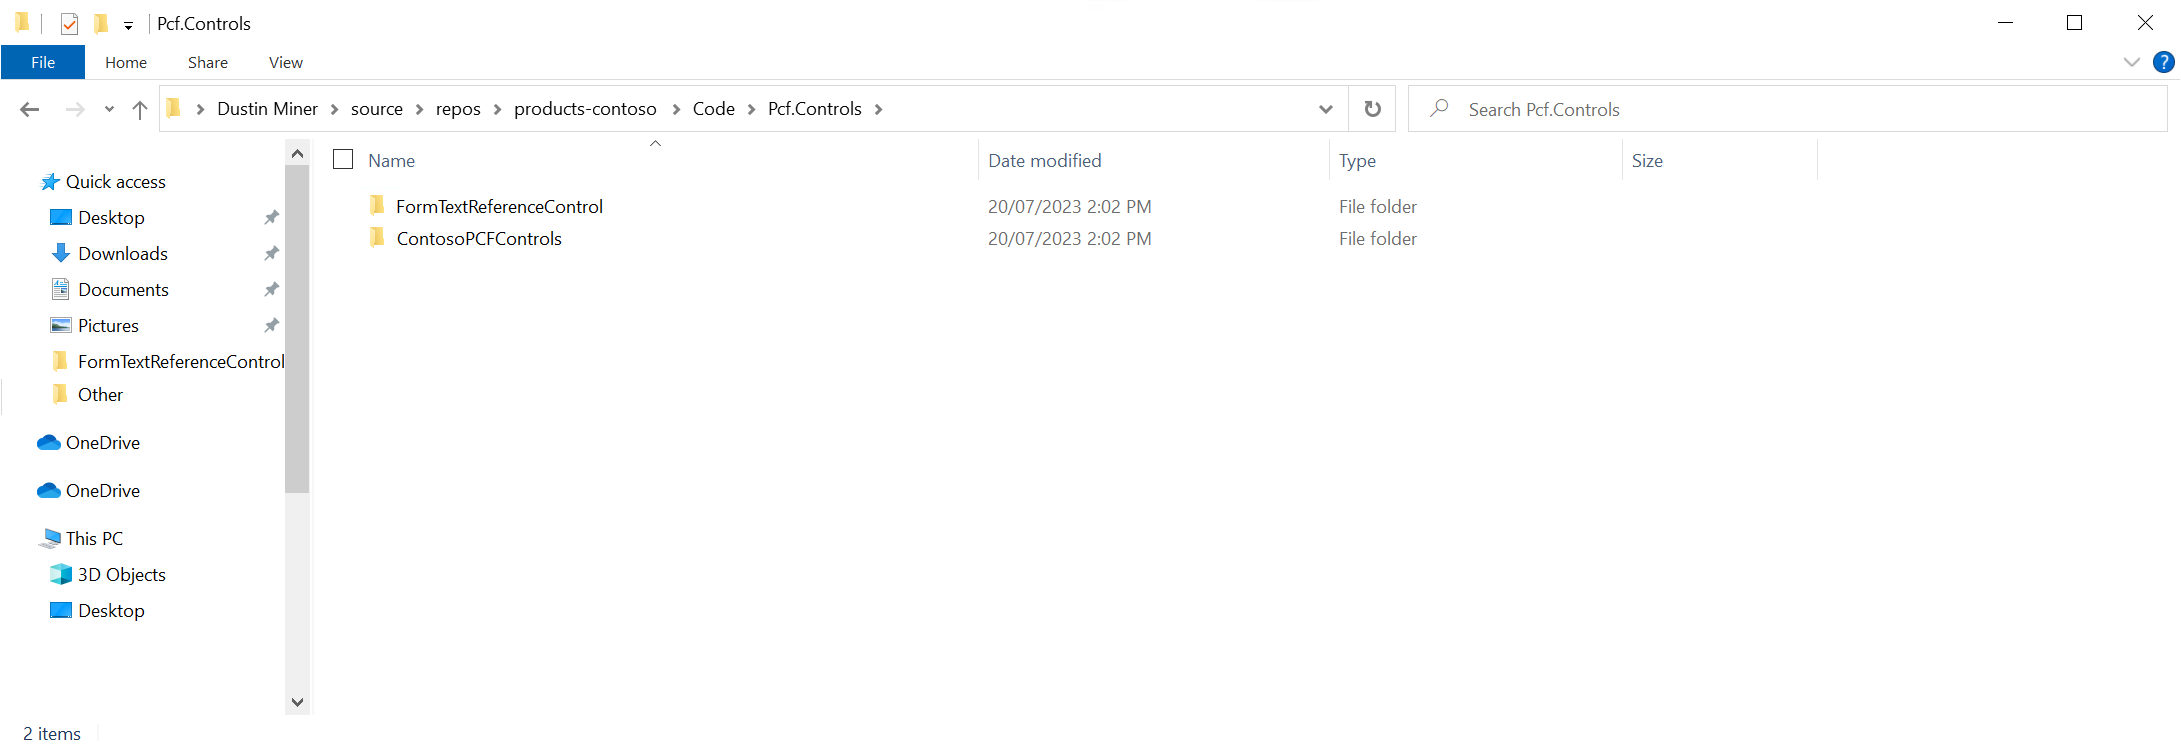
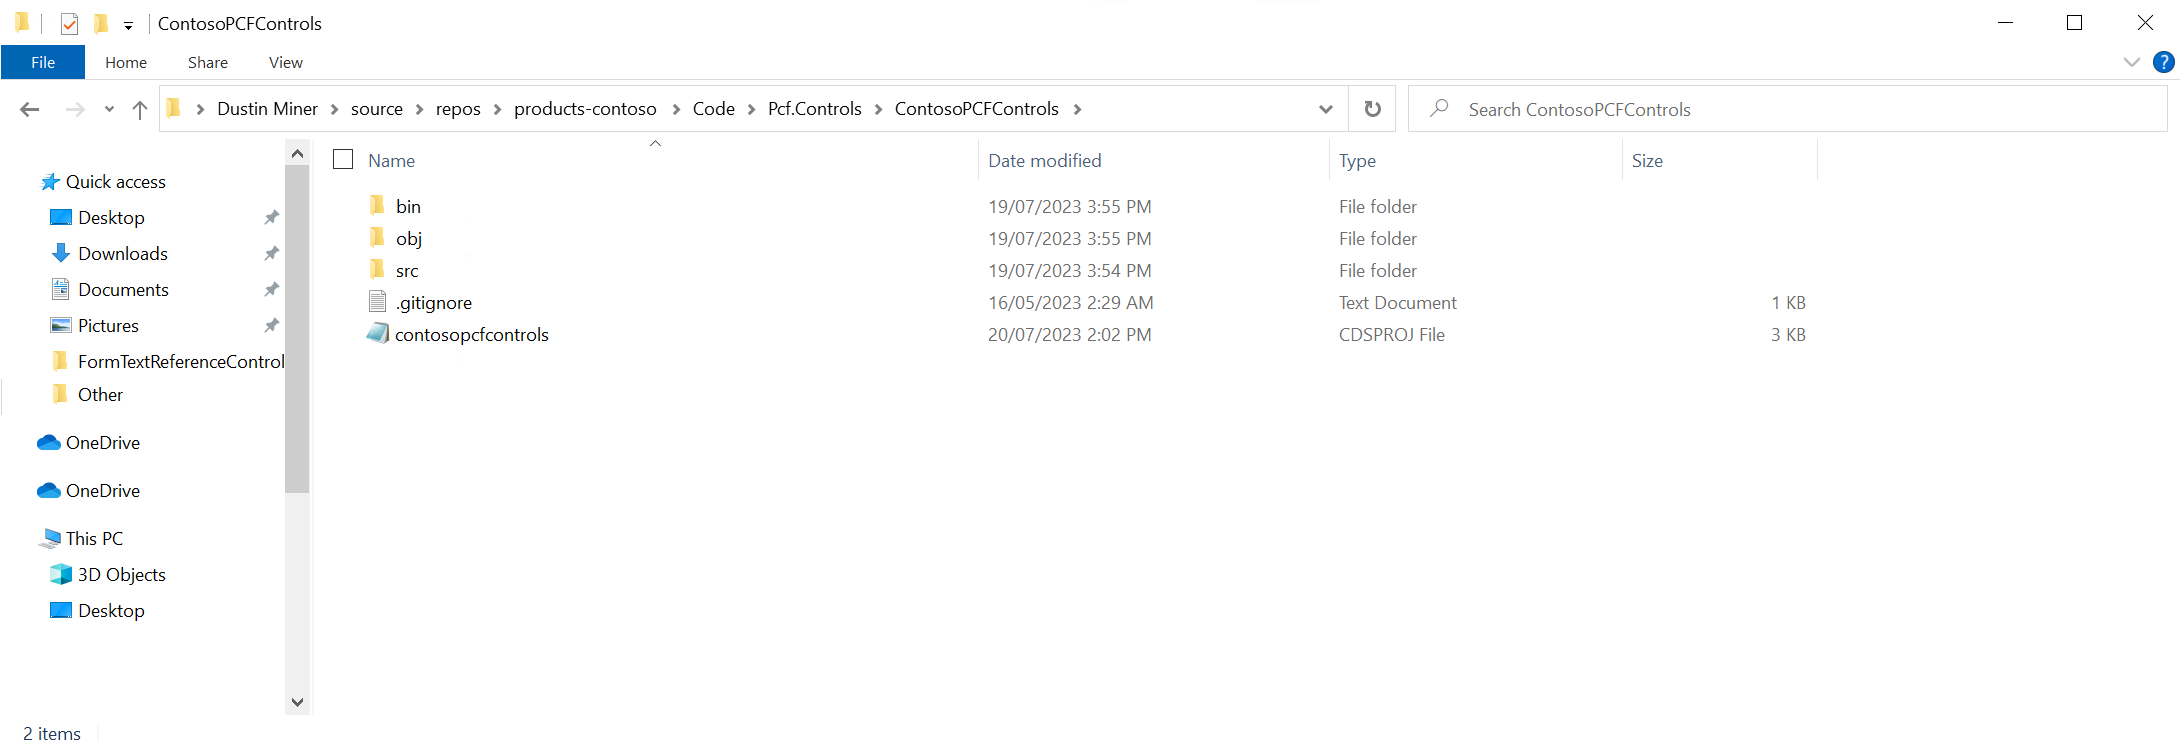
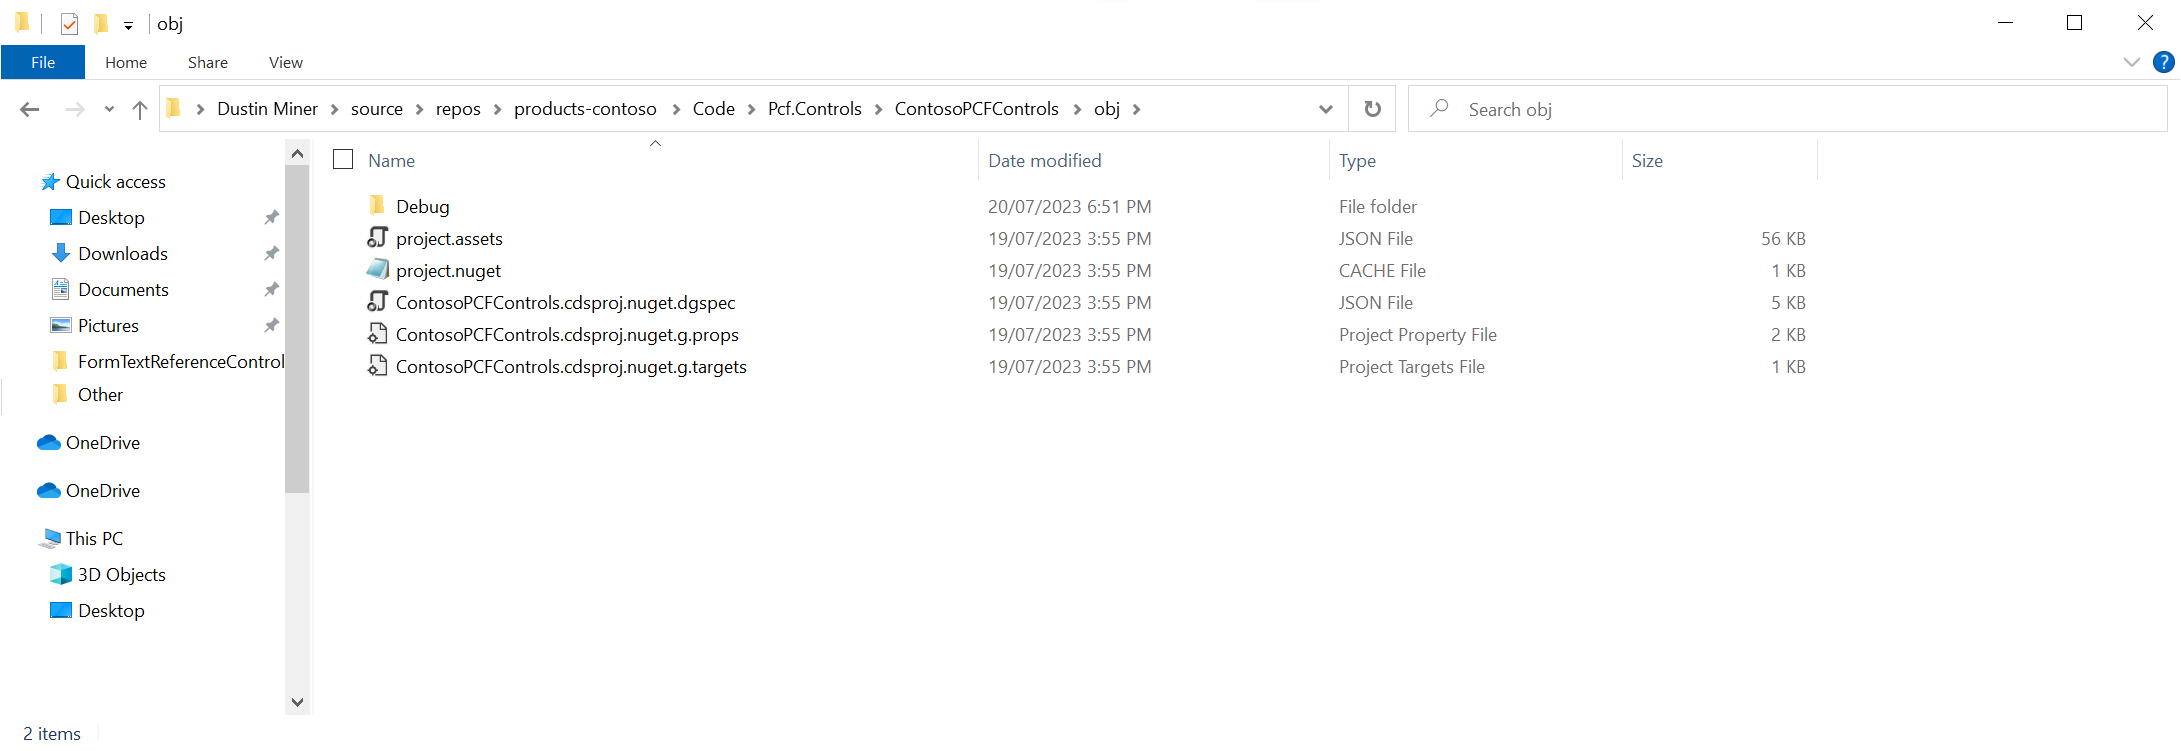
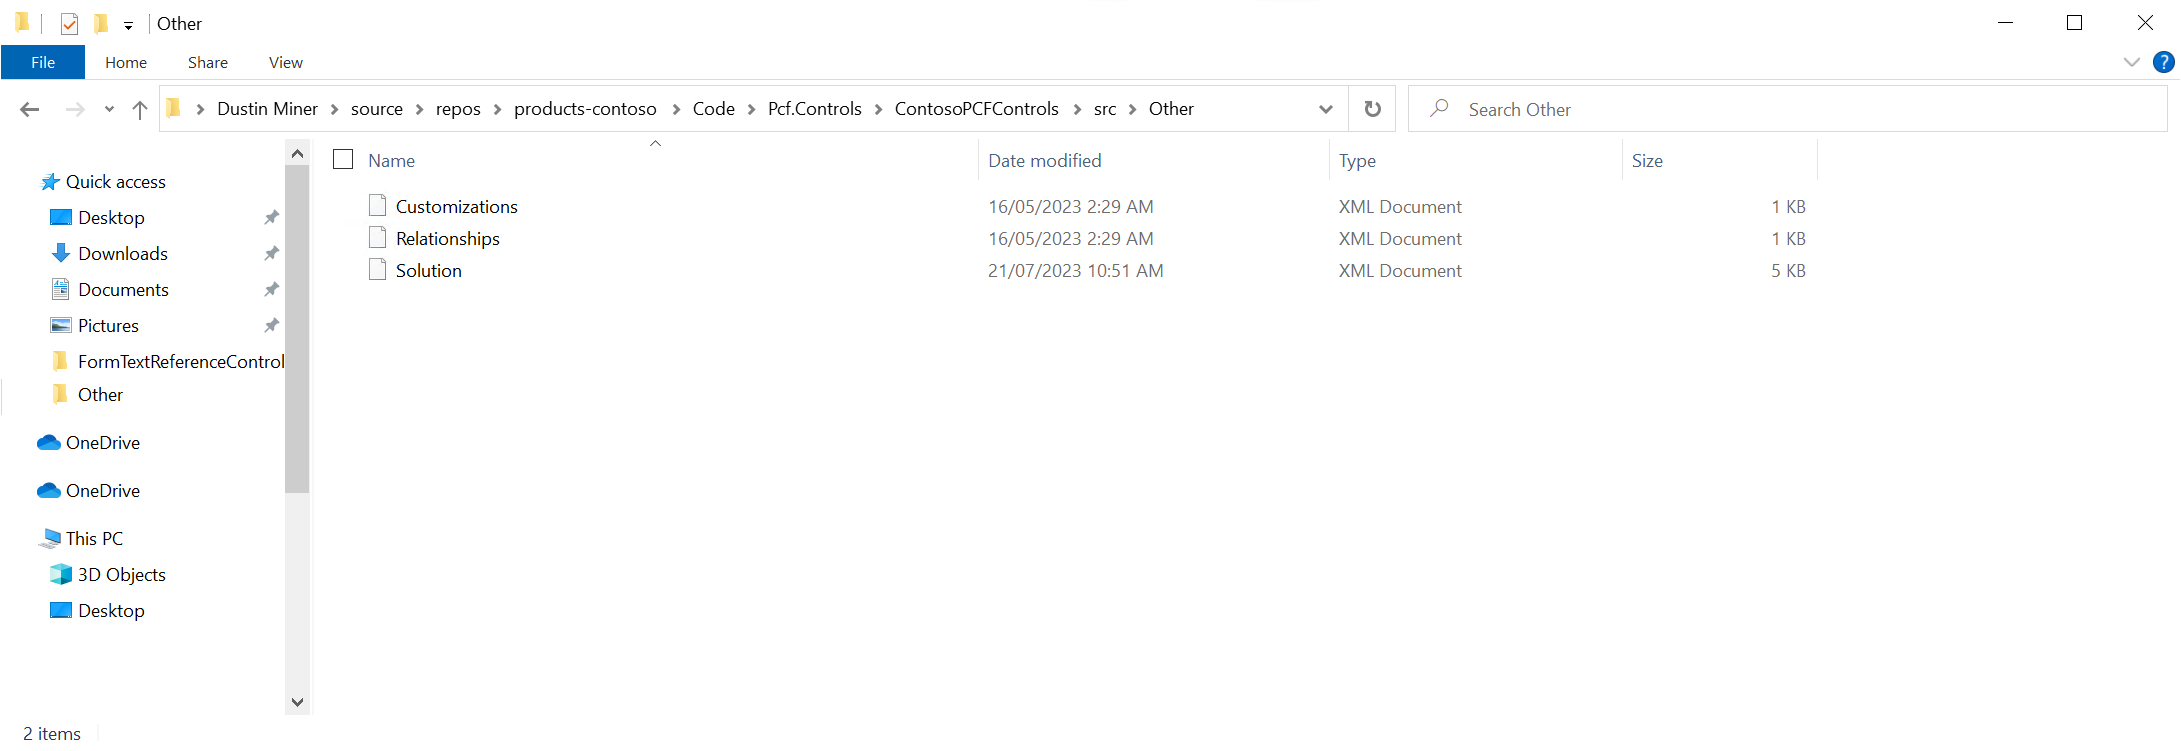
2.2) ContosoPCFControls
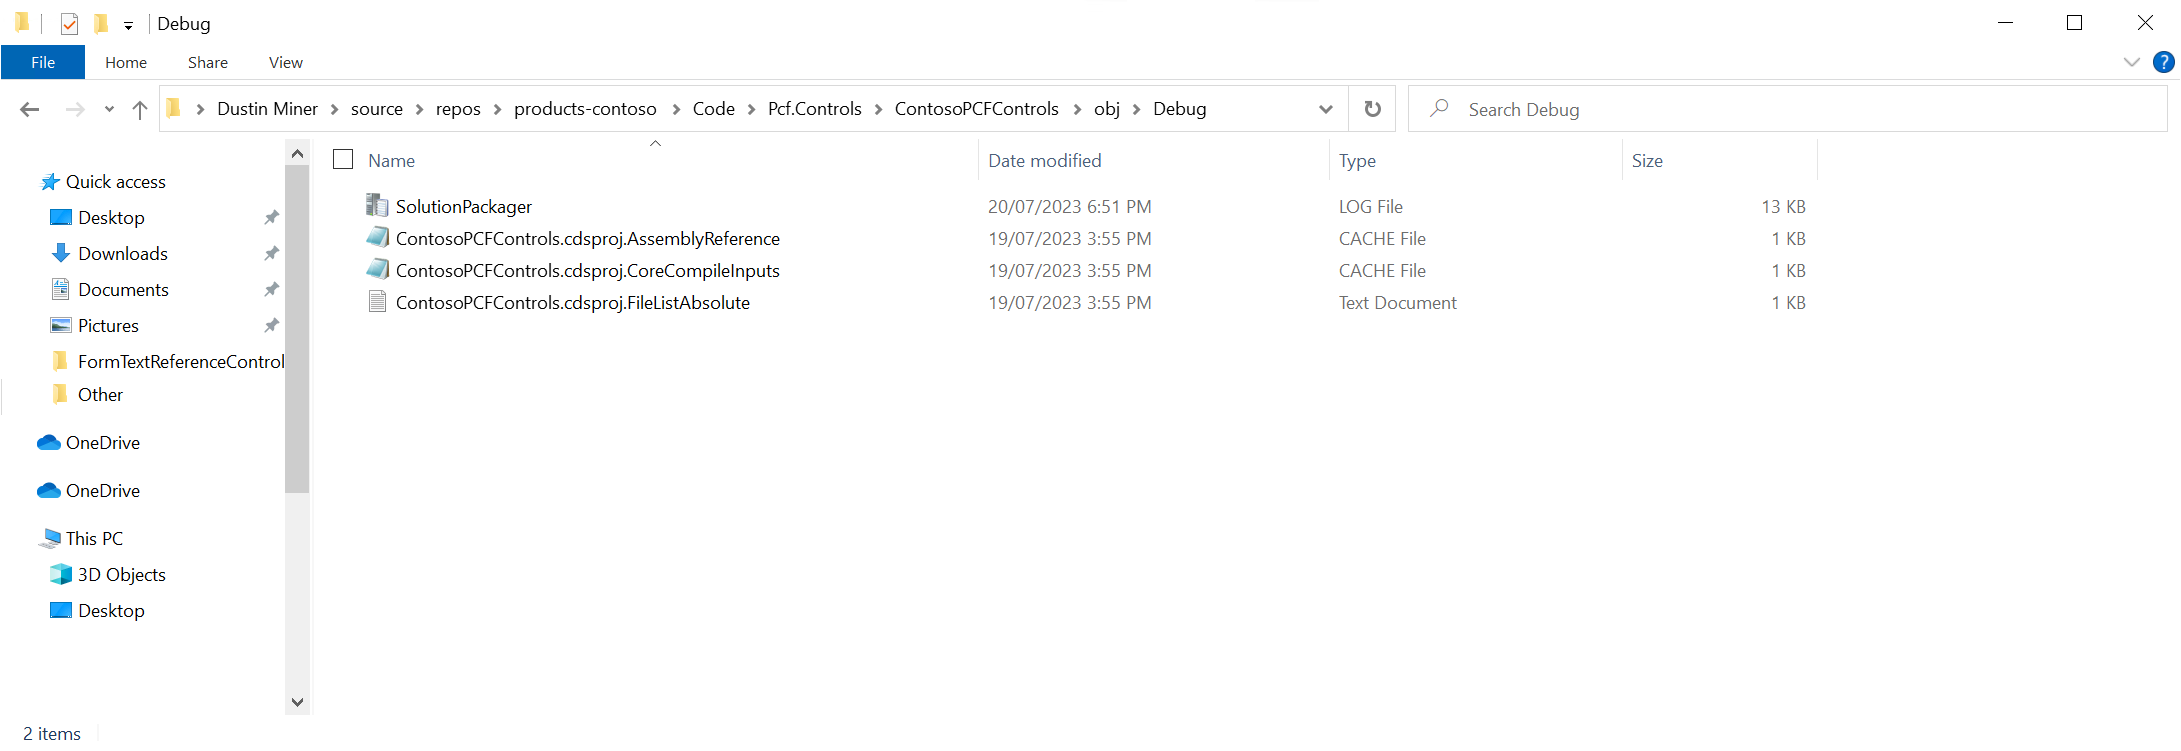
3.) Other files
Further reading
Communication between PCF controls and the form
References
1. Andrew Butenko – Let’s create a PCF control
2. Diana Birkelbach – all about pcf versioning
3. Debug & Deploy PCF Component
4. How to deploy a PCF component
5. https://developer.microsoft.com/en-us/fluentui#/controls/web
7. Create your first component
8. Create and build a code component
9. Tutorial: Creating a model-driven app field component
10. PCF Solution Packaging: Unmanaged for Production (Release)